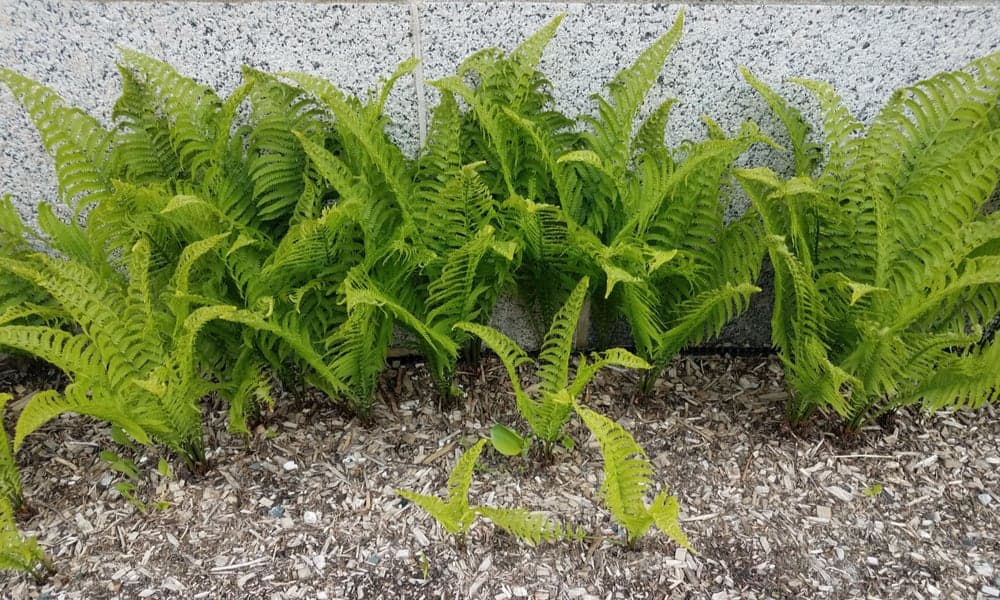
Ferns (Monilophyte, filicophyta, true fern) are basically tropical plants, but a few species grow in the Arctic as well. Nowadays, there are about 15 000 ferns species in the world, of which 10 560 are officially registered.
A total of 441 originate in North America and 175 in Europe. I am amazed at the fact that over 900 species of them exist in such a small country like Costa Rica, for example.
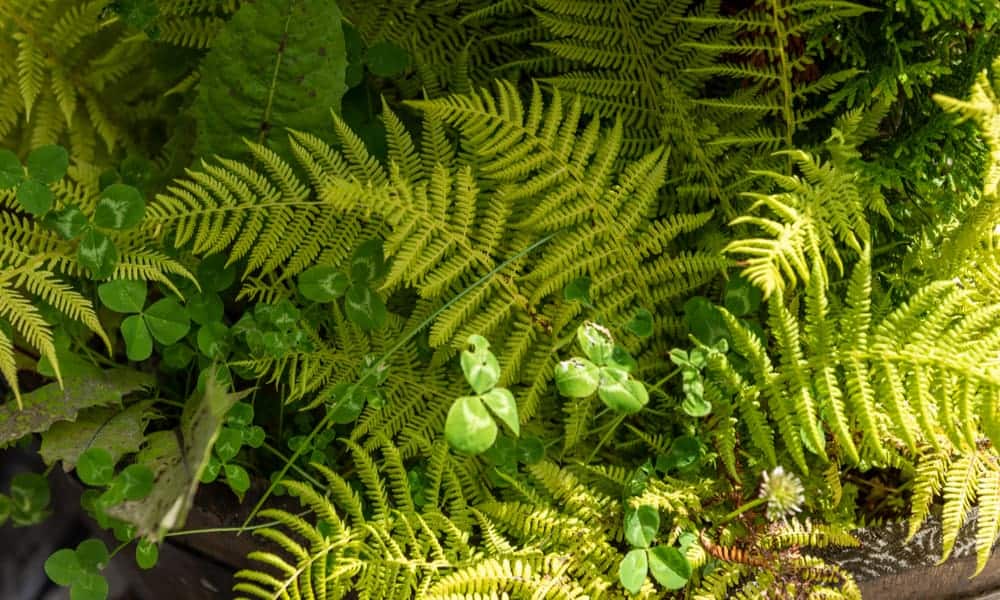
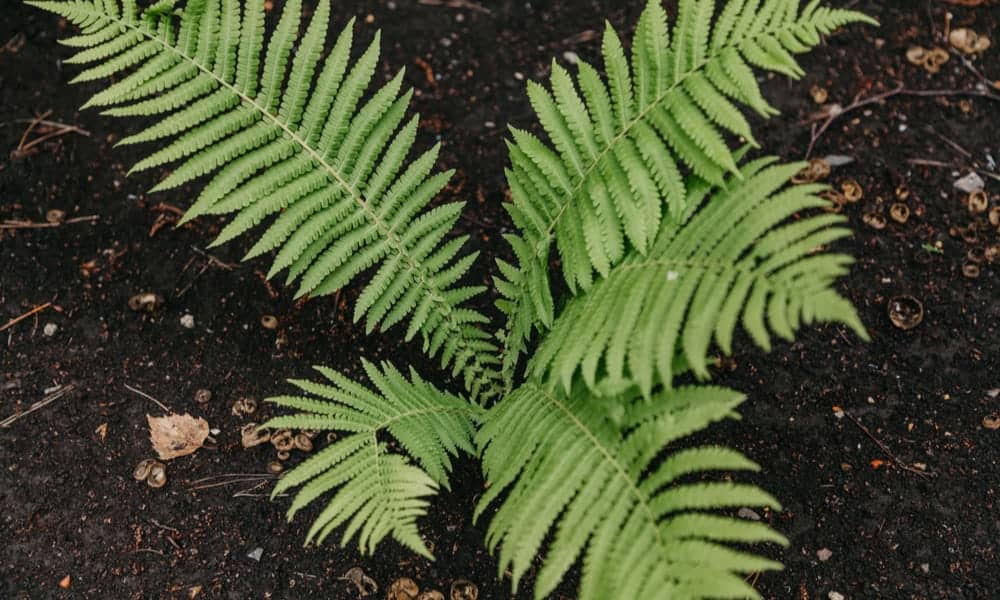
You can quickly recognize these plants thanks to ‘fronds,’ their lace-like foliage. However, there is no unique guide for growing Ferns since they are very different from one another.
Believe it or not, they can be huge, approximately 30 to 80 feet (9 – 24 m) tall, but you can find 0.4 to 0.5 inches (2 mm – 1.3 cm) tall dwarf varieties as well. Let’s discover why you should grow at least one of these unique plants in your garden.
Toxicity of Ferns
Most of the Ferns are non-toxic plants, but some species can harm children, especially the youngest ones. They may cause very unpleasant dermatitis.
Therefore, take care to pick out safe varieties for your garden. Plus, teach your kid to avoid eating leaves since they are not always edible.
Popular varieties of Ferns |
|||
|
Outdoor Ferns |
Indoor Ferns | ||
| Australian Tree Fern | 30 to 40 feet
(9 – 12 m) |
Crocodile Fern |
3 to 4 feet (0.9 – 1.2 m) |
|
Ostrich Ferns |
4 to 6 feet
(1.2 – 1.8 m) |
Kimberly Queen Fern | 2.5 to 3 feet
(76 – 91 cm) |
| Chain Fern | 4 to 5 feet
(1.2 – 1.5 m) |
Boston (Sword) Fern |
2 to 3 feet (61 – 91 cm) |
|
Cinnamon Fern |
2 to 5 feet
(61 cm – 1.5 m) |
Staghorn Fern | 2 to 3 feet
(61 – 91 cm) |
| Royal Fern | 2 to 5 feet
(61 cm – 1.5 m) |
Holly Ferns
(Japanese, East Indian, and Hawaiian species) |
1 to 3 feet (30.5 – 91 cm) |
|
Western Sword Fern |
2 to 4 feet
(61 cm – 1.2 m) |
Rabbit Foot Fern | 1 to 3 feet
(30.5 – 91 cm) |
| Autumn Fern | 2 to 3 feet
(61 – 91 cm) |
Tiger Fern |
1 to 2 feet (30.5 – 61 cm) |
|
Leatherleaf Fern |
2 to 3 feet
(61 – 91 cm) |
Blue Star Fern | 1 to 2 feet
(30.5 – 61 cm) |
| Lady in Red Fern | 2 to 3 feet
(61 – 91 cm) |
Lemon Button Fern |
1 to 1.5 feet (30.5 – 46 cm) |
|
Bird Nest Ferns |
2 to 3 feet
(61 – 91 cm) |
Kangaroo Paw Fern | 1 to 1.5 feet
(30.5 – 46 cm) |
| Japanese Tassel Fern | 2 feet (61 cm) | Button Fern |
1 to 1.5 feet (30.5 – 46 cm) |
|
Mother Fern |
1 to 3 feet
(30.5 – 91 cm) |
Maidenhair Fern | 1 foot (30.5 cm) |
| Japanese Painted Fern | 1 to 2 feet
(30.5 – 61 cm) |
Cretan Brake Fern |
0.5 to 2 feet (15 – 61 cm) |
|
Christmas Fern |
1 to 2 feet
(30.5 – 61 cm) |
||
| Hart’s Tongue Fern |
1 to 2 feet (30.5 – 61 cm) |
||
How to Plant Ferns in Your Garden
Propagating by spores
Even though Ferns produce seeds, they will reproduce through spores. There are at least two options for you when decided to reproduce your plant that way.
You can let the wind spread spores when they start falling off the fronds. It is an uncontrolled process, and most gardeners don’t prefer it. Therefore, you can collect ripe, dark spores by yourself.
The quicker way is to cut off fronds and leave them in an open paper bag. Take care to put the bag indoors to prevent spores from blowing away. Wait for them to fall from fronds on their own.
Fill a pot with moistened potting mix and shake the spores directly on the top. Press them gently and mist the potting mix to keep spores in place.
Cover the pot with plastic and put it in a tray. Keep it filled with 1 to 2 inches (2.5 – 5 cm) of clean water all the time. Pick out a warm sunny spot and keep the temperatures from 65 to 70 F (18 – 21 C).
You should wait for approximately three months to see the first prothalli, delicate heart-shaped shoots. Then gently move 2 inches (5 cm) tall baby Ferns in separate pots with a fern potting mix. When prothalli develop to fronds, you can transplant them outdoors.
Propagation by stolons
Stolons (runners) are long, string-like fuzzy ‘strings’ carrying baby plants. Using them is the other, effortless way to propagate your Fern.
The only thing you need to do is to layer stolons on the surface of the ground and keep them moist.
They will root in a couple of weeks and start the new growth. As soon as the young plant gets its own roots, you should cut it from the mother Fern and transplant.
Propagation by division
The process of dividing Ferns is not complicated. You just need to divide its roots in spring when noticing that fronds become smaller.
Use a garden hoe, dig the clump, and cut it to 6 inches (15 cm) long pieces with one or more growing tips.
Replant all pieces right away at the same depth. Water new plants regularly and wait for four to six months to see the noticeable growth. Don’t fertilize them before that period.
Propagating from seed
As I have already said, Ferns produce seeds, but they are not a usual way of propagating these plants. You can try it if you prefer doing things in a hard way.
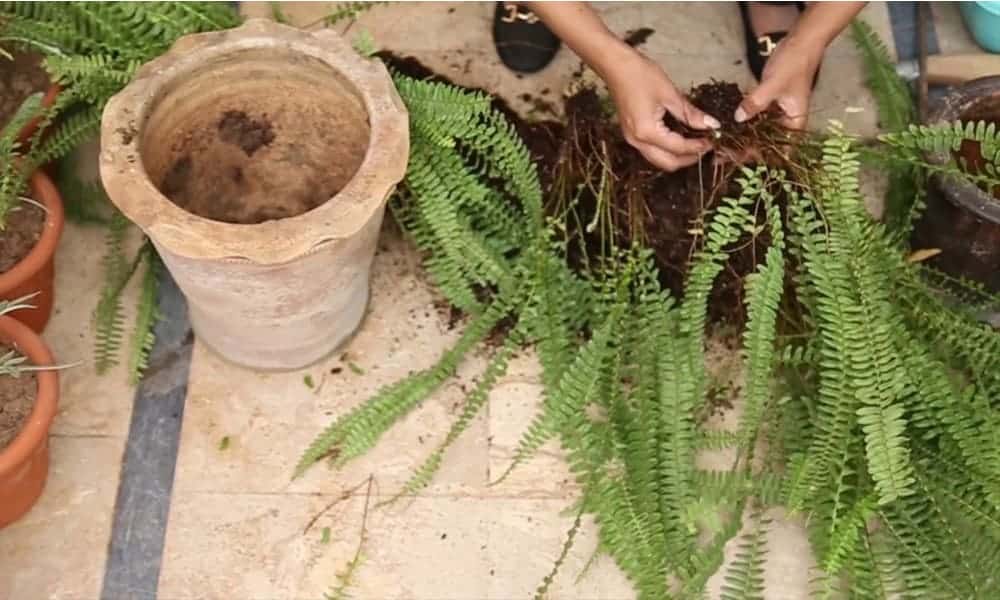
Transplanting
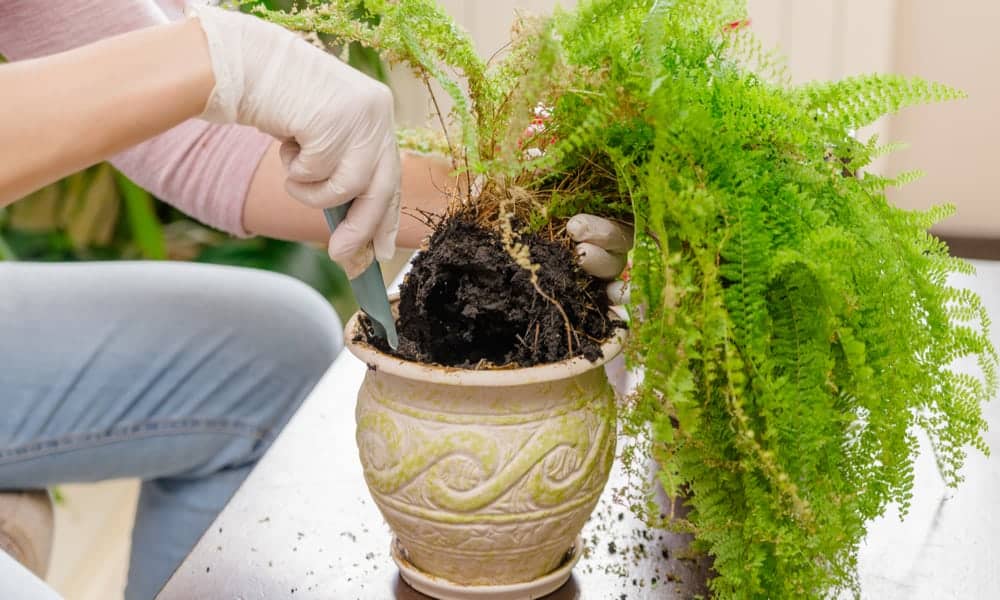
When you purchase mature Fern or decide to move your own from the pot in the garden, you should be careful to avoid damaging roots.
Use a garden spade to mix a 4 inches (10 cm) thick layer of leaf mold or pine bark with the top 10 inches (25 cm) of the well-drained ground.
Then dig a deep and wide hole to place the root ball without damaging it. If you decide to plant more Ferns, take care to space them at least 24 inches (61 cm) apart.
Move the plant from the pot, and transplant it in the prepared hole. Add the soil and additional 2 inches (5 cm) thick layer of mulch, and water your Fern abundantly.
Keep watering once or twice a week with 1 inch (2.5 cm) of water each time. That way, the top 6 inches (15 cm) of the ground will always be moist.
How to Care Ferns in Your Garden
Soil
Almost all Ferns require well-draining and moist soil. Since they prefer growing in the acidic to neutral ground, you should provide the pH in a range from 4.0 to 7.0 for them.
However, there are some species, which need alkaline soil, so you need to inquire about the growing conditions of each species before planting.
When you decide to grow Ferns indoors, try to add an excellent peat moss mix in a pot. That way, your plant will thrive and beautify your home.
Light
Except for some hardy types, almost all species of this plant require shade to grow healthy and vigorous. Just a few of them can stand the full sun, but just if you live in the northern region.
If you grow this plant indoors, you should provide indirect or artificial light for it. Place the pot on the west or south windowsill.
The other possibility is to place an incandescent light above your Fern for at least four to six hours a day. That way, your Fern will get enough daylight without being exposed to direct sunlight.
If you pick out the wrong position, you will face one of two issues. Too much light will cause drying the ‘fronds.’ On the other hand, your plant will become deformed with pale leaves in no-light conditions.
Temperatures
Most Ferns thrive best when the environment is humid, but they require different temperatures.
However, your plant will probably tolerate every temperature if the level of humidity is adequate.
On average, you should provide the environment with the consistent 65 to 75 F (18 – 24 C) for your Ferns. If you want to grow that plant outdoors, you can do it if the temperatures during the night are not below 60 F.
Humidity
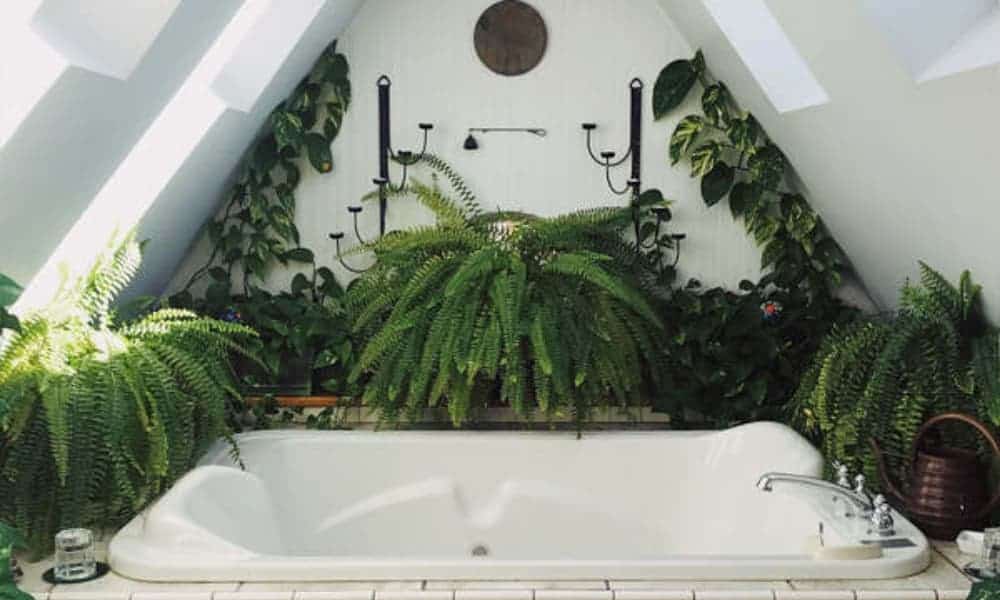
All Ferns need high relative humidity to thrive. If you grow this plant indoors, you should use a humidifier to increase the humidity. One of the convenient solutions is to keep the plant in the bathroom.
The other way is to plant it in a pot with gravel in a tray and re-fill it frequently since you need to replace evaporated water.
At the same time, try to plant your Ferns the way to provide adequate airflow.
Plus, your plant will like spraying its fronds from time to time to increase humidity and keep the foliage clean.
Watering
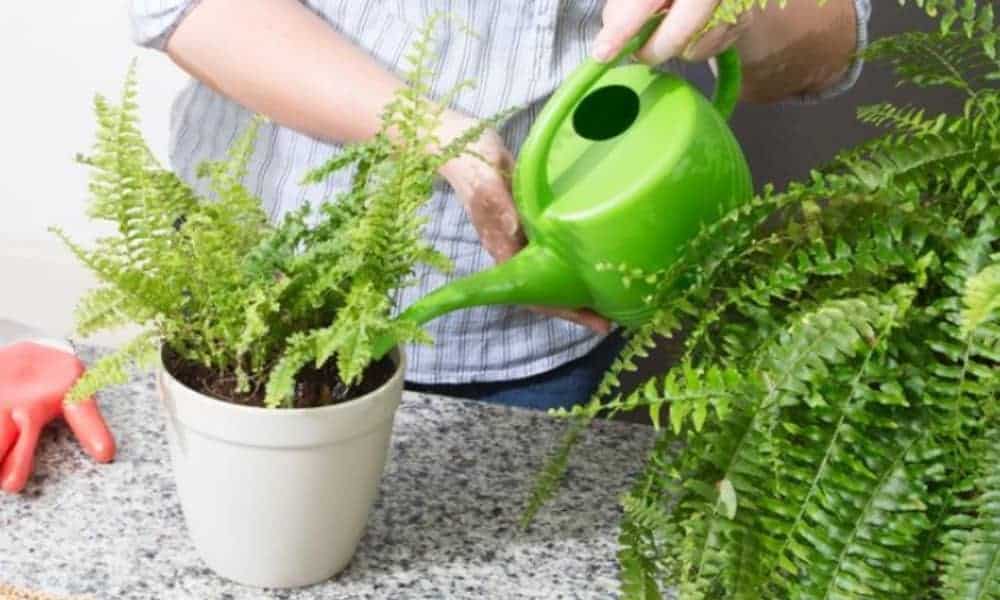
Ferns prefer growing in the damp ground. Water your plant regularly, especially in a period without enough rain.
Keep in mind that you mustn’t let the soil becomes dry if you want your Fern to be vigorous.
If you grow that plant indoors, water it daily until the water begins running out from the holes at the pot’s bottom.
During the heating season, water it more often, especially if the temperatures in the room are higher than 70 F (21 C).
Fertilizing
Feed your potted Ferns once a month during the growing season with a dilute solution of formula mix or fish emulsion. If necessary, apply a slow-release fertilizer in early spring, but be careful.
Overfeeding or applying too strong fertilizing may scorch the fronds. Stop fertilizing your plant during the period of rest in autumn and winter.
Mulching
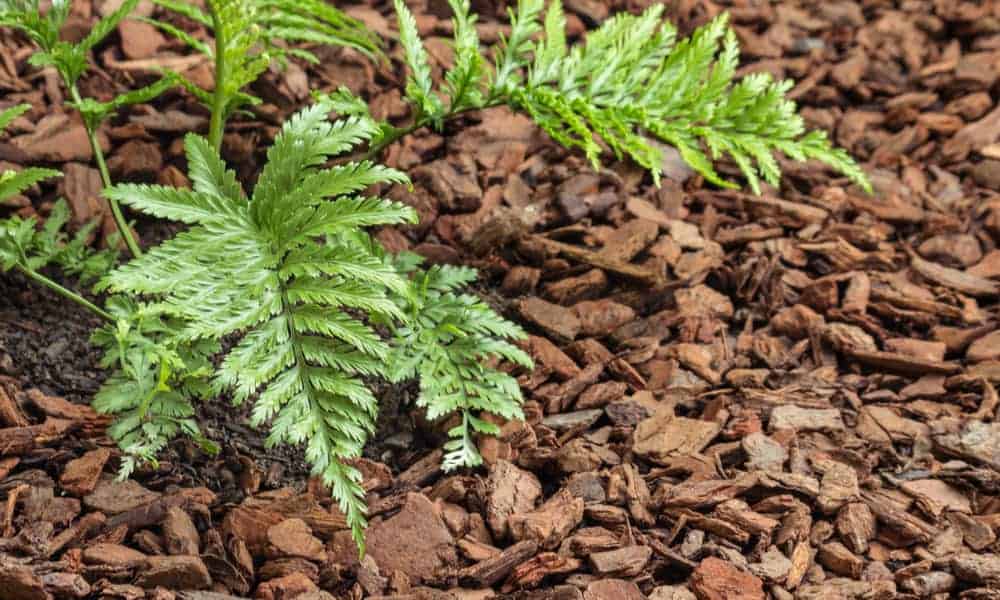
In nature, Ferns grow in forests in the ground covered with a layer of decaying leaves.
Therefore, you should add a 2 inches (5 cm) thick layer of mulch to keep the soil damp and plants’ roots cool. The best options are pine needles, composted leaves, and chopped bark.
Pruning
Cutting fronds is not necessary except in a case when they are damaged or wilted. In these cases, pruning will promote abundant growth and make your Fern looks healthier.
Ferns Pests and Diseases
Aphids
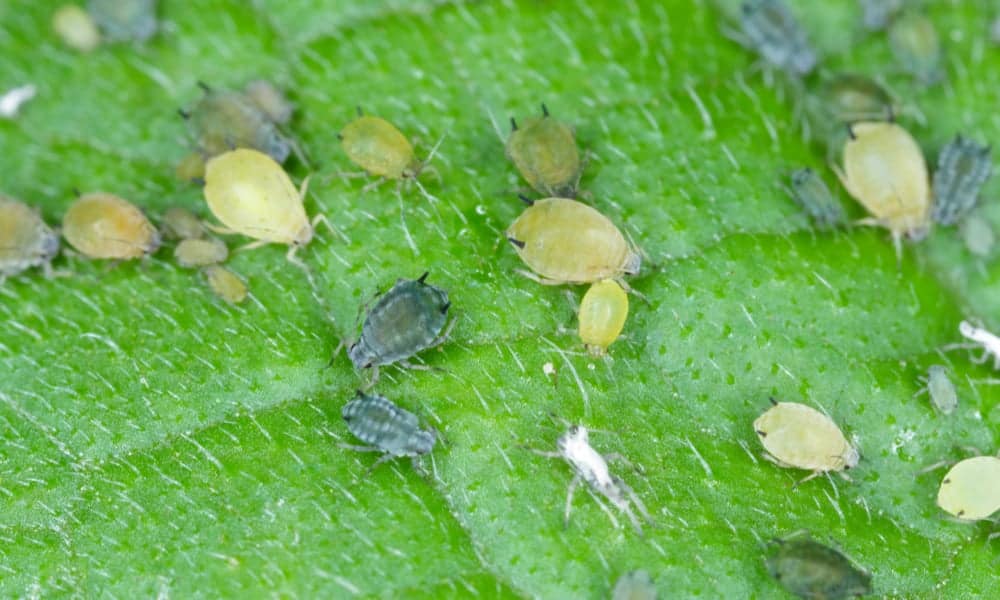
These insects may infest your Fern and cause severe devastation. Get rid of them by rinsing the plant with water.
Mealy bugs
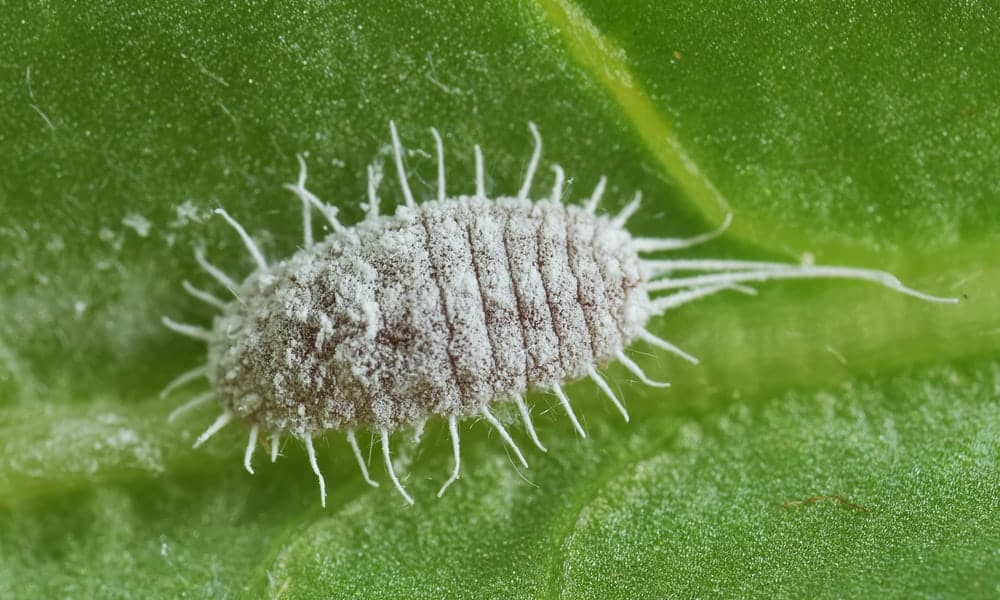
They feed into the armpit between the stem and leaves and suck moisture from fronds.
As a result, the foliage turns yellow and falls eventually. The only thing you can do is to cut infested parts of your Fern and prevent the spreading of bugs.
If you spot the infestation on time, you can remove them by handpicking or with a cotton swab soaked in alcohol.
Or use a backpack sprayer and sprinkle the whole plant with a 10% alcohol solution.
Scales
These microscopic insects almost always cause the death of Fern if not killed on time.
Destroy them with a 10% alcohol solution or a soap spray before causing irreversible damage.
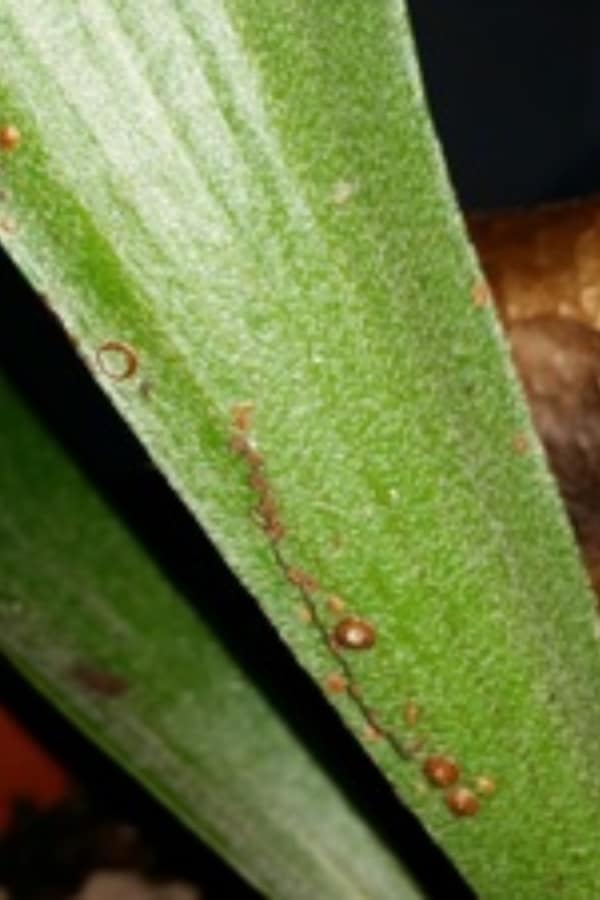
Mites
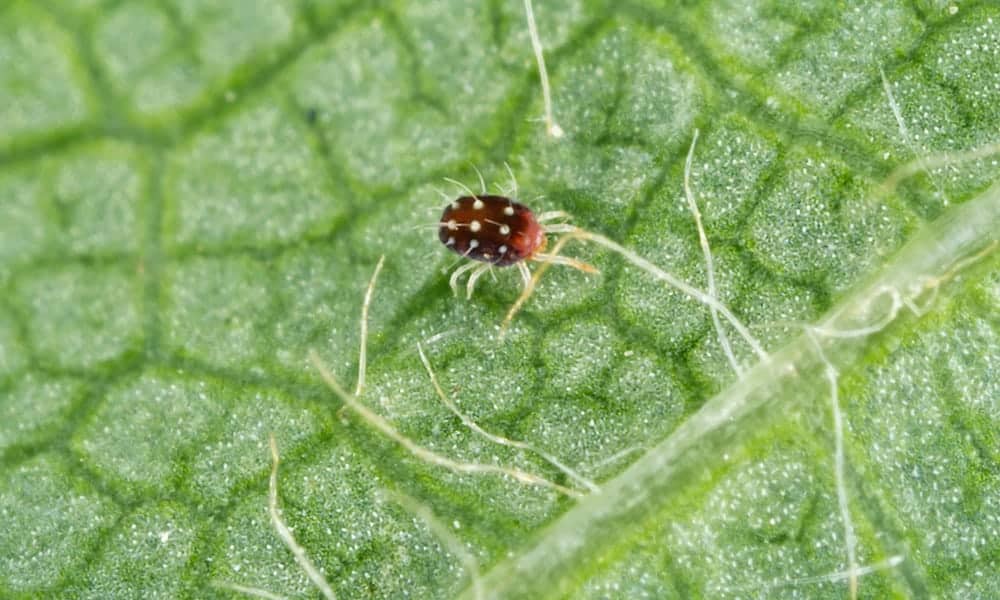
They are really small, which makes them difficult to notice. However, since they feed on leaves, you will see the damage they cause.
The foliage becomes deformed and rusty colored. Use an appropriate insecticide to get rid of these mites and prevent the spreading of infection.
Nematodes
These tiny worms may cause severe damage to your Fern. Some of them will harm roots by making lesions, which leads to wilting of the whole plant.
The other type feeds on leaves and causes its deformation and discoloration. Solve the problem by removing infested foliage and repotting the plant. Unfortunately, if that doesn’t help, you need to destroy your Fern.
Snails
Since snails feed on young leaves of your plant, handpick these creatures as soon as you notice them. The best option is preventing them to reach your Fern by beer traps or eggshells.
Leave a comment