Well-edged lawns look incredible. Once you invest time, sweat, and energy into your property, a time comes when you, like every homeowner, need to figure out how to edge your lawn. Edging a lawn like a pro takes time and effort, but the results are always worth it.
Good gardeners make edging their lawn look deceptively simple. It can be hard to know where to start. Not to worry. We have curated a list lawn-edging tricks to keep your grass looking fresh and healthy this spring.
Make a game plan before you get started.
One of the biggest mistakes homeowners make is starting to edge their lawn before they make a solid game plan, according to the experts. Every garden is unique, so it is important to put the time in before you get to work in order to ensure your lawn comes out looking amazing. Here are a few questions to consider.
1. What elements are you working with?
The pros over at home depot suggest considering a few key details when planning your lawn’s look. To start, look at the pre-existing lines. Does your garden curve? Are there paths? Is it a rectangle, or more of an organic shape? These factors will guide you towards specific tools.
When thinking about the shapes you want to create, remember that it is always a good idea to round out corners. Imagine trying to get your lawn mower around a right angle. Seems challenging, doesn’t it? Rounded corners make for easier maintenance and fewer headaches.
Take a look at the different areas in your yard. Any time your lawn hits up against another surface, such as a deck, garden bed, or pathway, this is an area you will need to edge. One great way to figure out how many different transitions are in your yard is to sketch a drawing.
After you draw a sketch of your yard, calculate how much area you need to edge. Are you hoping to create clean lines to separate your lawn from every flower bed, stone, and pond? Getting a rough estimate of the amount of material you need will help you at budgeting time.
Once you know how much area you need to edge, you can go on to the other questions.
2. What’s the look you are going for?
One of the most important questions to ask yourself is about your yard’s vibe. Depending on the style of your property, and your own personal aesthetic, you will need to purchase different tools. Lawn edging comes in many styles, so it is crucial to decide what look you are going for.
The look of a lawn is determined by the type of garden you want to have. If you like things to be crisp, neat, and manicured, you will probably want to create more abrupt transitions between your lawn and the other parts of your property. This look requires specific tools and materials.
There are a lot of different styles when it comes to edging materials. One popular choice is brick or stone, which tends to be the most expensive, followed closely by solid wood. Mulch, meanwhile, is a bit more cost-effective. Plastic is an economical option, but looks less formal.
This video by Home & Garden showcases the wide spectrum of styles you could achieve, depending on the materials you purchase:
3. How much do you want to spend?
Lawn-edging styles and materials vary drastically in terms of cost. You might love the idea of stones outlining your garden, but if your budget is tight, this might not be the best choice. Spend some time researching your local home and garden stores to figure out your options.
Many new homeowners make the mistake of going for the most expensive material before they take the time to consider other options. Sure, brick might look incredible, but would mulch be fine in the short term? Make a plan that fits both your personal style and your current budget.
4. What climate do you live in?
Believe it or not, the weather in your region matters when it comes to edging your lawn. If you live in an area that gets heavy rainfall, you might want to opt for something solid, like stone. Climates with less moisture provide the right climate for loose material, like mulch, or pebbles.
If you choose to go with a solid wood to line the edges of your lawn, consider whether you want to invest in upkeep long-term. Sure, you could go with a rustic option, but you could also choose something more elevated that might require the occasional stain or varnish.
Do the groundwork before you start.
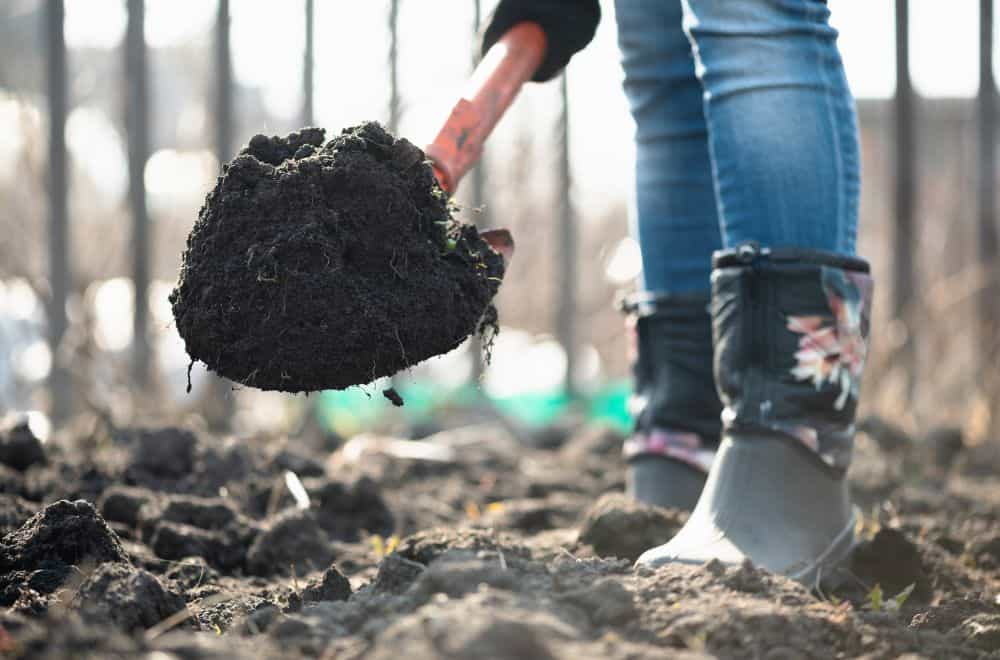
5. Prepare the soil.
The quality of the soil beneath your lawn makes a big difference when it comes to edging your lawn. Experts suggest ensuring the soil beneath your edging material stays weed-free long term by following three easy steps.
First, mix your soil with a weed prevention treatment in the trenches you plan to fill with your edging material. Home Depot carries a variety of helpful products that will do the trick to keep invasive weeds from bursting through your pristine mulch or stone dividers.
Next, use a landscaping plastic across the trench to prevent unwelcome weeds. This also helps to block out unwanted grass growth so that your garden will look crisp and professionally edged for the long haul. Installation is pretty affordable, too, so this step is a no-brainer.
For tips on how to install plastic landscape fabric like a professional, watch this video by Daisy Duke’s Landscaping.
Finally, top your plastic with a thin layer of sand. This final step will seal out pesky weeds and grass, ensuring that your lawn looks incredible. By following these three steps, you can ensure that your hard work doesn’t go to waste and that your lawn will look gorgeous all year long.
6. Prepare the grass.
Don’t make the mistake of trying to edge a lawn that isn’t freshly mowed. The folks over at Scotts recommend using a lawn mower and a trimmer to manicure your grass before diving in to any kind of cutting, digging, or building.
Don’t rush once you get started.
Once you’ve taken the time to thoroughly plan and prepare to edge your lawn, it can be tempting to rush through the actual cutting and building process. The most important part of edging your lawn is to take the time to do it right.
Here are three tips for the actual cutting and building process that will make your work shine:
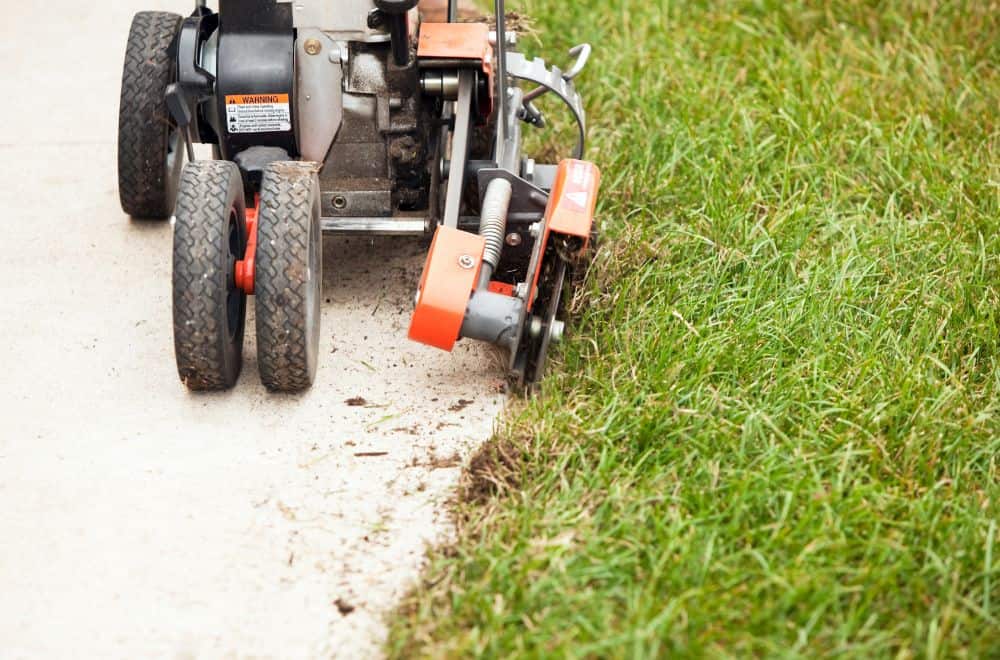
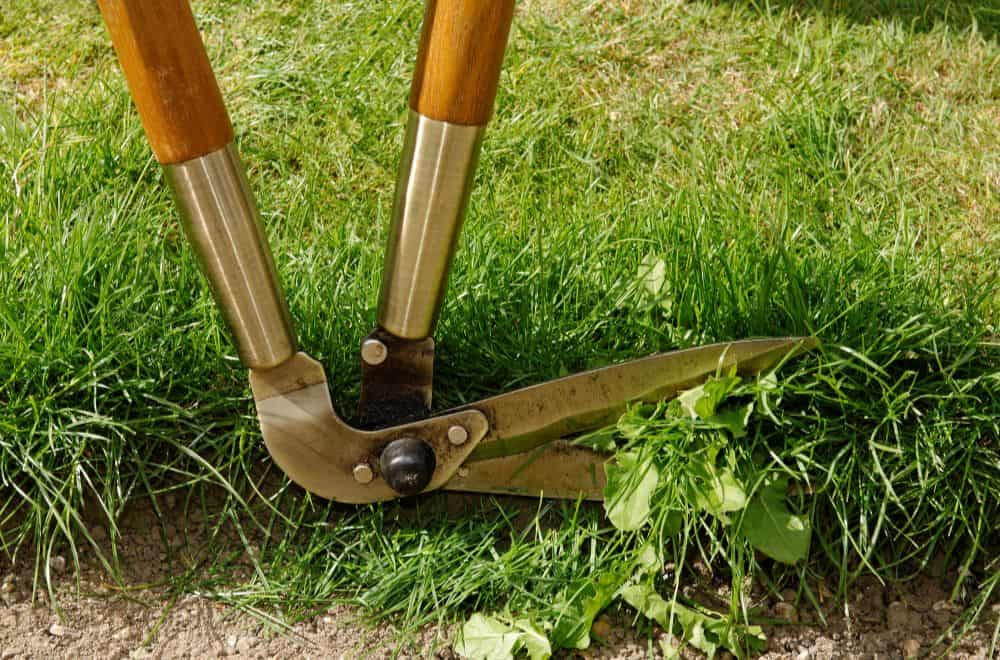
- Get the right tools. Home and garden stores carry a variety of tools, from power edgers to simple, old-fashioned spades. Sure, power tools work quickly, but spades are also great for gardeners who like to be hands-on. Pick the tool that works for you!
- Use string and stakes to make sure your lines look straight and even before you start cutting. Don’t make the mistake of winging it. This results in a wonky, messy look that can take value away from your home instead of adding to it.
- Go slow and enlist a friend or family member as a second pair of eyes to double-check your work. Every few feet, take a step back and survey your handiwork. This will help you prevent any uneven eyesores or accidental curves.
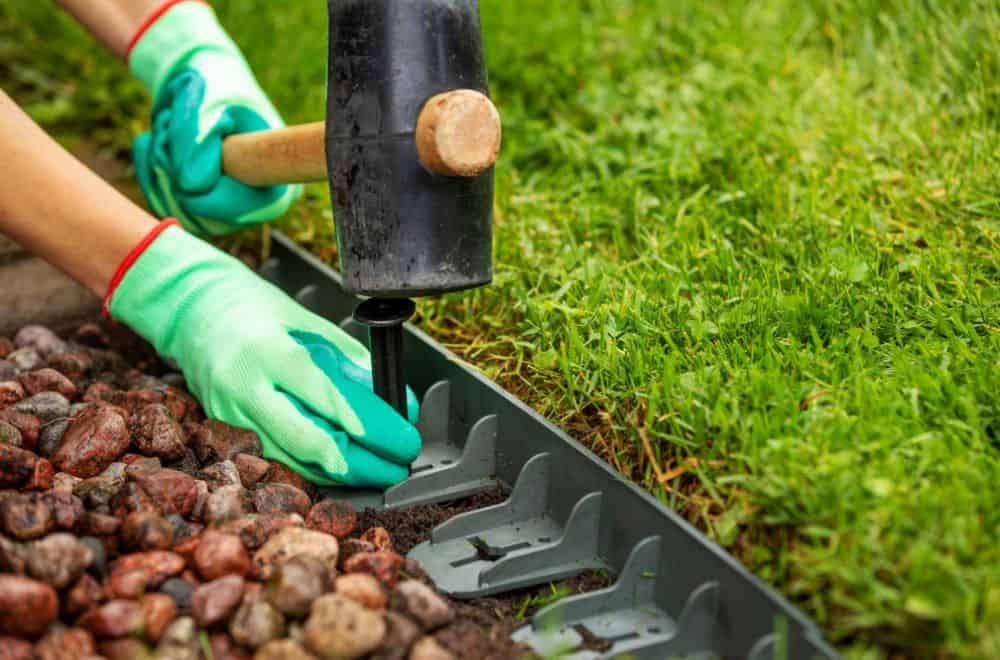
Once you’ve done the actual cutting, start to build your dividers. If you want to keep things simple, opt for trenches filled with pebbles or mulch. If you prefer an elevated, sophisticated look, build a wall or barrier separating your lawn from each path or bed.
Plan a proper maintenance schedule.
Having a beautiful lawn and garden takes time and effort. Create a schedule that will keep your lawn edging looking clean and fresh year-round. Make reminders in your calendar that help you stay on track with your garden maintenance.
Most experts recommend edging your lawn once a month with a tool that keeps the lines looking crisp. Plan to go over your edging around paths, driveways, garden beds, and trees regularly in the warm months, and only occasionally in the winter.
In addition, make sure you have the proper supplies to take care of your tools. Power edgers require care and maintenance, too. Make sure you drain fuel from your power tools over the winter to prevent damage and keep them in pristine condition long-term.
In Conclusion
Edging a lawn takes time, preparation, and patience. By following these four tips, you will ensure your property looks incredible and adds value to your home. Take the time to do your research and plan ahead so that your hard work yields spectacular results.
Most importantly, don’t forget to have fun creating the outdoor space you want to spend time in. Breathing in fresh air while making your yard look its best is a great way to spend time with your loved ones.
Leave a comment