Are you planning on hydroseeding your lawn? If yes, you might have plenty of questions in your head, and rightfully so!
What are the benefits of hydroseeding? Are there any cons? When’s the best time to hydroseed? And, most importantly – How to hydroseed? Well, if these are some of the queries that are troubling you, you’re at the right place! Read on to get all the answers!
What is Hydroseeding?
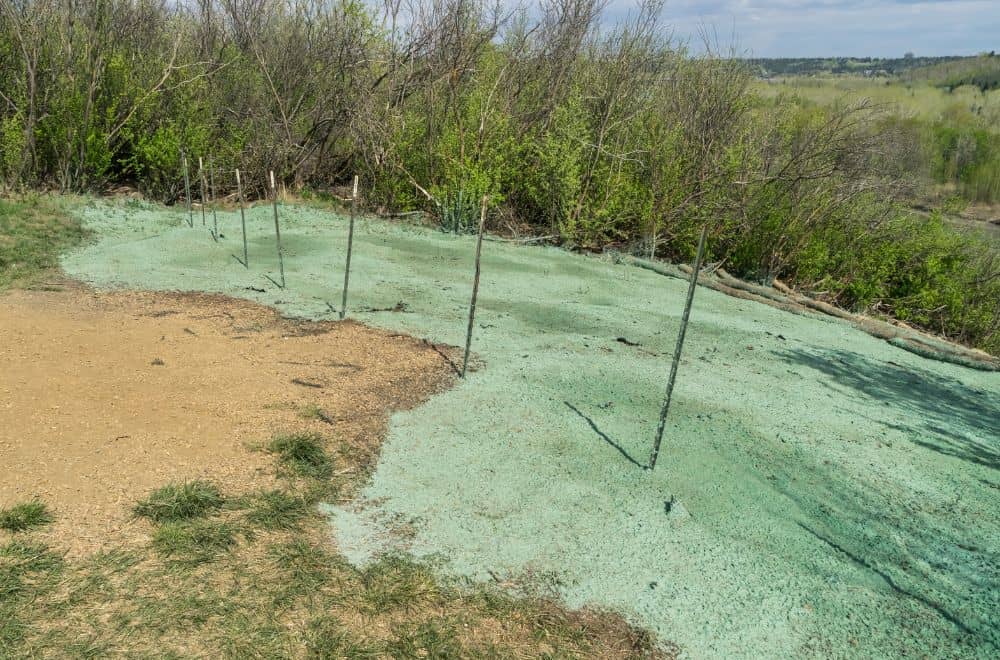
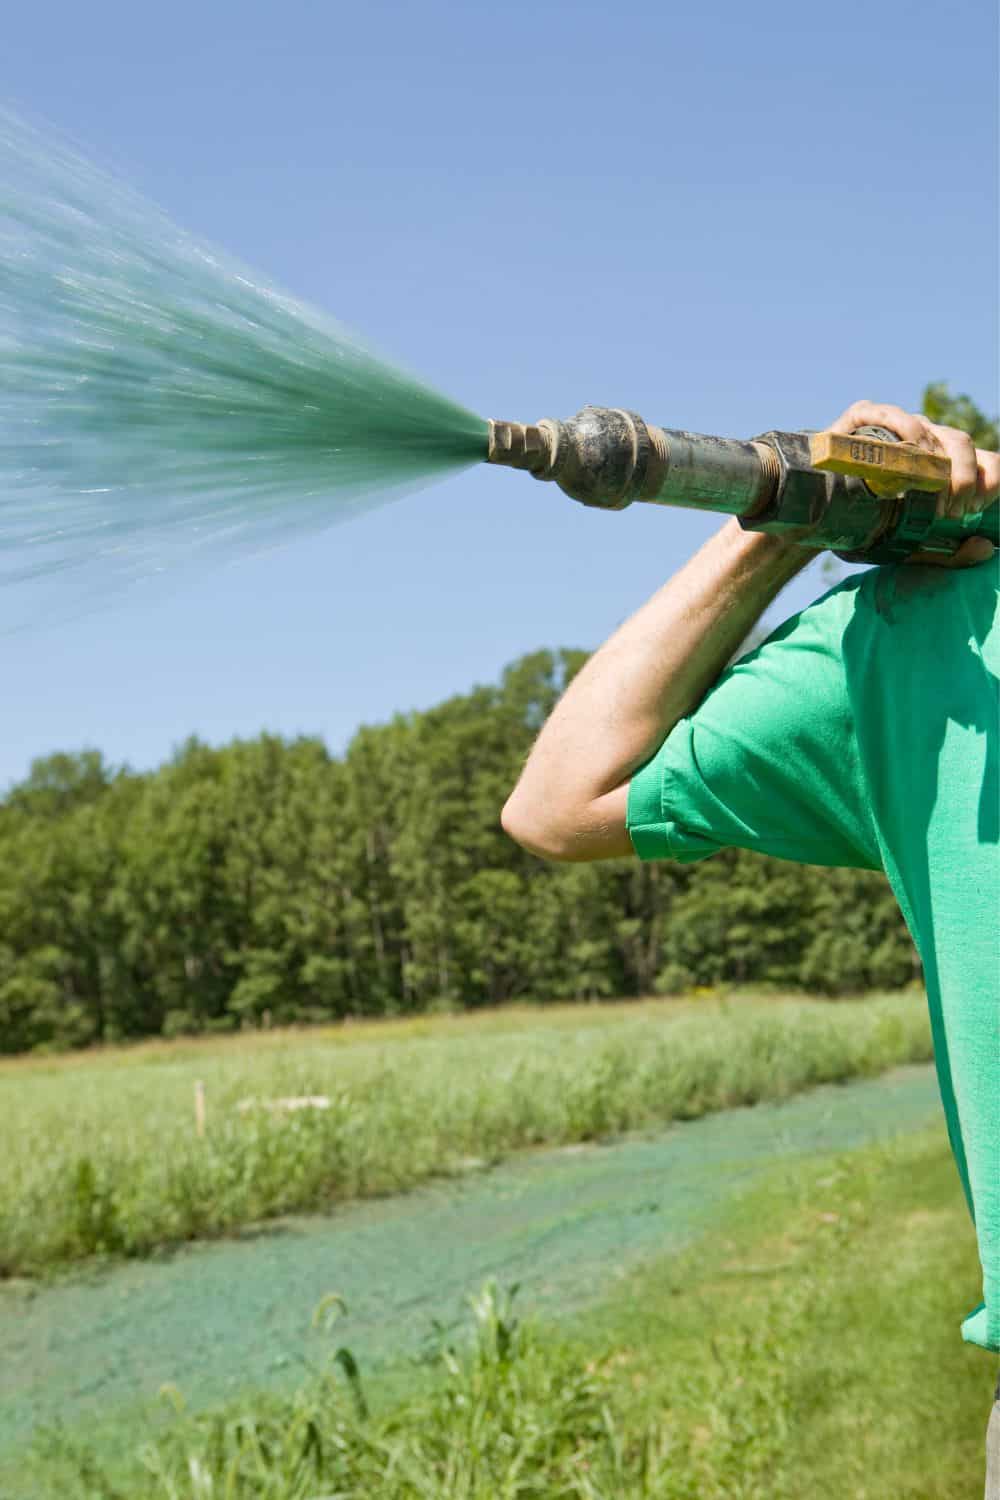
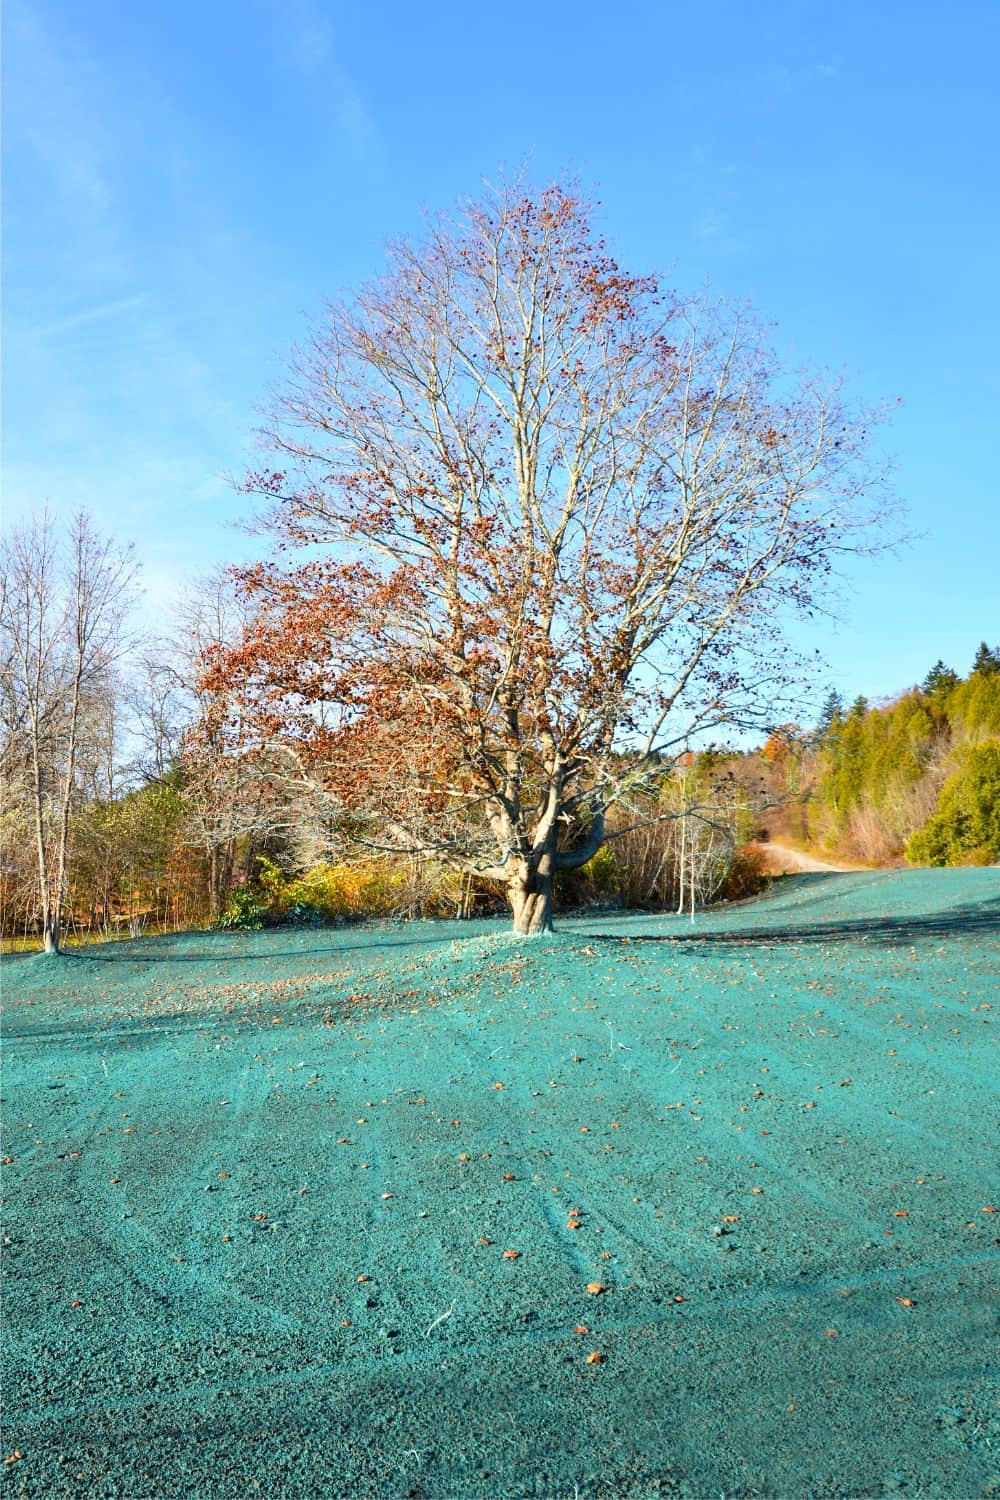
Hydroseeding, in simple words, is a slightly advanced seeding technique that uses a slurry, a mixture of seeds, mulch, water, fertilizers, lime, or some other beneficial additives. This slurry, once agitated adequately, is then sprayed in a uniform layer to the graded soil.
These days, you can easily hire professionals to have your lawn hydroseeded for you. They’ll also help you determine the appropriate ingredients for the slurry, depending upon the soil type.
Hydroseeding offers many benefits compared to our traditional seeding technique. But it also comes with its fair share of disadvantages and limitations. We’ll discuss these topics in-depth, further in this post.
History of Hydroseeding
Hydroseeding has a long history! It started during the 1950s when its first manufacturing unit was established in Connecticut. They were specially designed for seeding the places which were difficult to seed with the conventional method; rough terrains and steep landscapes.
It grew in popularity when people started to notice that the grass from the hydroseeding process grew faster and better than the grass cultivated from the conventional method.
The earlier designs of hydroseeding used jet steam with peat moss as a mulching agent, which was only beneficial for the big seeding jobs given that it was too expensive at the time. But gradually, improved and affordable designs were created and made available in the market.
During the starting days, the mixture for the hydroseeding was generally grass, seed, and water. But later, the concept grew for using different types of seed and slurries. Along with the change in the mixture, the technology has also advanced a little over the years.
What Are the Advantages of Hydroseeding?
Now, let’s talk about the advantages of the hydroseeding process over the conventional method.
1. Reduces the growth of weeds
Weed’s growth is one of the major problems that make your lawn look worse. It also affects environmental sustainability by making the soil loose, thus, causing erosion. Weeds also compete and dominate the native grass. Nowadays, the mixture of hydro seeds is free from weed seeds.
2. Time-efficient
Spraying seeds with the help of hydroseeding is a much more speedy and convenient process than the conventional method of spreading seeds.
Moreover, hydroseeding comprises a mixture of slurries. Due to the nutrients of slurries, the seed starts to grow within 7 days under normal condition, and it will be ready within 3-4 weeks of spraying.
3. Cost reduction
The cost for hydroseeding is one-third the cost required for seeding by the conventional method. It typically helps to reduce the material and labor costs by a large margin.
The area that can be hydroseeded within one to one and a half hours may require half a day to be seeded using the conventional method. On a larger scale, the difference is significant!
4. Helps to conserve water and stabilize slope
Some of the hydro seeds can hold water 10 times their weight. Mulch and tackifiers of the hydroseeding process can also retain water and gradually provide those nutrients to the root system for their growth.
After the development of the root system, the root grows, and the base holds the earth and keeps it in a place firmly standing.
5. Quality and Erosion control
The quality of the hydroseeded lawn is superior to the hand-seeded lawn. It has a deeper root establishment and is more resistant to foreign problems. It can also hold moisture and grow faster than the hand-seeded kinds.
It also avoids the excessive growth of weeds and layering of the soils. The slurries present in the mixture dry and protect the seed from erosion and help them grow even in an uneven landscape.
What Are the Disadvantages of Hydroseeding?
Here is a list of some disadvantages of hydroseeding.
- They should be used with mulching and soil binder. But if you have enough time for proper vegetation growth and erosion control, it can be used alone.
- Remember that hydroseeding without irrigation in dry periods is a complete waste of time and effort.
- As hydroseeding is an advanced and expensive technology, it is only cost-effective if used for larger areas.
- Hydroseeder may not be practical to access remote areas.
- Wood fiber hydraulic mulches for hydroseeding have a short life, and in order to be effective, they should remain dry for 24 hours before rainfall.
What Are the Limitations of Hydroseeding?
You also need to know the limitations of the hydroseeding process. Let’s discuss it in brief, shall we?
- The major limitation is its availability during the rainy and stormy seasons; as we all know, its demands can be relatively high at the time.
- The hydraulic much should be applied along with hydraulic seeds. If not, the hydroseed application must be followed by one of the straw mulch, rolled erosion control products, and compost blanket application.
If hydroseeding is done without any mulch, there will be no erosion control and thus, will be of no benefit.
When’s the Best Time to Hydro Seed Grass?
It would be best to know when’s the best time for hydroseeding, isn’t it? The appropriate temperature for the hydroseeding for the initial 5-6 weeks is 75-80 degrees.
However, every season has its own benefits, like, during spring and fall, you need less water for hydroseeding than in the summer season. And during summer, the grass will germinate and grow faster.
Most importantly, winter is the time where the grass remains dormant and doesn’t germinate until the season warms up. So, refrain from hydroseeding during the winter.
Hydroseeding – What Should You Know?
How to know if hydroseeding is right for your lawn? Well, there are a few considerations that you might want to make beforehand.
1. What are the best places for hydroseeding?
We’ve discussed that hydroseeding is an expensive technology. To be precise, hydroseeding equipment can be quite costly. So, you must make sure that the investment is worth it!
Hydroseeding is best for three major case scenarios. The first one, obviously being large areas of lawn, such that you’ll save significantly on labor costs and time requirement. Likewise, if you have steep slopes where regular germination methods don’t work, hydroseeding is the way to go!
Finally, hydroseeding is best for areas with soil that is prone to erosion. So, if your lawn doesn’t fall in these categories, you don’t probably need to hydroseed.
2. Hydroseeding requires early and frequent watering
Once you hydroseed, keeping the seedbed moist for an extended time can be quite challenging and more of a pricey and time-consuming commitment. So, if you aren’t up for it, you should probably weigh other options besides hydroseeding.
You should water the area about three to four times a day for at least 15 minutes for the first two weeks. For the next two, reduce the number of times you water the lawn; however, make sure you increase the duration.
3. Consider taking an expert’s advice
Hydroseeding, especially if you’re a first-timer, can be overwhelming. The slurry can be challenging to mix, and without proper equipment and knowledge, it can go wrong in so many ways. So, you should consider taking professional help if you’re unsure of what you’re doing.
DIY Hydroseeding – The Installation
- At first, start by adding a sprinkler system and smooth out the area. Remove any debris or stones you see.
- If you plan on using an edging material, now is the time to do so.
- Enrich your lawn by adding a two-inch layer of blended topsoil and compost. Smoothen the surface once again.
- If your lawn soil is acidic, increase the pH by adding water-soluble lime. Your lawn will thrive better in alkaline soil.
- If you’ve decided on the ingredients of your hydroseeding slurry, mix it in the hydroseeder tank. Generally, you need to add seed, fertilizer, papery mulch, and of course, water. Turn on the tank to mix the slurry thoroughly.
- Once the mixing is done, spread a layer of the slurry on your lawn evenly. Ensure that you don’t spray it outside the desired area, as you certainly don’t want the grass to grow in unwanted areas.
- Once you’re done, take good care of the lawn. Water it frequently and mow it after 4 weeks.
Summary
Hydroseeding definitely seems like a wonderful technique, doesn’t it? However, it can be quite heavy for your pocket if you plan on investing in hydroseeding equipment.
With all this information on advantages, disadvantages, and a brief installation guide, we believe that we’ve answered all your queries on hydroseeding. So, have you done hydroseeding before? Or do you plan on doing it soon? Let us know!
Leave a comment