Even though their botanical name ‘Pisum sativum var. saccharatum,’ sounds complicated, snow peas are actually relatively simple to grow. These extremely tasty annual plants don’t require almost any extra care or excessive attention. Plus, you can save your own seeds for the next year.
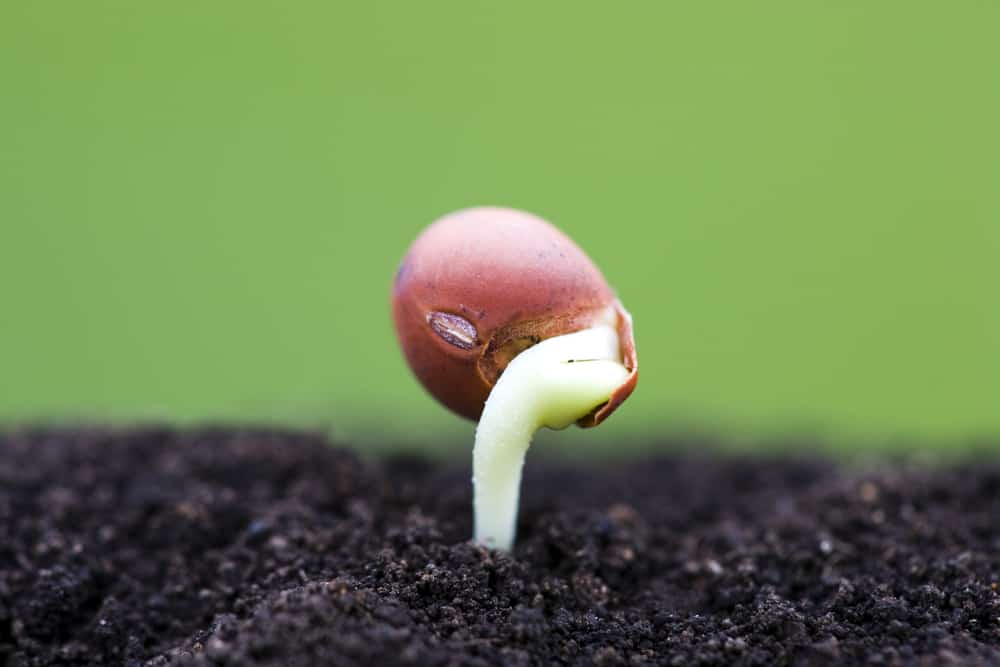
For a start, try to pay attention that snow peas prefer colder weather, which means that you need to begin sowing it early. Additionally, you should sow the seeds directly into the soil since their seedlings are too sensitive and won’t transplant well. Those pieces of information are crucial for growing these delicious vegetables, but I will describe all other secrets which will help you with this assignment. Let’s start.
Things You Should Know About Snow Peas

Snow peas, also known as Chinese pea pods, Chinese pea, and Mange tout (it is a French term that literally means ‘eat it all’), are edible legumes native to the Mediterranean region.
As I have already mentioned, snow peas are an annual, delicious crop with flat edible pods. To get the best of these plants, you should eat them before their seeds form correctly.
Plus, you can grow these favorite veggies as shoots or micro-greens if managing to find those that are not chemically treated. In general, the most popular varieties of peas, which can be an excellent choice for your garden, are:
- Pisum sativum (known as Shelling peas, Garden peas, or English peas)
These regular peas have inedible pods (shelled) and edible peas which you need to cook before eating.
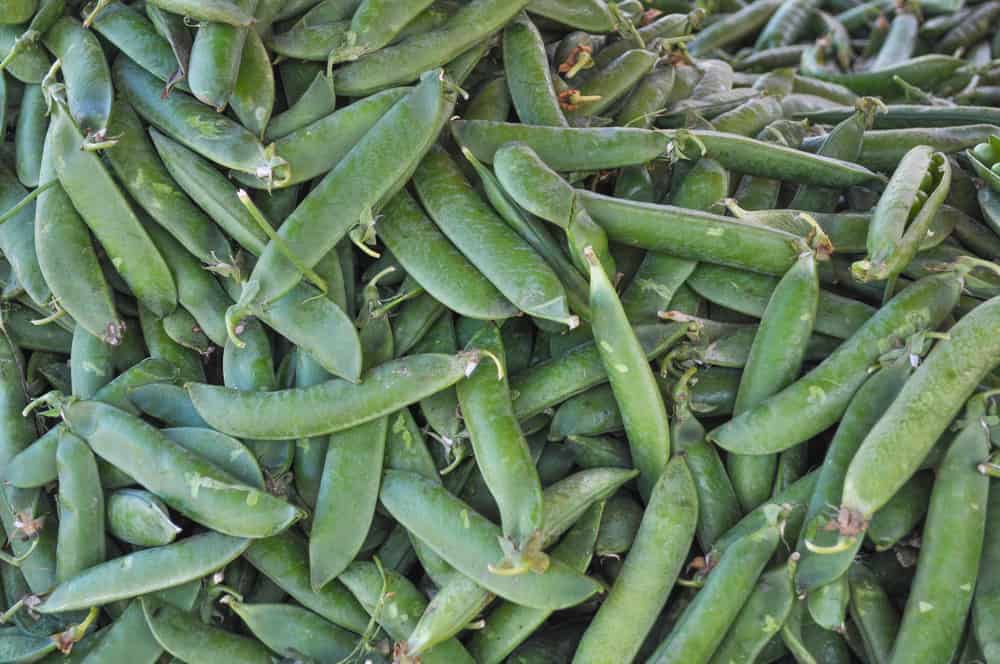
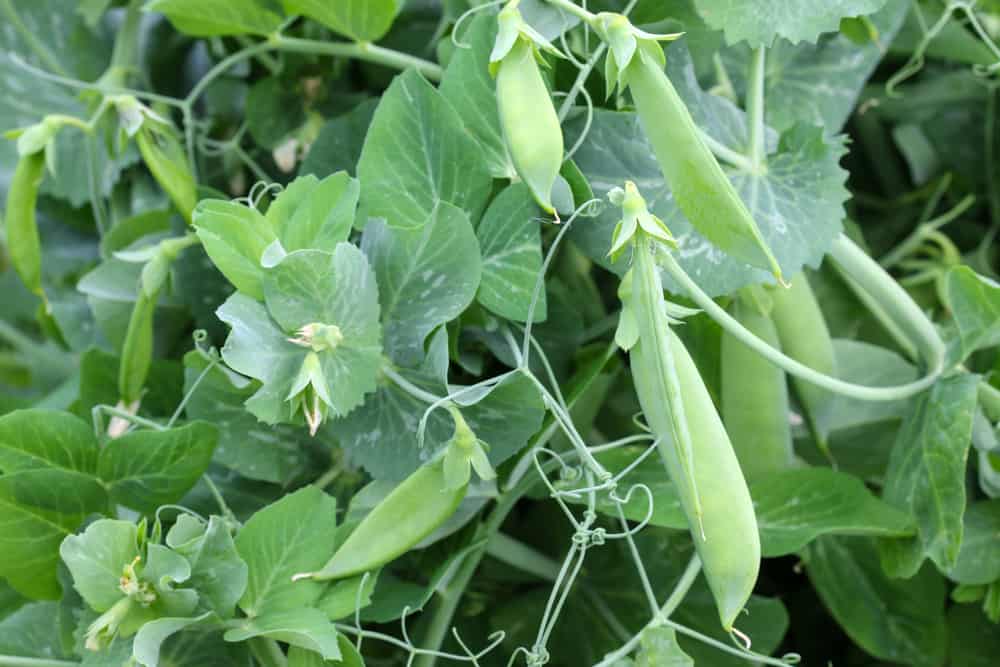
- Pisum sativum var. saccharatum (known as Snow peas, Chinese peas, or Holland peas)
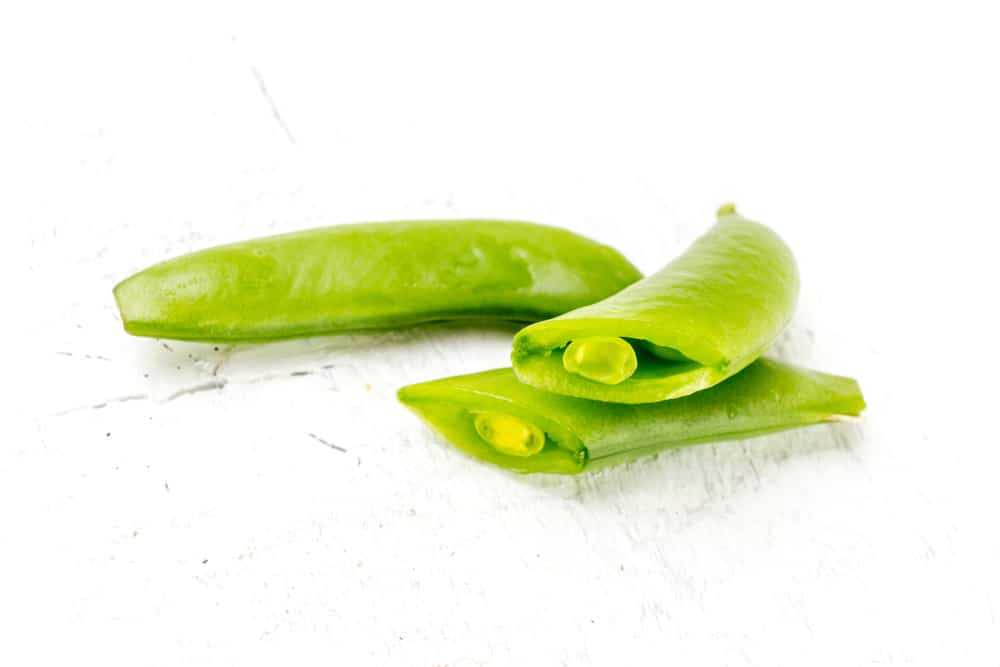
These plants include both edible flat, thick pods and small peas you can find inside them. You can consume them raw or cooked.
- Pisum sativum var. macrocarpon (known as Sugar snap pea)
Snap peas, which are a cross between garden and snow peas, are veggies with rounded pods and full-size peas inside. Both are edible, and you can eat them raw or cooked as you like more.
- Lathyrus odoratus (known as Sweet pea)
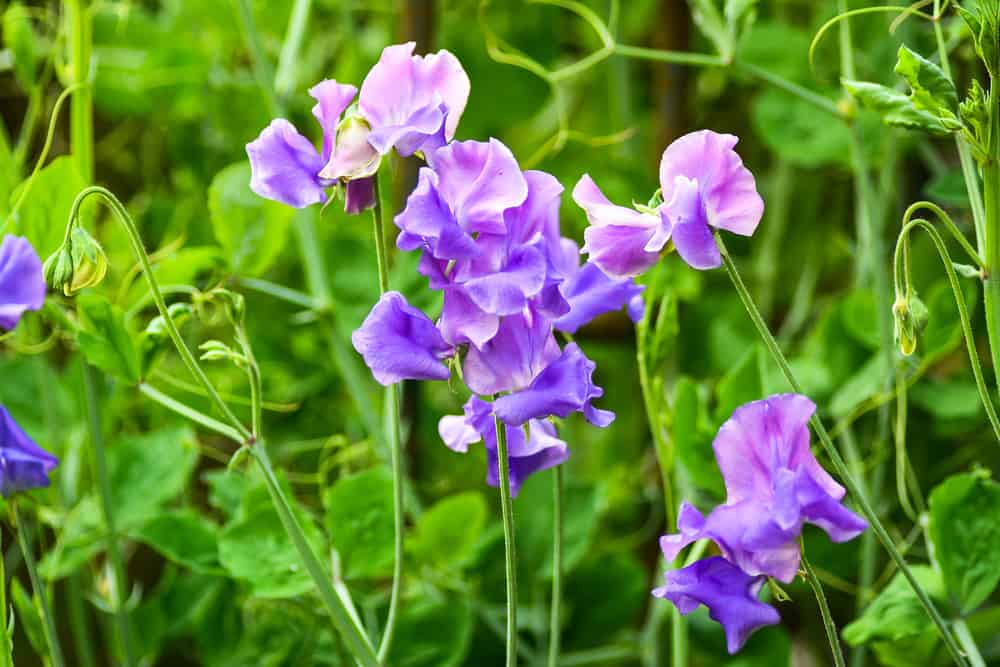
These plants have inedible pods, but their flowers with seductive fragrance are so beautiful.
If you prefer being decadent, find snow peas with purple or yellow pods which will make your garden unique and impressive.
When to harvest different varieties of peas |
|||
|
Snow and sugar peas |
Garden (English) peas and snap peas |
||
| Mammoth melting sugar | 69 days | Alderman | 75 days |
| Sweet snap | 66 days | Tall telephone | 75 days |
| Chinese snow | 65 days | Wando | 75 days |
| Dwarf gray sugar | 65 days | Utrillo | 71 days |
| Oregon sugar pod | 65 days | Oregon trail | 69 days |
| Sugar snap | 62-70 days | Lincoln | 66 days |
| Oregon giant | 60 days | Patriot | 65 days |
| Little sweetie | 60 days | Thomas Laxton | 65 days |
| Mega | 60 days | Frosty | 64 days |
| Sugar Mel | 60 days | Green arrow | 62 to 100 days |
| Snowbird | 58 days | Little marvel | 62 days |
| Sugar Ann | 58 days | Oregon pioneer | 61 days |
| Sugar Bon | 57 days | Bounty | 61 days |
| Carouby de Maussane | 55 to 65 days | Olympia | 60 to 62 days |
| Norli | 50-58 days | Spring knight | 60 days |
| / | / | Freezonian | 60 days |
| / | / | Petit Provencal | 58 days |
| / | / | Cascadia | 58 days |
| / | / | Maestro | 57 to 61 days |
| / | / | Novella | 57 days |
| / | / | Alaska | 52-58 days |
Why Growing Snow Peas
One of the primary reasons you should grow these plants is the fact that they are highly useful. I will give you a list of the essential reasons here:
- They help other plants get more nitrogen – Peas fix nitrogen used from the air, add it into the ground, and make it available for almost all other plants in your garden.
- Health benefits – They contain carbohydrate-binding proteins (lectins) which provide numerous health benefits, including better immunity. Also, these proteins may help patients with chronic kidney disease and high blood pressure. Many studies also show some other health benefits snow peas have, including cancer prevention, stronger bones, improved heart health, reduced constipation, and even weight loss. Unfortunately, some of these proteins are harmful to people if eaten in large amounts.
- They are a source of valuable nutrients – These veggies contain a high percentage of various valuable nutrients, including minerals (magnesium, potassium, iron, folic acid), vitamins (A, C, and K), as well as fiber and healthy fats.
The Facts You Should Consider Before Planting Snow Peas
1. Size of different peas varieties
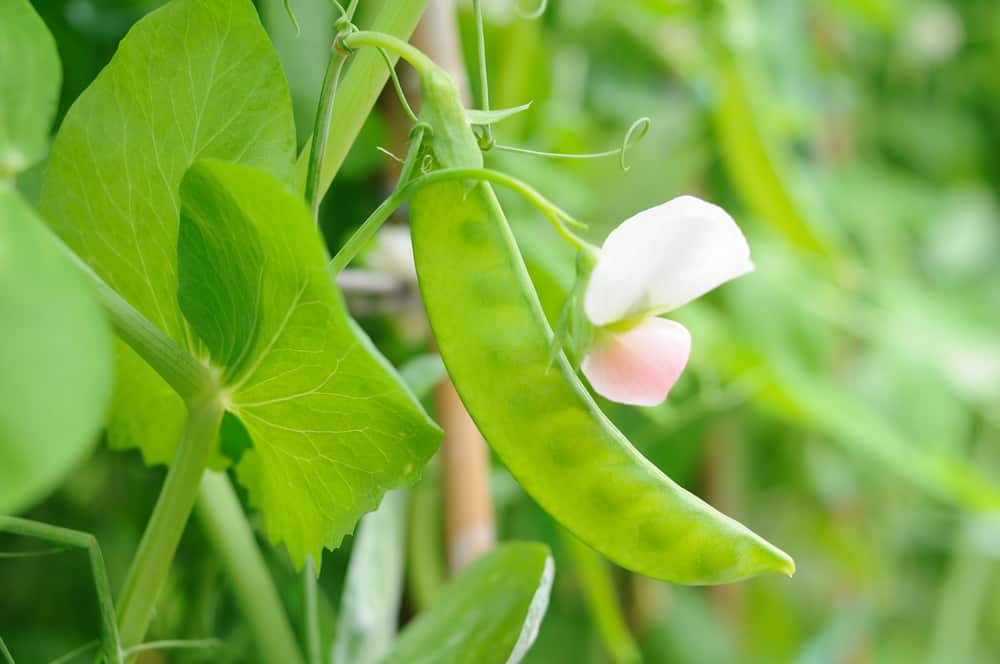
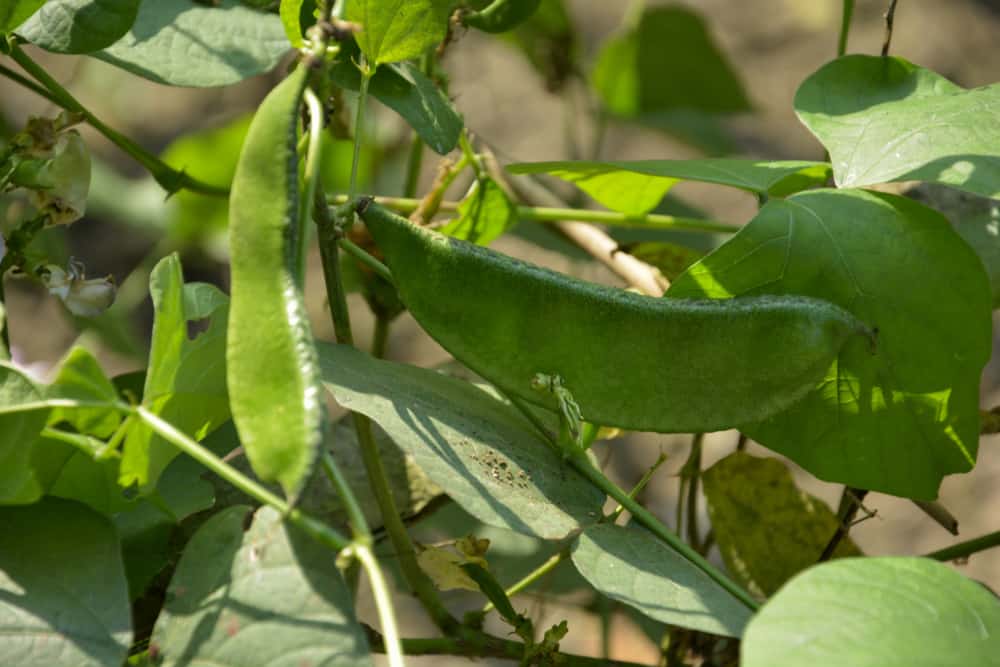
Your snow peas will grow on a vine which is high approximately 2 to 6.5 feet (61 to 198 cm). You can expect to pick them about two weeks after their beautiful white flowers start forming.
Different varieties can vary in size, but most of them measure around 4 inches (10 cm) long and 0.75 inches (2 cm) across. However, two heftier strains can reach up to 5 inches (13 cm) in length.
2. When to start planting
An early crop will tolerate cold weather, including a light frost up to 35 to 40 F (2 – 4.5 C). That means that you can start planting snow peas’ seeds directly into the soil in early spring.
3. Where to find excellent snow peas’ seeds
You can probably find quality seeds of snow peas in almost all better-equipped local stores. I prefer buying them from the companies specialized in production and selling seeds since they have significantly lower prices than retail stores. Nowadays, you can take a quick look for one of them at the Net and order the best seeds for your garden.
4. Storing and preserving snow peas
The only problem with snow peas is that these plants don’t have an extended shelf life. You can store them approximately two to three days in your refrigerator. After that, you can expect that the quality of peas will diminish and their sweet flavor and crunch will slightly disappear.
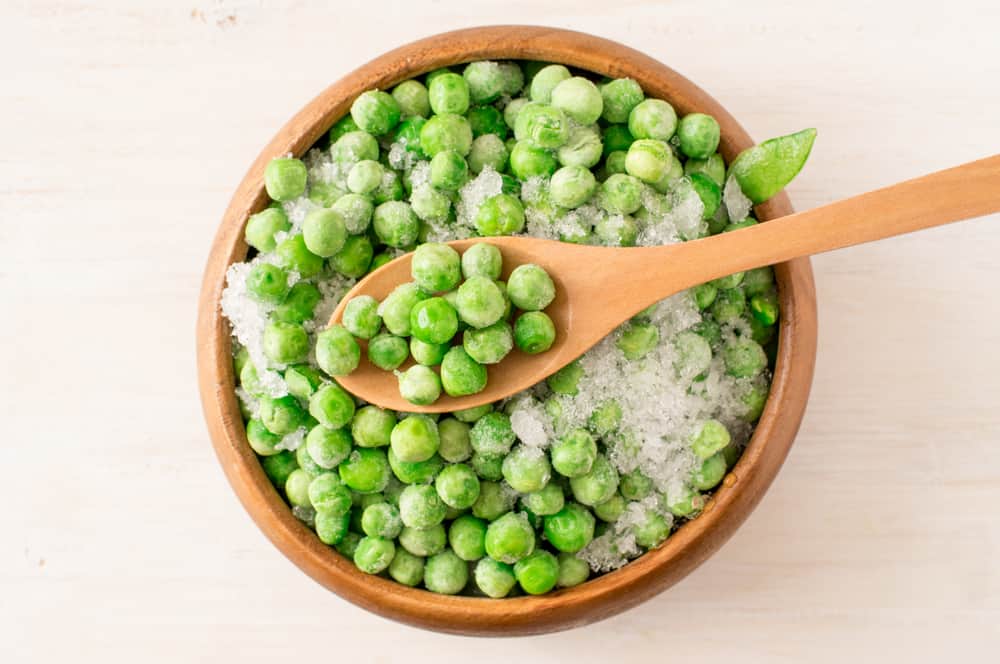
On the other hand, you can store frozen or dried snow peas and even keep them conserved in a can. That way, you can save dried peas up to a year if storing it in a cool, dry space.
The main characteristics of snow peas
| Snow peas | |
| Botanical name | Pisum sativum var. saccharatum |
| Crop rotation group | Legumes (family of pea and bean) |
| Soil requirement | Almost all soil types |
| Position | Plenty of sun or light shade |
| Frost tolerance | Intolerant to frost |
| Feeding | It is usually not required |
| Best companions | Carrot, cucumber, radishes, turnip, chives, mint, and alyssum |
|
Spacing |
|
| Sow and plant | Sow your plants directly into the soil and in batches to provide a continuous supply |
| Harvesting | Pick the whole, young peas’ pods regularly to avoid becoming stringy |
How to Plant Snow Peas in Your Garden
Step 1. Prepare the adequate site
To get the best results, you need to start planning in the fall. Firstly, you need to provide enough compost or manure to enrich the soil where you want to sow snow peas’ seeds. Also, your plants will require previous turning over of planting beds.
It would be great to mix some bone meal or wood ashes and add them to the soil before sowing. For healthy and lush growth, your peas will need enough phosphorus and potassium. However, take care to avoid adding an excessive amount of nitrogen. It can encourage foliage growth instead of thriving flowers or pods.
Also, think about the best site for your plants, which include enough hours of sun during the day. Even though snow peas begin growing in winter, they won’t thrive as you wish in the shade, no matter if it is full or partial.
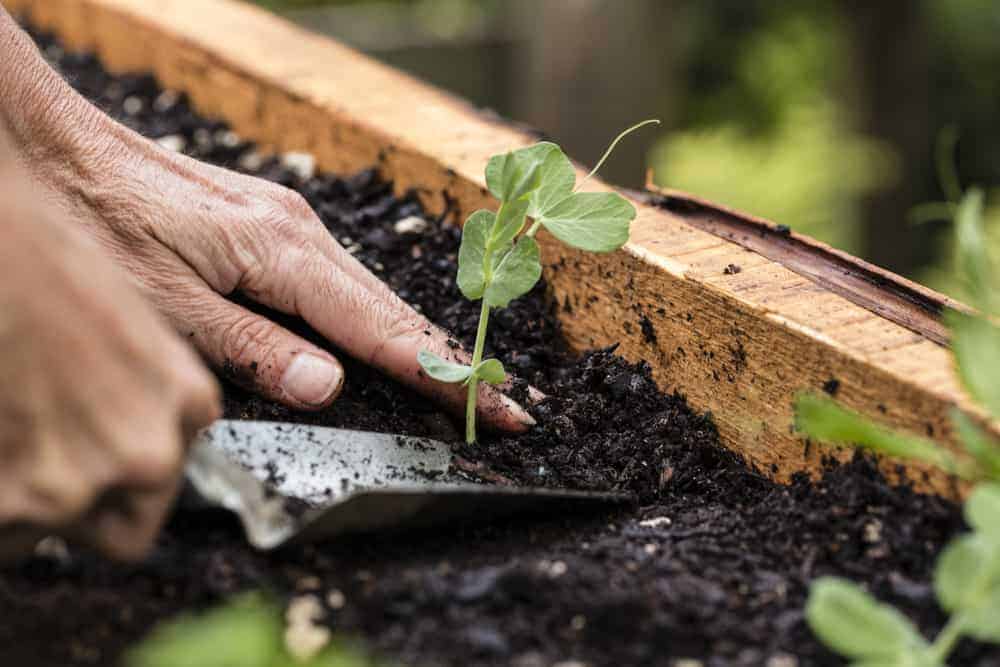
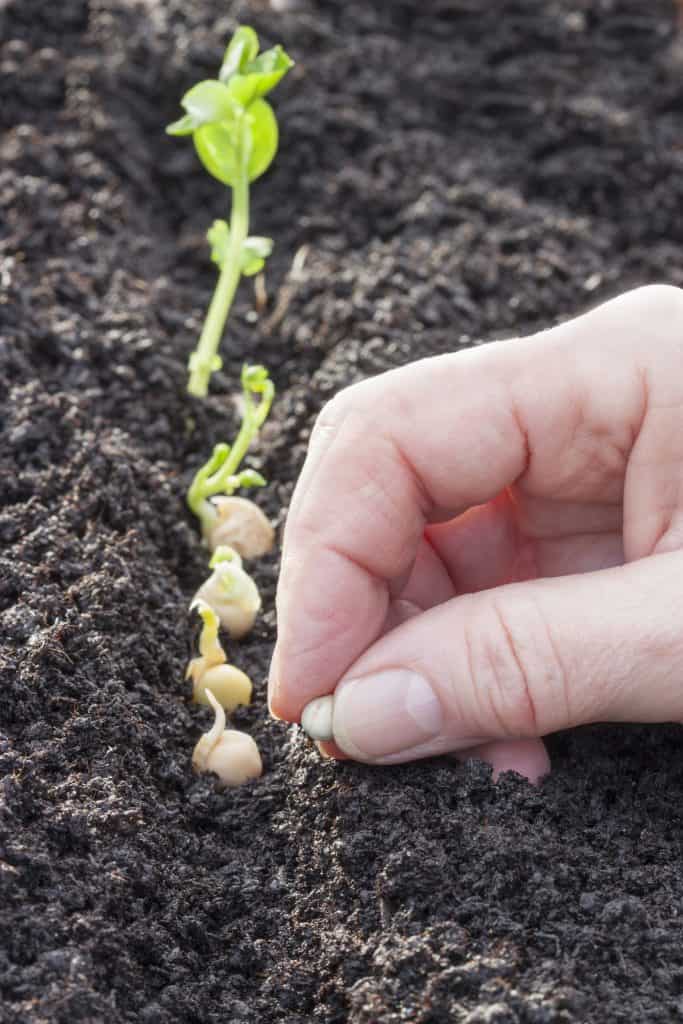
Step 2. Plant your snow peas
Since snow peas thrive best in cold and damp regions, you should plant them early in spring. If you live in the areas with a mild climate, you can plant these vegetables later and harvest them in fall. However, you should know that spring planting will always give a higher yield.
Get them into the ground as soon as the temperature of the soil reaches 45 F (7 C). Keep in mind that you will get the best results if you do that job until the ground is not dry too much and before it starts clumping. Don’t forget to add a layer of aged compost before planting.
Sometimes it is possible that a late frost hurt delicate young flowering plants, and you should be prepared to protect them on time. That way, you will avoid deformation of tiny developing pods.
Don’t forget to provide an appropriate trellis since most varieties of this type of peas climb on. So, you should position a trellis before planting. Make it on your own, by using netting, string, stakes, a wood frame, or metal fencing.
Step 3. Watering
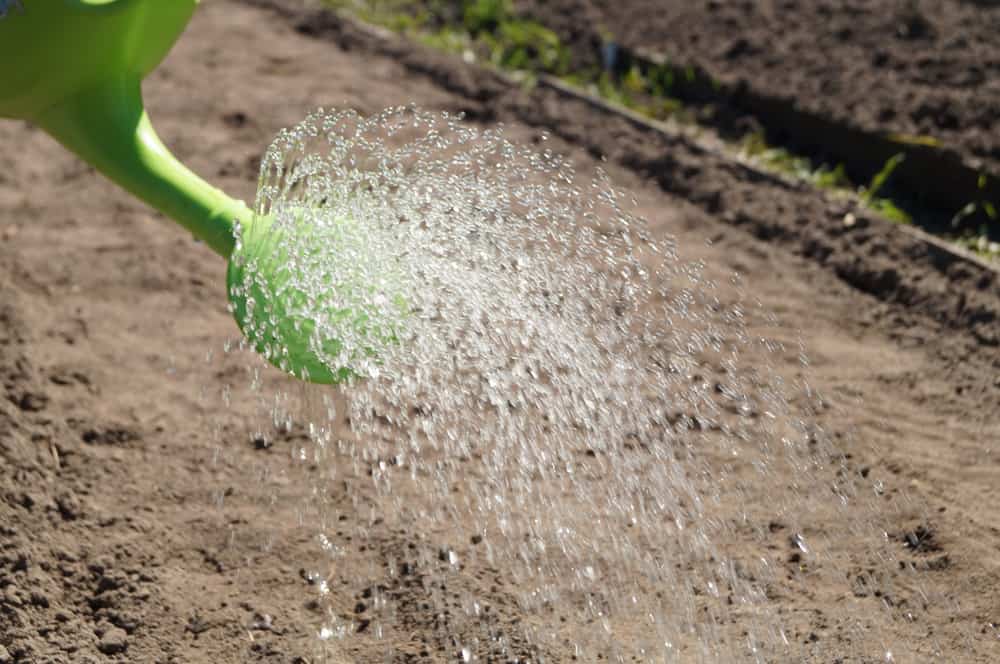
Since snow peas need consistent watering, you should consider the space for your plants near the water supplies. Keep watering them slightly, especially during the early growing phase. That will encourage deeper rooting.
Also, your peas will need an adequate amount of water from the moment when the first flower appears until the harvest. Without consistent moisture, pods won’t develop full and become as flavorful as you desire.
Step 4. Fertilizer
When your plants are about 6 inches (15 cm) tall, you need to apply a layer of organic mulch which is approximately 2 inches (5 cm) thick. It can be straw, compost, or grass clippings, which will help the soil retains enough moisture. Plus, it will suppress weeds.
Avoid adding nitrogen fertilizer, except a starter when you begin establishing a new garden or if you have to deal with the impoverished soil with a low percentage of crucial organic matter.
Like all other legumes, snow peas will fix nitrogen from the air, and enrich your soil by increasing the level of that mineral.
To fix nitrogen efficiently, your peas will need the companionship of Rhizobium bacteria from the soil. However, if you believe that there are not enough of these microorganisms in the ground, you need to purchase so-called ‘inoculant,’ a powder of these bacteria. Once added into the soil, they will stay there for years.
Step 5. Harvesting
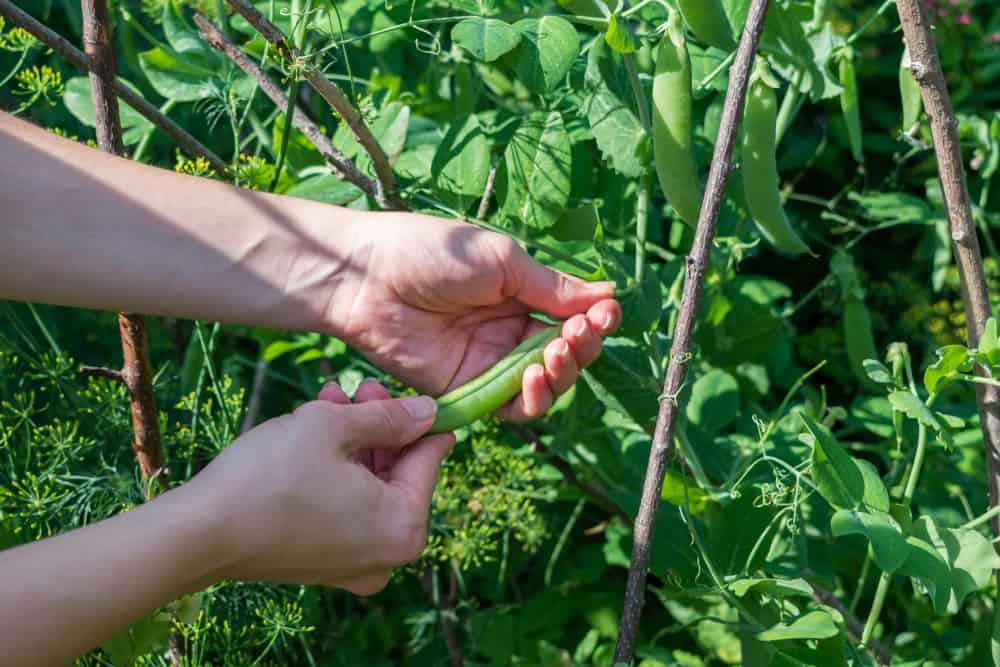
You can usually start harvesting your peas when the pod is about 3 to 4 inches (7.5 to 10 cm) long and the small peas inside just beginning to swell.
By now, several snow pea varieties have been tested, and it was proved that two types yielded at least 20% higher harvests than other varieties during experiments.
These are Oregon Sugar Pod and Oregon Sugar Pod II. The second one is my favorite variety since it is almost entirely disease-resistant, including resistance to horrible powdery mildew and mosaic virus.
You can harvest both of them in approximately 65 to 70 days after sowing. Be prepared that snow peas will stop producing once the temperature during a day rises above 75 F (24 C).
So, if you live in the region where there are not at least eighty days with daily temperatures below 75 F (24 C), you should choose a faster-maturing variety of peas such as Dwarf White Sugar. You can harvest this peas type fifty days after sowing the seeds.
Common Snow Peas pests and diseases
Unfortunately, you can expect that some insects (Aphids and Mexican bean beetles), fungi (Fusarium wilt), and rodents (Woodchucks) can harm your snow peas.
You can quickly overcome Aphids by using insecticidal soap. If you grow snow peas on poorly drained soils, Fusarium can attack them and cause root-rot disease. Prevent this menace by adding compost and improving soil drainage. In general, drip irrigation or using a soaker hose will let leaves dry and prevent fungal diseases.
Conclusion
There are so many excellent reasons for growing snow peas. It is the main ingredient of many delicious, crunchy, sweet dishes. You can eat the whole pod with small peas inside and get the entire pack of nutrients such as vitamin C and precious iron. Don’t avoid these valuable plants which will beautify your garden and enrich your meals.
Hi Peter
Just read your book and love the idea and want to get started. My problem – where to get seeds
I am from toronto, canada – would you know any website or sources?
Thanks
V
Hi V,
I got the book last year and I’m re-reading it. I’m actually listening to his podcast I found on Youtube as we speak. I want to really follow his way to get some veggies, after a few months trying the grow light mimicking the Aerogarden style at my basement (not too successful, too slow), and that this winter in Toronto is really long and cold! He mentioned to get sprouts from Mumm’s in Canada. I’ve been using Mumm’s seeds for jar sprouting over the past few years and I get them from Healthy Planet. I wonder where I can get bigger packages though, maybe only online from Mumm’s directly??
Jen