In the old time, when you wanted to grow a garden, it was necessary to have a vast piece of land, horses, and plow, as well as a large family to help with the heavy garden work. Nowadays, the garden has become entertainment for people who are sick of hard work in the office and the modern rat race.
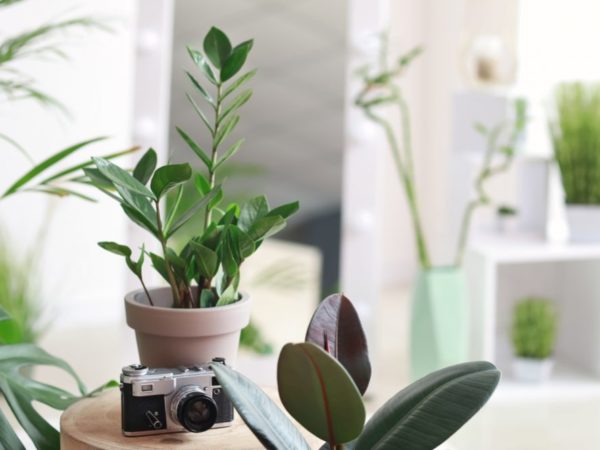
Therefore, many of us, looking for a relaxing peace that only nature can provide, have decided to grow plants and even mushrooms in our homes. The truth is that plants are highly beneficial for the quality of the air we breathe and their soothing green color and gentle multicolored flowers positively affect the reduction of stress. Finally, the fruits that we receive are healthy food that increasingly lacks us in the modern world.
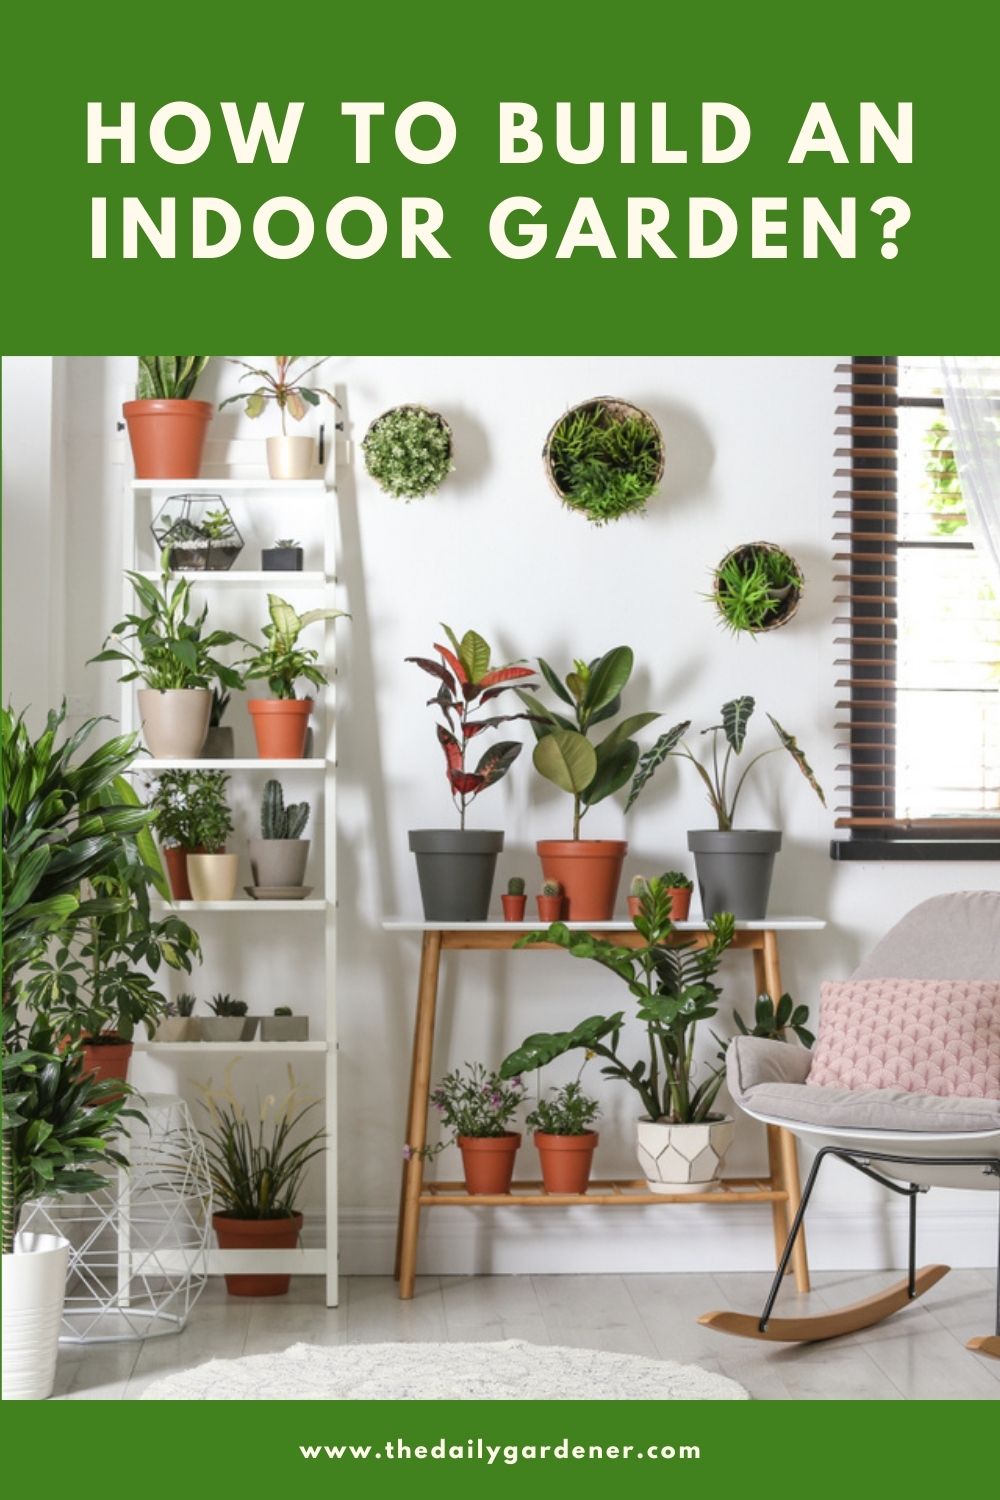
How to Start Your Indoor Garden
Before you start with your dreams about a garden in your apartment, you need to do some calculations and research. Some excellent books about indoor gardening can be helpful. Start with sunlight issue and choose a room with plenty of natural light. Also, keep in mind that heating and air conditioners impact the average temperature at your home to a large degree.
Find out how many degrees is ideal for most plants to grow well and be healthy. Additionally, if you live in a small flat, consider hanging baskets to maximize your space. After you choose the type of plants you want to cultivate, you are ready to start. Let’s see how the entire procedure is going on.
1. Preparation

At the very beginning, you should decide which style of garden you would like to grow. Generally, there are two styles of indoor gardening:
- Container gardening – It is a traditional way of planting herbs in containers filled with carefully selected soil mixture. It is an ideal option for you if your idea is to cultivate some plants in your own home.
- Hydroponic gardening – It is a specific way of indoor gardening with a vertically arranged non-soil starter and fertilized water. It is a garden of choice if you have a plan to produce a bunch of plants (usually vegetables) in a limited space.
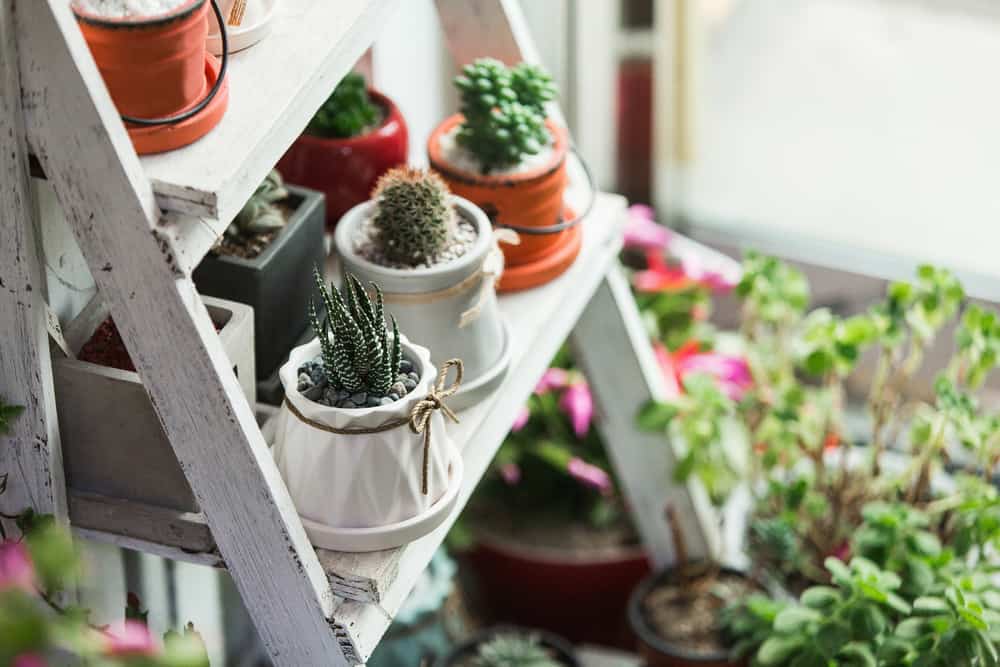
2. Find a Right Space
For a start, decide how much space you are willing to devote to your new indoor garden. It is not the same if you have only a windowsill, a table, or the whole room at your disposal. The ideal solution is an area with a linoleum or tile floor. If you have some tarps, you should use them. Tarps can be useful to protect the floor from water.
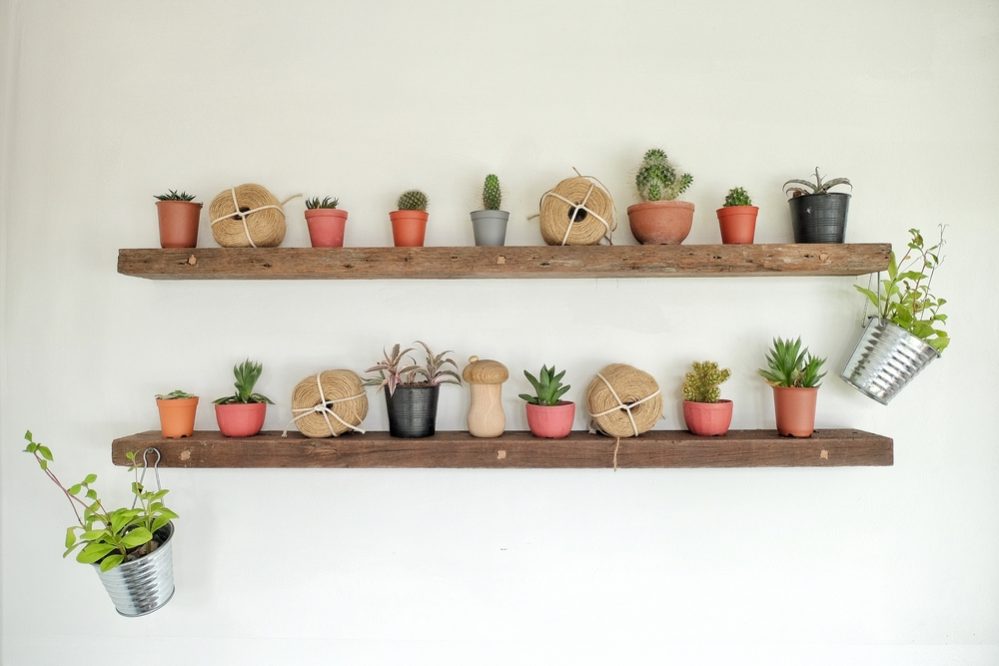
Consider making shelves that take up very little space and provide a lot of space for planting. Avoid growing plants in an attic or garage due to cold temperatures, especially at night, which can slow the growth of your herbs and even kill them.
Your plants won’t progress well if you put them at a drafty space or near a fan. That device dries out the air and causes damage to plants.
Additionally, you should think about adequate lighting. The ideal solution is a room with a lot of windows and at least six to eight hours of sunlight a day. If it is not possible or if your room doesn’t face south or west as desirable directions, you should provide an appropriate grow-lighting.
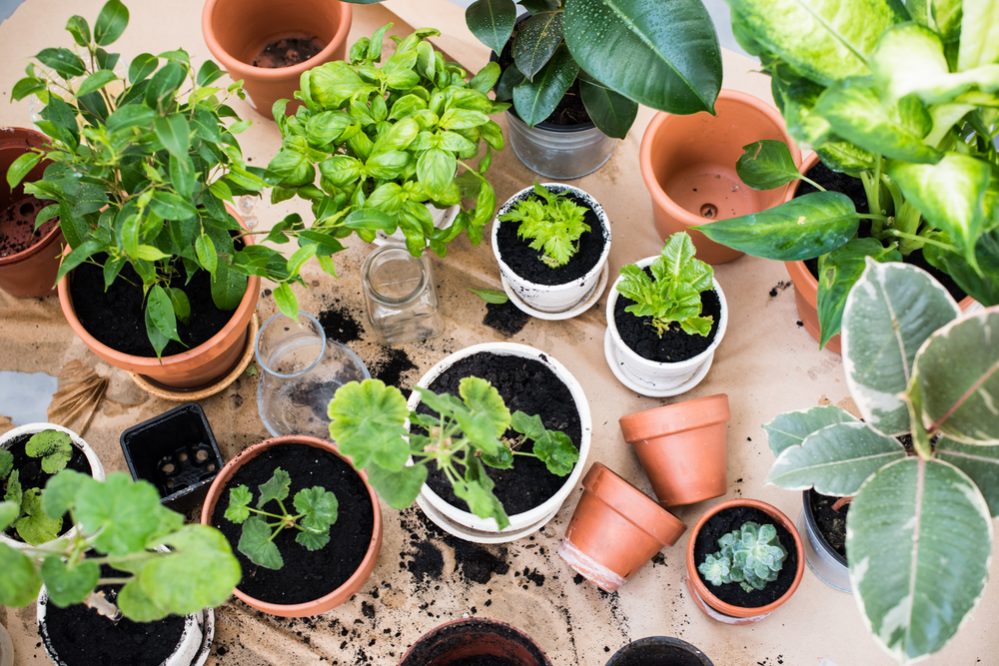
3. Containers (Made, Bought, or Reused)
There are a lot of available containers at the market, but you can make them by yourself if you are skilled and have adequate tools. Depending on the type of plants, you can use anything from empty yogurt cups to large containers you can make of metal or wood.
The only requirement is that your containers allow proper draining out of excess water. If there is no drainage hole in the container, you could add small rocks or pea gravel on its bottom and allow necessary drainage.
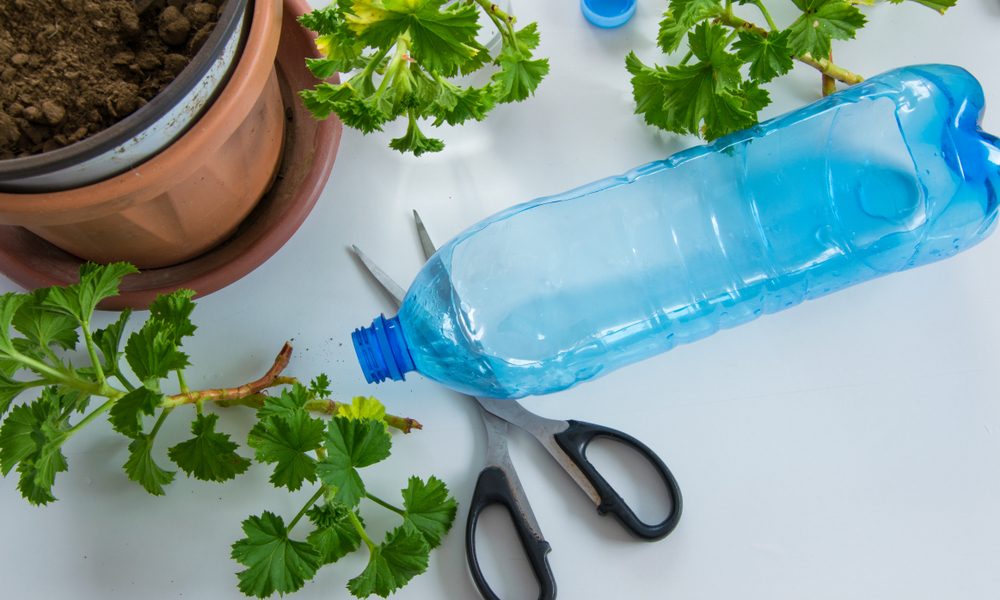
It is OK reusing old containers after cleaning them with a water solution of bleach to avoid spreading of diseases and harming new seedlings. Also, you can recycle one-liter plastic bottles or bigger old cans, and become green while having a beautiful, unique garden.
As you know, seeds don’t require a large container. However, be prepared that a container for the transplanted plant should be the twice size of the plant root ball.
4. Prepare the Soil
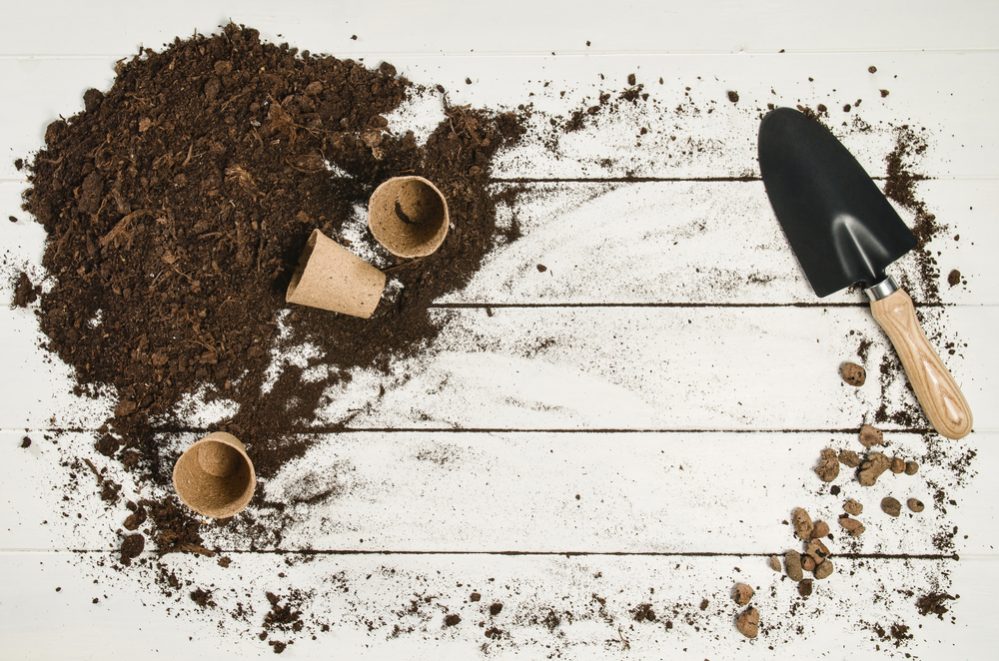
It is pretty hard preparing the perfect soil for an outdoor garden. Everything is much easier for the indoor one. The reason is straightforward – the home garden requires much less soil and engagement.
For the very beginning, you should use soil specially designed for plants grown in home conditions. Choose a potting mix, a prepared mix for succulents, or seed-starting. The excellent thing is that you can easily find on the package all the information about the amount of soil you need, the size of the container, the number of seeds which is specified for a particular surface, and the best season for planting that depends on the region where you live.
In a case you decide to make a succulent potting mix by yourself, you just need regular potting soil, coarse builder’s sand, clay, and perlite. Depending on the type of plants you want to cultivate, find the appropriate formula at the NET. One of the most popular is a combination of 2/4 parts compost, 1/4 coir peat, and 1/4 vermiculite. You can buy all the ingredients at a local gardening center.
Avoid using soil from the wood or your outdoor garden because it often contains insects and pathogens that will probably kill off your herbs over time.
5. Choose Your Plants and Buy the Seeds
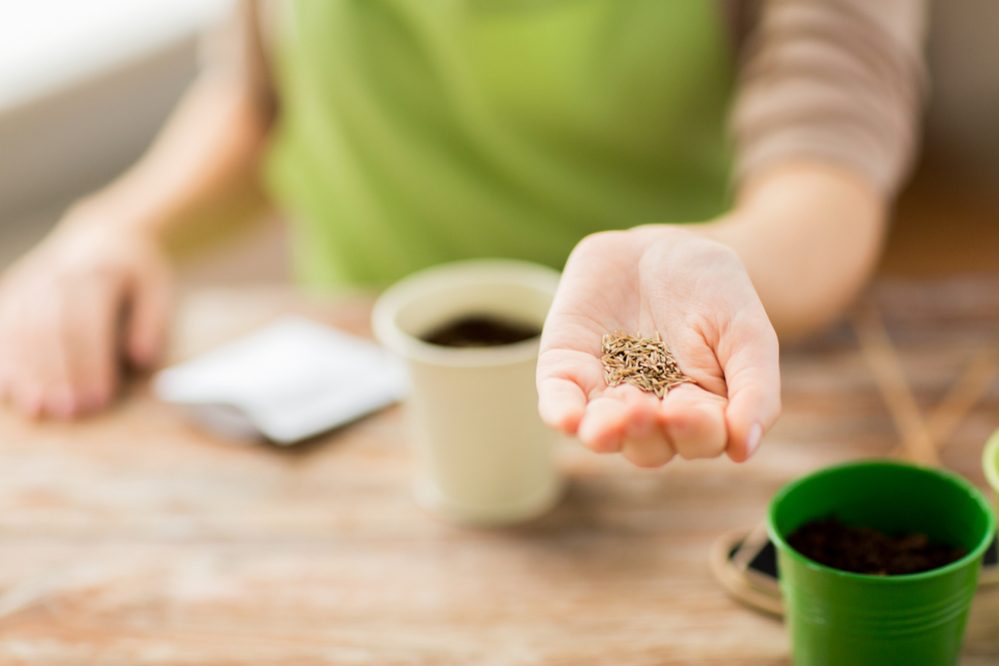
This is actually the most fun part of gardening, especially when you have an opportunity to grow your lovely plants in your own home. There is always a possibility to buy seedlings, but raising a plant directly from seeds is a priceless experience.
Anyway, you can buy seeds at a home center or order it online. Email and online ordering is an excellent way to purchase less popular and lesser known plants you still can’t find in the store. The truth is that seeds are cheaper than seedlings, but you will probably get more seeds than you need. Maybe you can make some deal with your neighbors and organize some kind of seeds exchange.
You can grow almost every plant indoor. The primary limitations are the size of the available space and the ceiling height of the apartment. However, you should always keep in mind that the best option is growing plants that need a similar amount of light, temperature, watering, and total humidity.
In the beginning, decide if you want to grow flowers, fruits, berries, vegetables, decorative greens, herbs, or prefer experimenting with various varieties and types of plants.
It’s up to you to choose the easier way and buy seedlings or grown your own plants from seeds. There are also two cultivation options. You can keep your plants inside from the very beginning or seed them in your outdoor garden and transplant seedlings at the end of the season. In that case, keep in mind that plants need time to acclimate after moving.
The list of the plants for indoor gardening
| Vegetables | Herbs | Flowers | Fruits |
| Onions | Oregano | Pansy | Strawberries |
| Peppers | Parsley | Alyssum | Blueberries |
| Carrots | Basil | Geranium | Dwarf apples |
| Tomatoes (cherry) | Lavender | Petunia | Citrus |
| Salad | Rosemary | Zinnia | |
| Kale | Cilantro | Begonia | |
| Chard | Catmint | Roses | |
| Bush | Chives | Daisy | |
| Beans | Thyme | Marigold | |
| Lettuce | Sage | Candytuft | |
| Peas | Bay | Shasta | |
| Mushrooms | Tarragon | African violet | |
| Peppermint | Peace lily | ||
| Cactus | |||
However, there are some ultimate indoor flowers and herbs. You can’t move them around if you want a healthy, advanced plant.
I will give you a list of vegetables you can successfully grow in your house such as:
- Beets
Growing this vegetable indoors is not as unusual as it seems at first sight. You just need a deep, and at least 6-inches high pot. Consider varieties such as Golden Boy Beets, or Detroit Dark Red Beets. After looking after your veggie for approximately six weeks, your baby beet greens will be ready to harvest. Cut plants from the outer edge and allow them to continue growing for an additional thirty days.
- Carrots
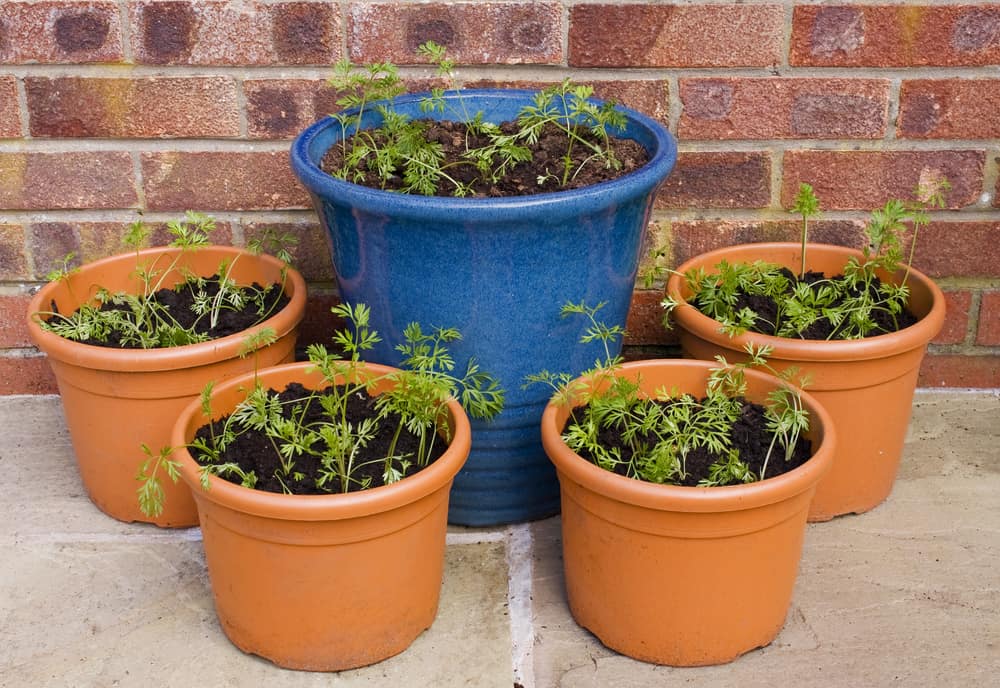
You need 6-inch deep pots for short and round carrot varieties such as Parisian, Thumbelina, or Little Finger. Harvest your baby carrots after six to eight weeks or allow them further development.
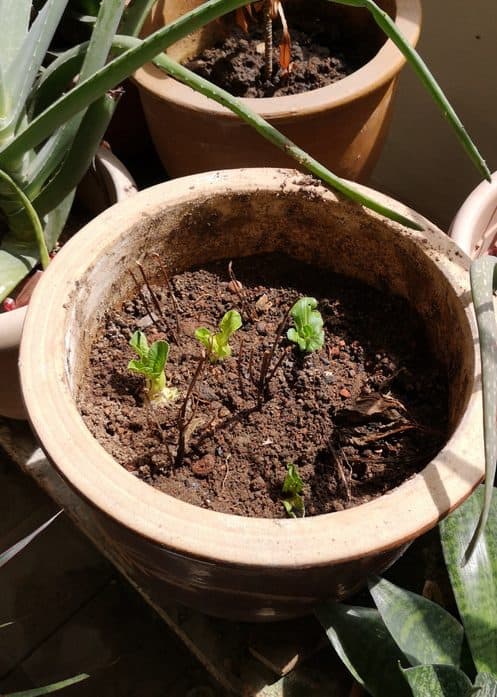
- Scallions (green onions)
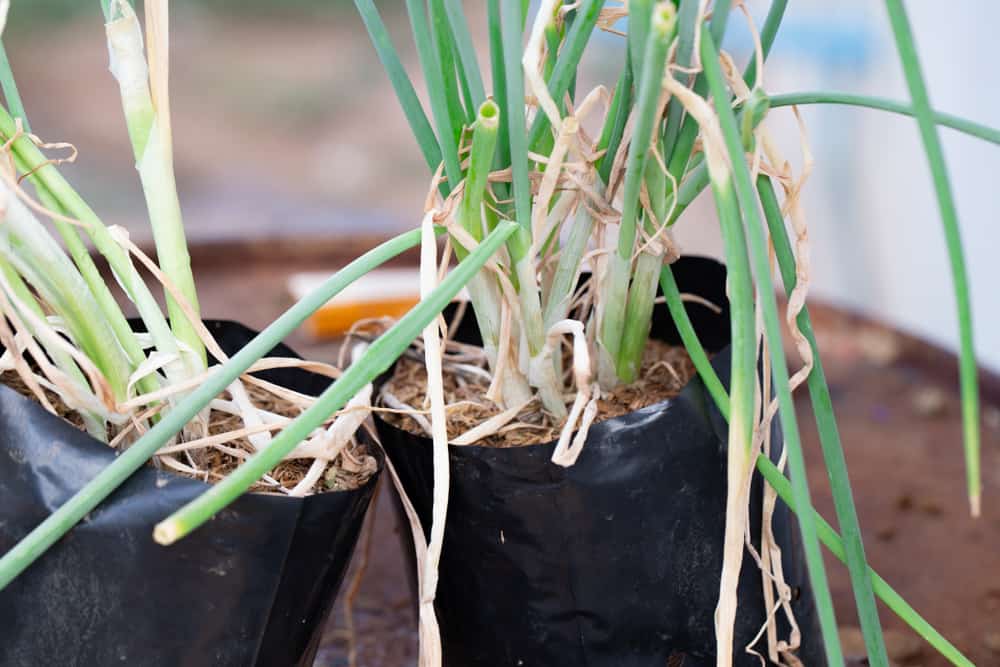
They are grown because of their mild onion flavor, making them an excellent salad ingredient. Harvest them after approximately thirty days, depending on the variety. My favorite ones are Evergreen Bunching Onion, Tokyo Long White Bunching Onions, and Italian Red Bunching Onions. Greens will continue to grow after each next trimming of foliage. Over time, you can expect scallions to get larger.
- Chives
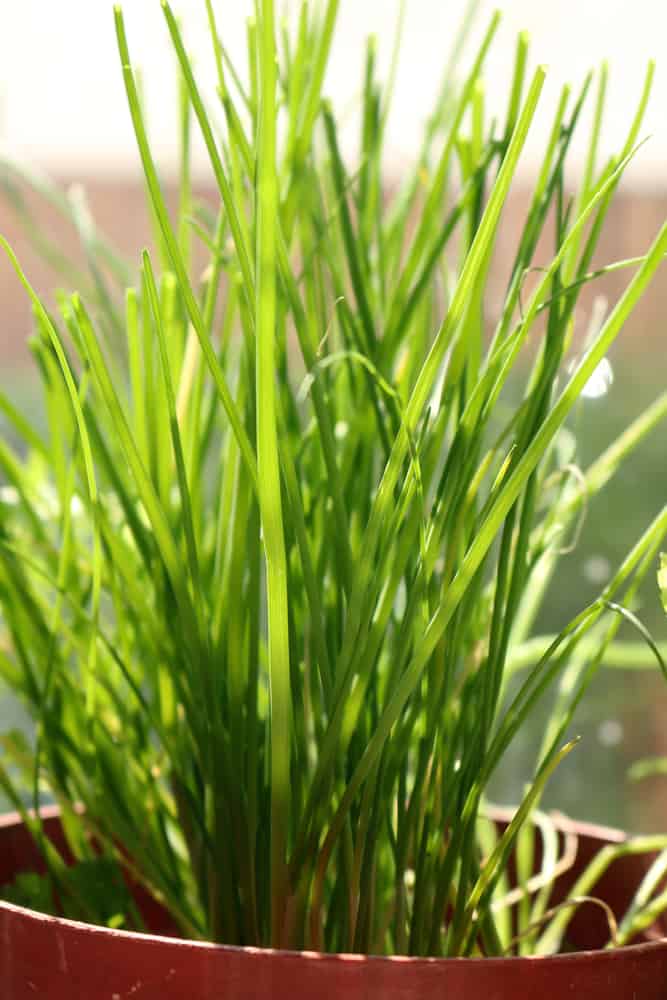
It should be your plant of choice if you can grow only one herb in your indoor garden. However, keep in mind that this plant needs at least 4-6 hours of sun and the average temperature between 55 and 75°F (it is approximately 13 to 24°C) to grow. You can begin to cut leaves once the chives are 15 cm (6 inches) tall and it will continue to grow.
- Lettuce
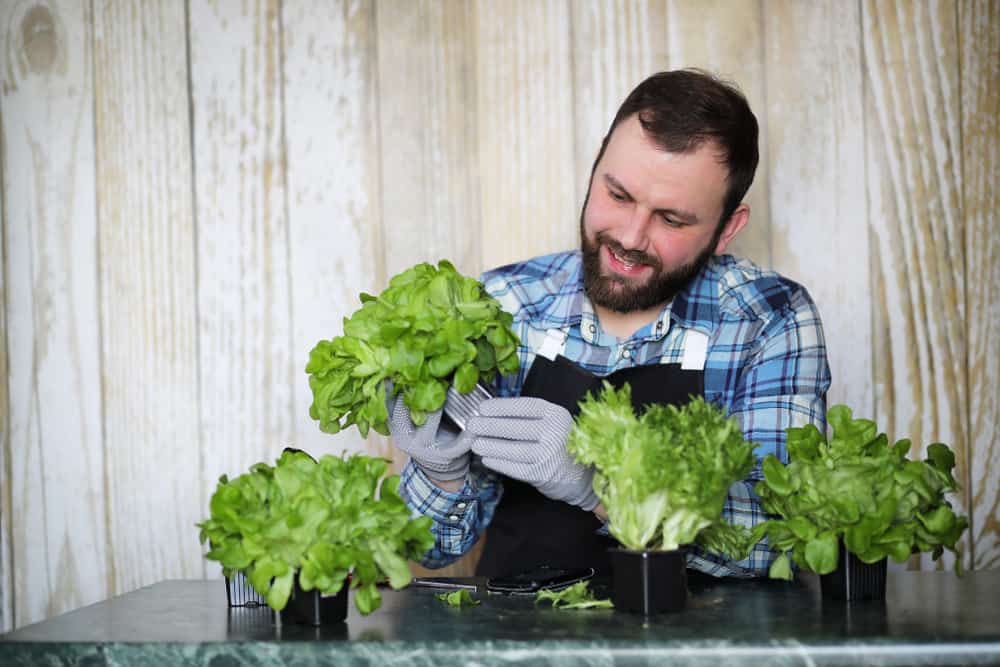
No matter if you choose Black Seeded Simpson or Tom Thumb, leaf lettuce will mature very quickly. Snip outer leaves and allow these in the center to grow continually.
- Spinach
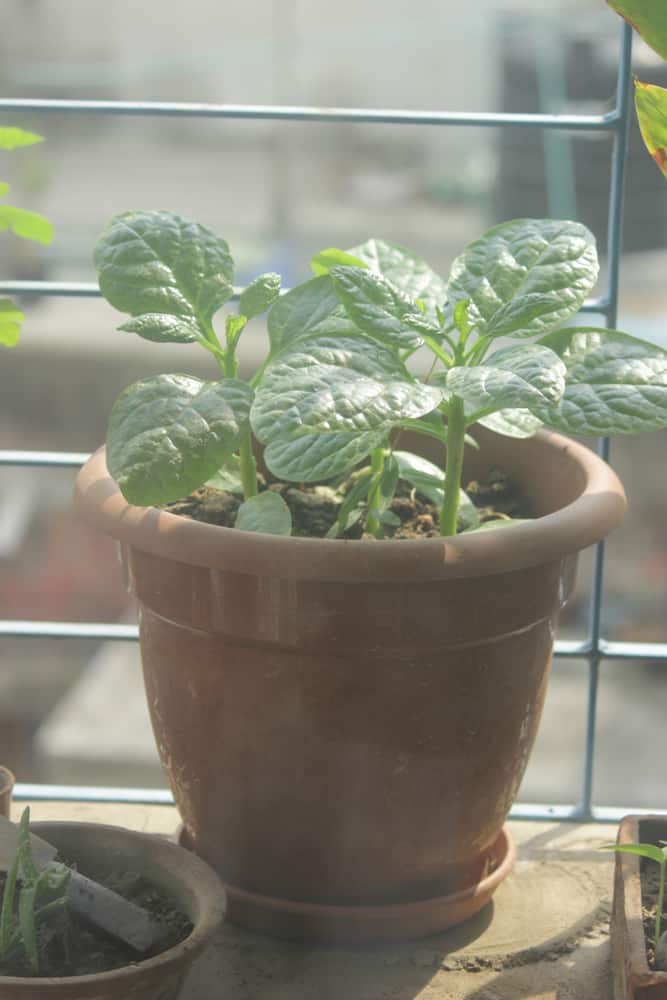
Although you are not a Popeye the Sailor, you can grow spinach in your home. Pick out Bloomsdale, Space, Lavewa, or Tyee variety. After about forty days, you can harvest baby spinach. If you snip outer leaves, your plants will continue to produce.
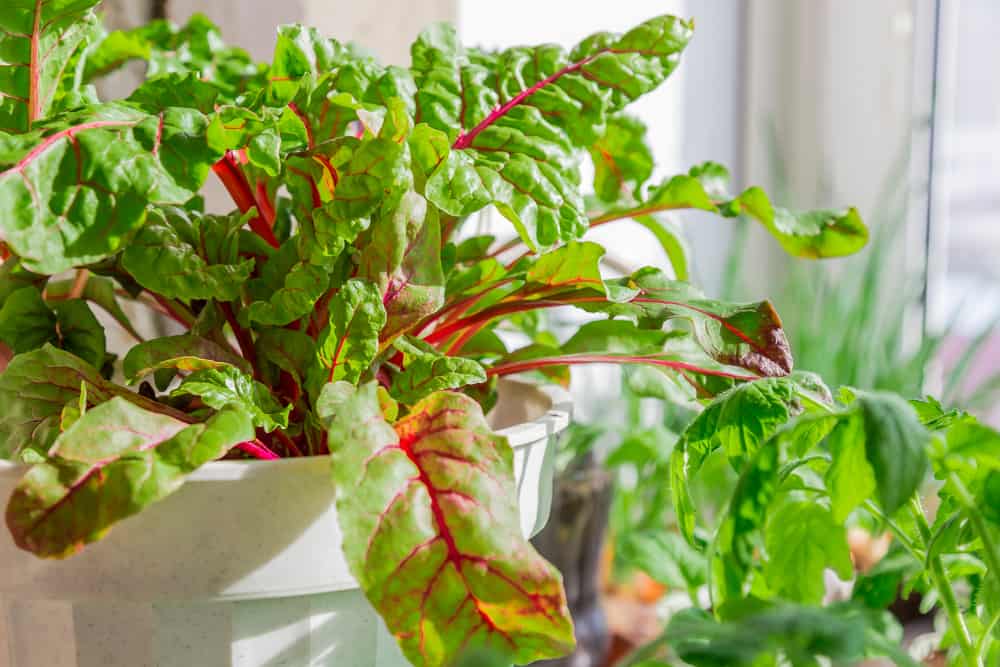
- Swiss chard
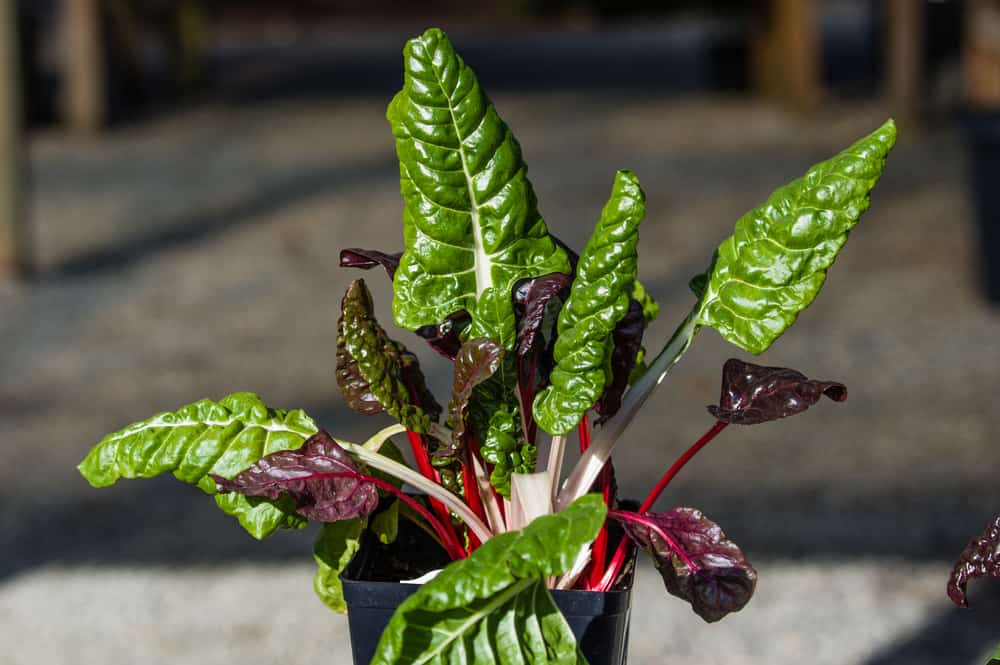
You should transplant your seedlings of Swiss chard into a bigger container because you don’t want your plants to become too heavy. Start with harvesting in the fourth week if you prefer baby greens. If you regularly cut outer leaves, new ones will grow from the center of this veggie. Consider planting varieties such as Fordhook Chard or Bright Lights Chard.
- Radishes

Here is the one really fast-growing plant. They need only a month for growing. After harvesting, use radishes as a salad. The best varieties for indoor gardening are Cherry Belle, Easter Egg Blend, and French Breakfast.
- Pac Choi and Bok Choy
Have you ever tasted these Asian cabbage greens? They are really delicious. They are not hard for gardening inside but need lots of water. Plant your cabbages in a large container and water them regularly. If you prefer eating plants in the baby stage, they will be ready to harvest in a month. For indoor planting, choose Bok Choy Toy Choy and Bok Choy Tatsoi Rosette varieties.
- Kale
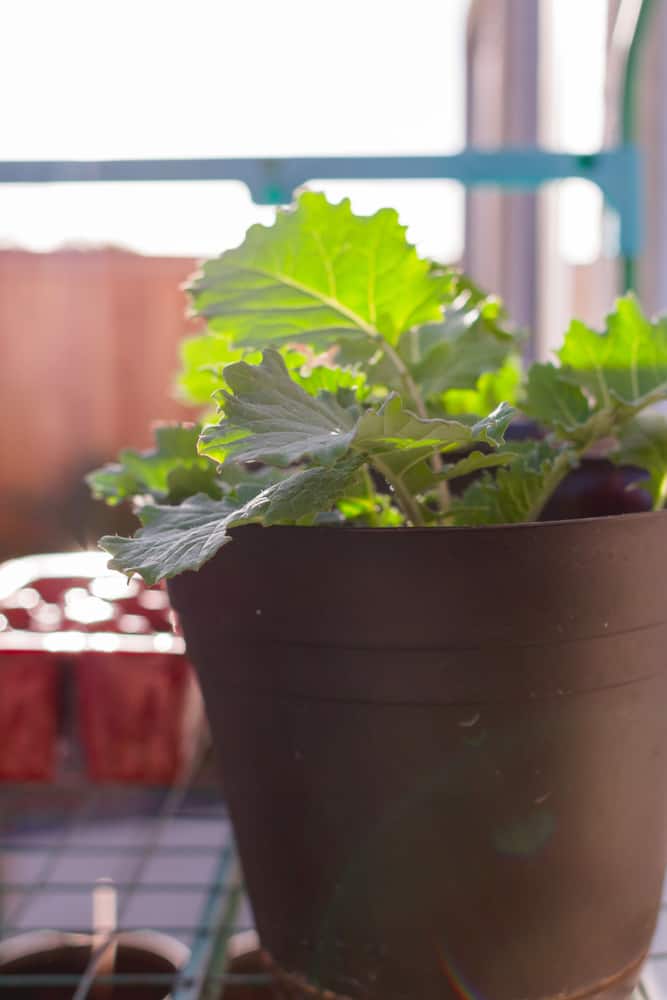
I adore a mild, sweet flavor of the young kale. This veggie needs only a month for growing. Snip outer leaves after harvest, and your plants will continue to grow. Pick out Italian Nero Toscana Kale, Red Winter Kale, or Dwarf Blue Curled Kale.
- Mustard Greens

This mild-flavored plant is an excellent spice. The best ones are Tendergreen Mustard Spinach and Florida Broadleaf Mustard. Even older leaves (boiled or steamed) are tasty. If you prefer baby greens, start harvesting in about four weeks. After snipping the outer leaves, your plants will continue to grow.
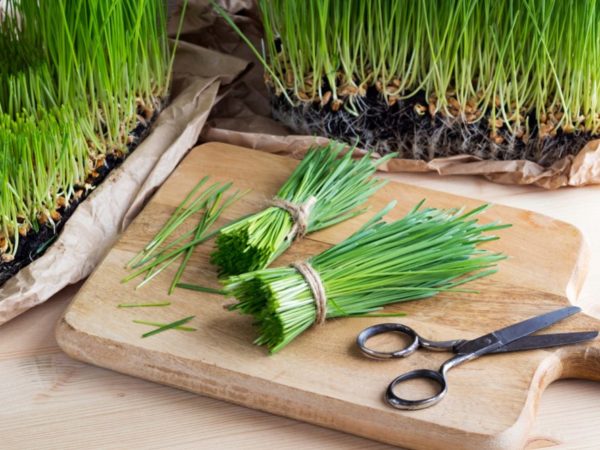
- Microgreens
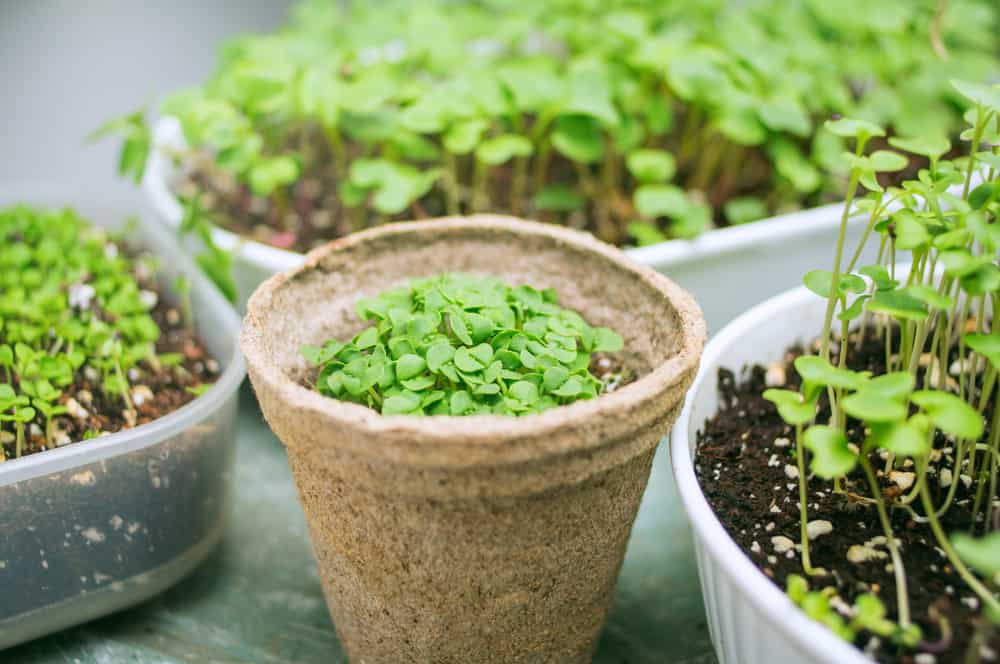
Tender sprouts of pea shoots, kale, or cress are often underestimated, but incredibly flavorful and healthy food. The goal is to harvest herbs and young edible vegetables within only two weeks of sprouting. Snip them above the soil line and eat fresh or use them to season your meals.
- Mushrooms
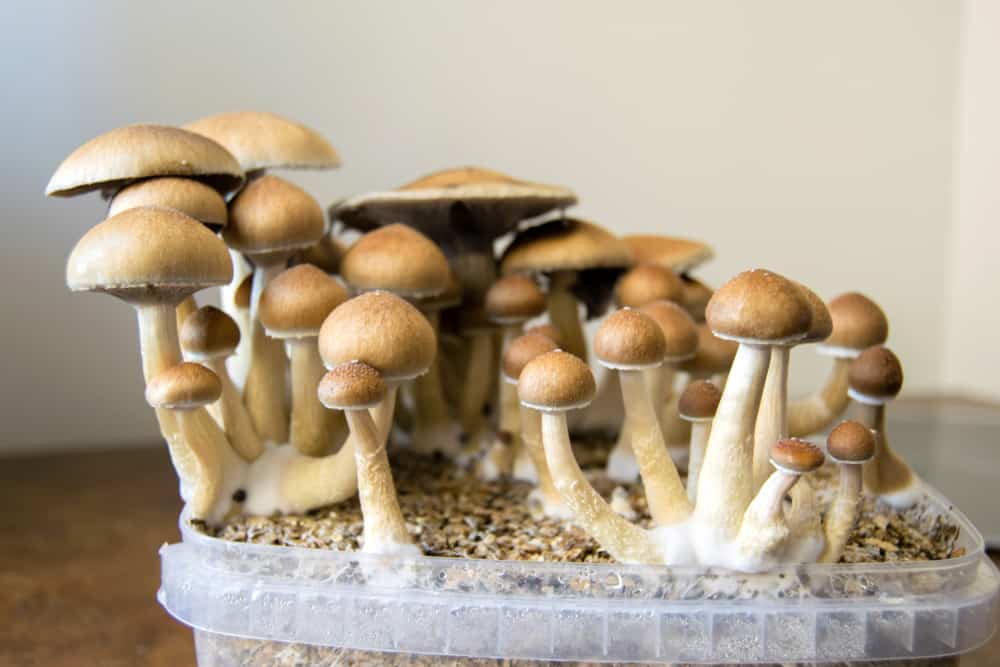
Believe it or not, you can easily grow Shiitake Mushrooms, Pink Oyster Mushrooms, and Brown Oyster Mushrooms indoors. Don’t bother about the way of their cultivating. You will get all the necessary instructions in the package. The advantage of mushrooms is that you can harvest them in just two weeks.
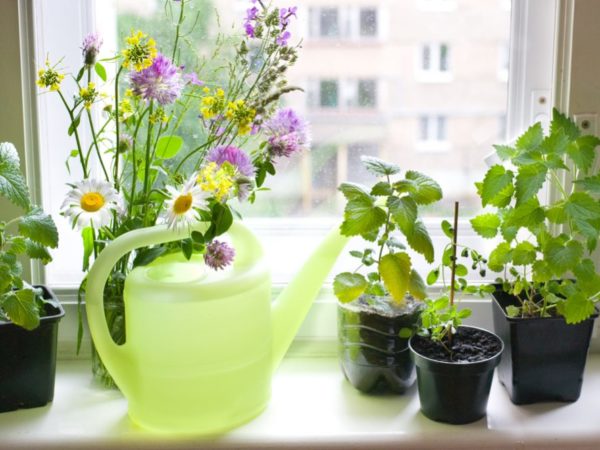
If you have enough light in your kitchen, plant these herbs next to a window with a lot of sunlight:
- Oregano
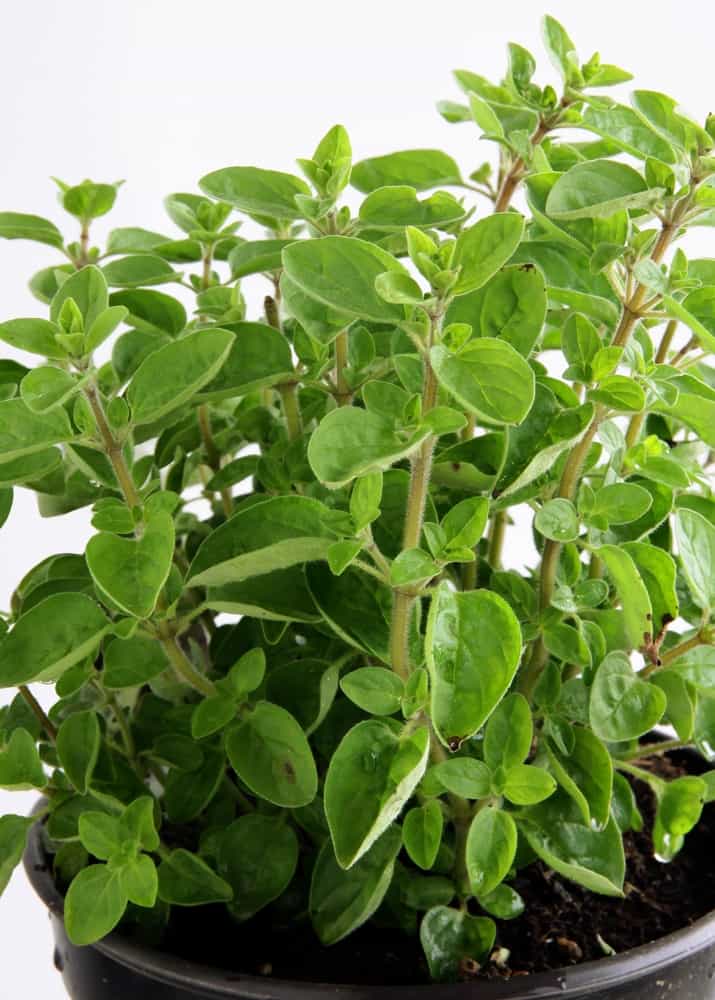
This herb needs a sunny place for even growth and at least 6-8 hours of sun daily. It can stand the room temperature fluctuation of 55 to 75°F (it is approximately 13 to 24°C) and sandy soil. Avoid too much watering because oregano’ root can rot quickly. Regularly cut stems once oregano is 6 inches (15 cm) tall and your plant will become compact and bushy.
- Rosemary
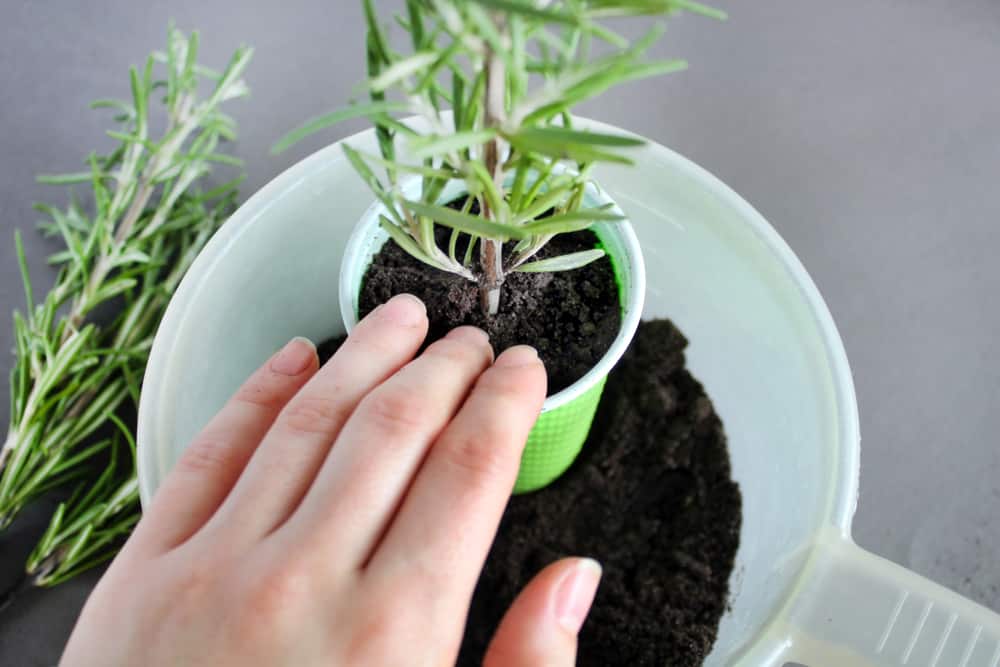
In the case of rosemary, you should buy seedlings and pot this herb in a mixture of dry soil and coarse sand. Provide at least six hours of sun and an average temperature of 45 to 70°F (it is approximately 7 to 21°C) for this herb to be healthy. Don’t expect rosemary grows quickly. It takes its time, and you can harvest up to one-third of the plant at one time.
- Parsley

This herb needs at least six hours of sun, enough light, and temperature of 55 to 75°F (it is approximately 13 to 24°C). Set it in a sun-drenched window, and expect lush growth. Start cutting stems after the herb is established and it will continue growing.
- Basil
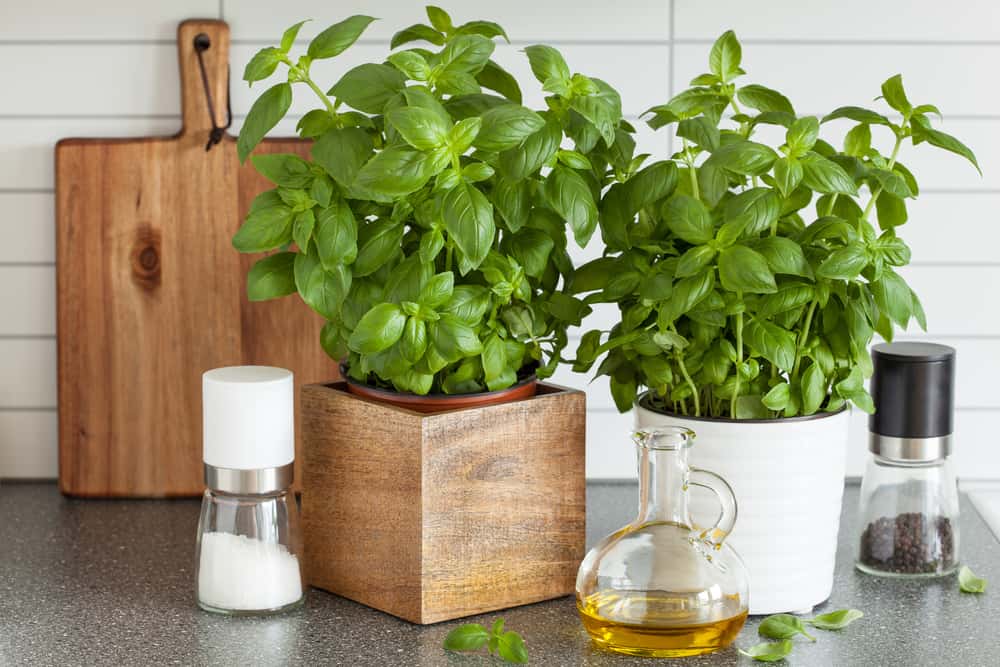
In some cases, you can plant basil outdoor, but it likes being inside with as much sun as possible. Lighting is crucial when you grow this herb indoors. Place the herb in a sunny window for at least six hours of sun daily. Be sure to trim your plant regularly. That way, you will encourage it to become rounded and decorative.
- Mint
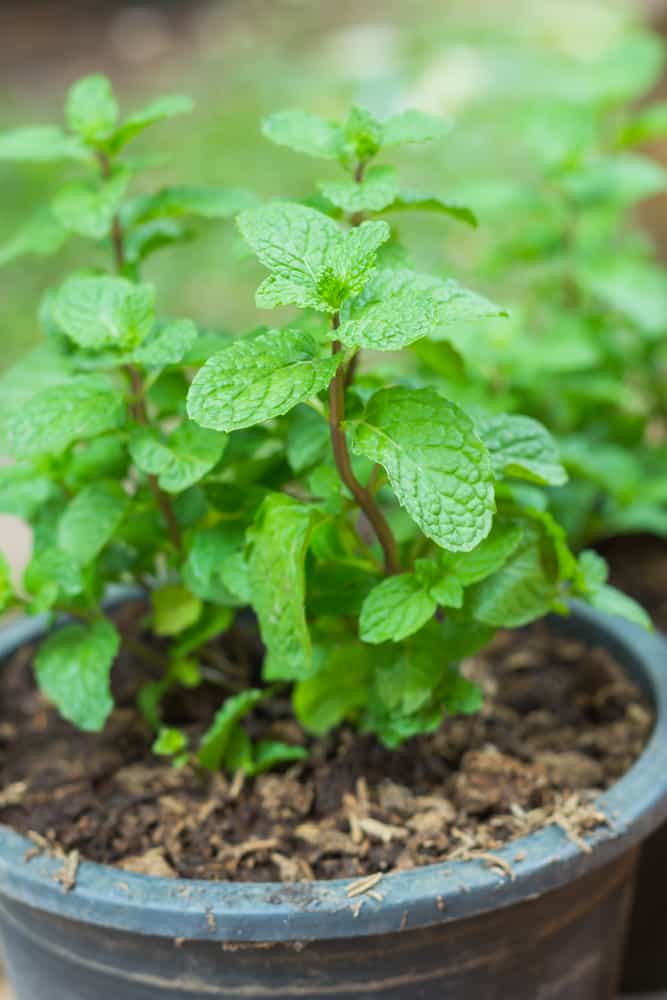
It is pretty easy growing this herb indoors. Like every plant, mint likes sunlight during a day, but generally, it requires minimal light. Provide a temperature of 65 to 70 F (it is approximately 18 to 21 C) and enough water for your plant, and it will be healthy.
- Thyme
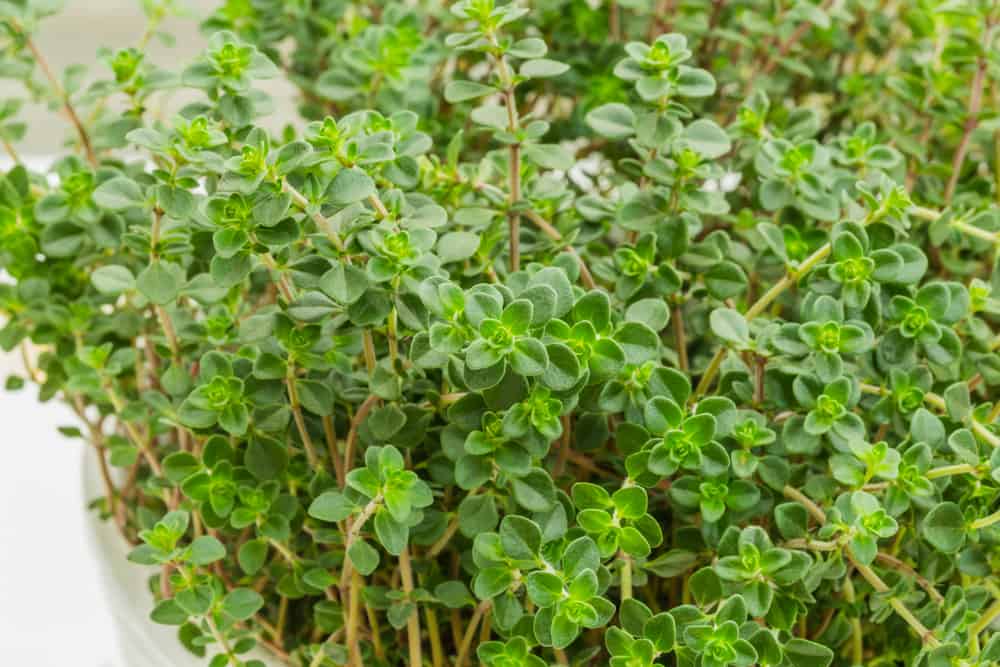
It needs a minimum of six hours of sun daily, sandy soil, and around 50 to 75 F (it is approximately 10 to 24 C). Avoid watering too often because this herb is drought resistant when appropriately established. Then you can start harvesting by cutting foliage as needed.
6. Plant Chosen Herbs
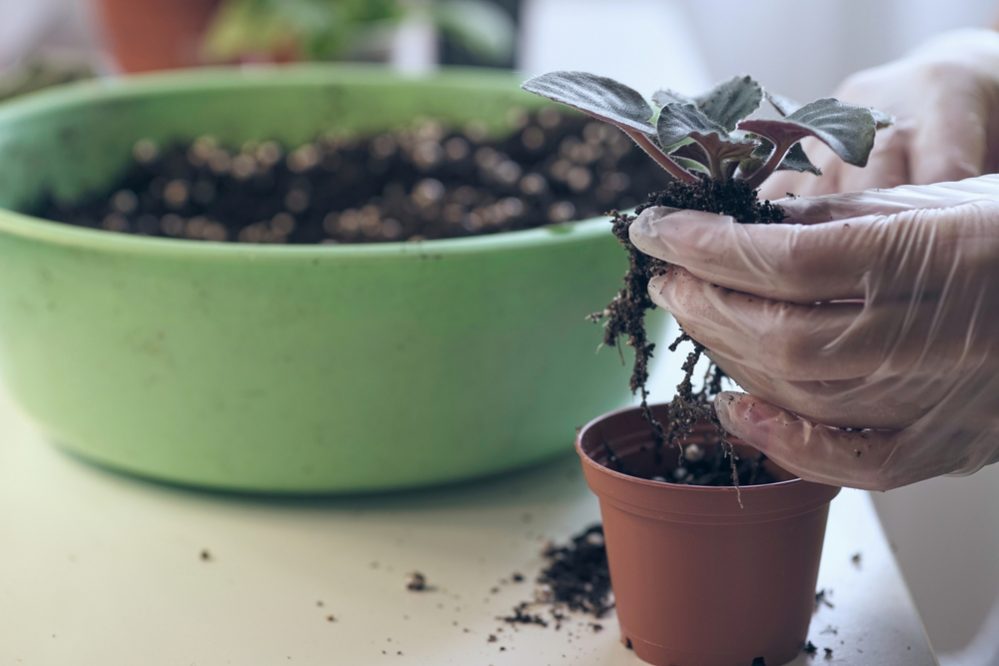
Planting is what you have actually eagerly awaited, right? Put some gravel on the bottom of the container and add a good soil. Push it around (it is enchanting to dirt your fingers a little bit when you know that the result will be a beautiful new plant) and make a hole. Put the plant in it and cover the roots with soil. Water a little bit to get moist soil. Put the container near the light source.
7. Maintain Your Plants
Now, it is time to start with general care and cultivating plants. I guess that you have already had a clue what primary care implies. Let’s see.
- Fertilizing
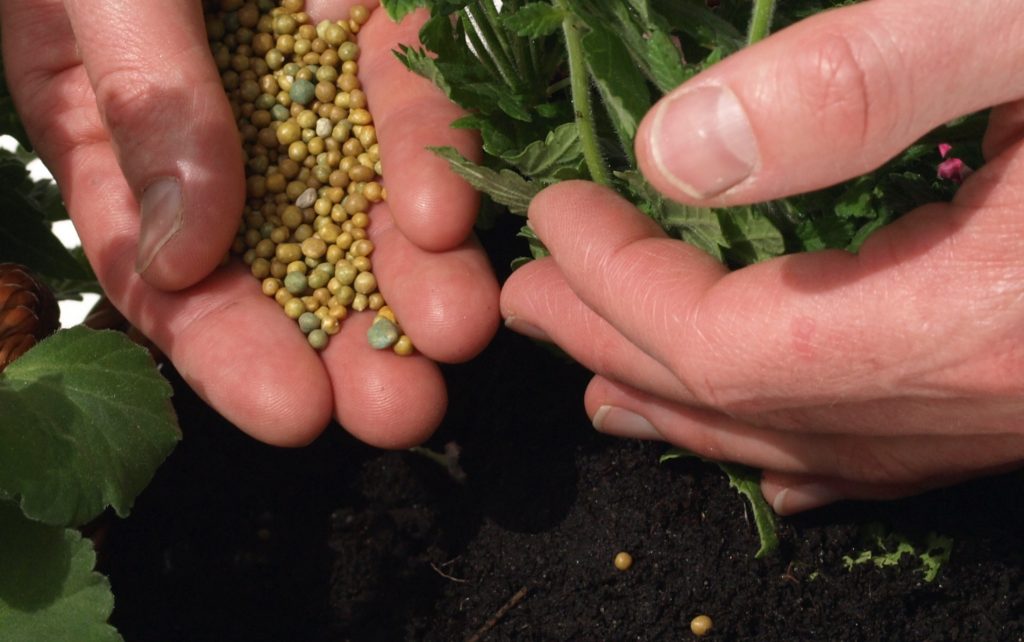
Since plants will pretty quickly use most of the nutrients from growing medium and your (bought or homemade) soil and some amount of them will be leached out by water, always keep in mind that you need to boost them with extra fertilizer.
I would always recommend you to use hydroponic nutrients and organic fertilizers for your indoor herbs. When you buy some, just follow the instructions given on the package about how often to fertilize and how much of it to use.
For example, you can start with FoxFarm Ocean Forest Potting Soil. It is 100% organic, natural, an ideal solution for plants grown in a container, and ready to use immediately.
- Temperature
As I have already mentioned, most plants require the average temperatures of 65 to 75 F (it is approximately 18 to 24 C). If the temperature in your house is much higher, you will get small and weak plants. On the other hand, if it is too cold for the plants, their leaves will begin to dry, become yellow, and eventually fall off.
Maybe you should consider purchasing the Autopilot Cooling Thermostat, the excellent device for cooling and heating control in plant’s environment.
- Humidity
One of the serious challenges of indoor gardeners is definitely a lack of humidity. You need to have a way to control the moisture in your house if you want to grow healthy and vigorous plants. Be sure that your plants have a problem with low-humidity if you notice:
- The appearance of brown tips of the plant’s leaves
- Plants lose leaves
- Withered plants
I will give you some useful tips on how to increase the humidity in your home:
- Mist plants daily
- Place a tray with lava rocks and water near your plants to increase evaporation
- Group your plants to create a microenvironment with increased humidity
- Buy a humidifier or an environmental controller to regulate indoor humidity
- Watering

Generally, you should be prepared to water your indoor plants regularly because they dry out more quickly when grown in a container. There are no too many rules about watering.
- Let water stay on room-temperature for a while before using it
- Water your plants whenever you notice that the soil is dry
- Pay attention not to let water collect in a tray under the container to avoid disease and rotting of your herbs
- When you spot that water has accumulated, you should drain the tray
- Don’t underestimate the importance of drainage holes in your containers
- Use a moisture meter or your own finger to check the soil moisture
- Use Liquid Budswelif you plan to grow superior crops and want huge yields
- Yes, plants need water, but under-watering is usually a better option than over-water them. It would be perfect to check the conditions in your house and develop your own schedule of watering. That way, you will provide enough liquid for your herbs and prevent rotting.
The signs that you don’t water the plants properly
| Signs of Over-watering | Signs of Under-watering |
| Wilting the leaves near the stem | Wilting the leaves from the outer tips |
| Dropping of lower leaves | Dry soil |
| Discoloration of the leaves | Brown edges of the leaves |
| A plant stops growing | Wilting foliage |
| Wilting foliage | Dropping leaves and/or flowers prematurely |
- Lights
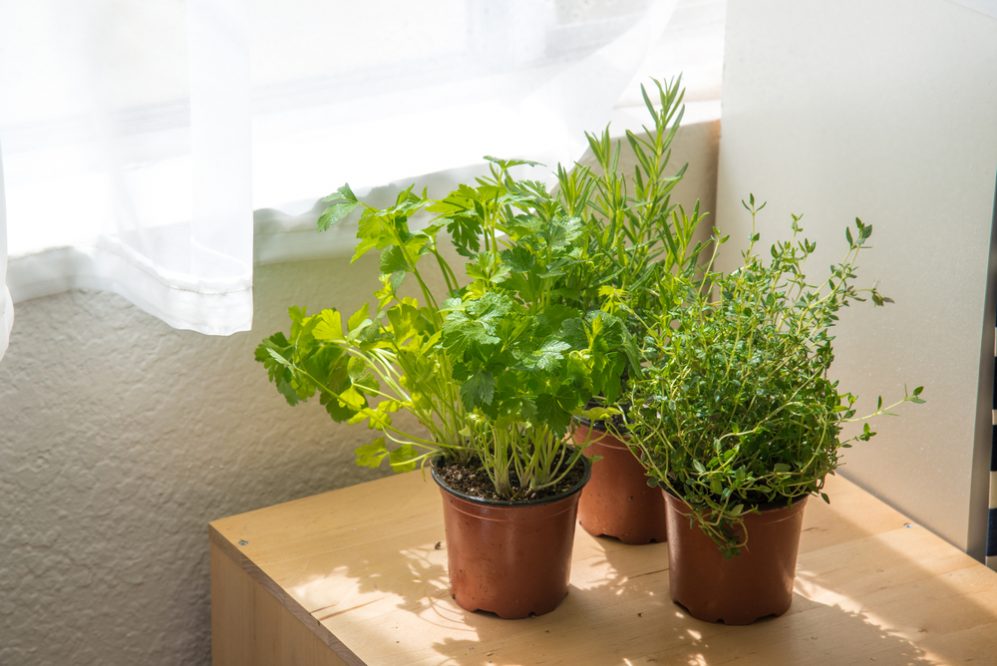
Ideal conditions for plant growth in your home include a minimum of five to six hours of daylight. Therefore, I can’t emphasize enough the importance of setting up your indoor garden in a south-oriented room with large windows.
If it is not possible to provide, fluorescent lights can be an excellent solution. Consider buying full-spectrum LEDs and CFLs for energy-efficient artificial lighting for your garden. Place them six inches (15 cm) over your plants. You can also place whiteboard or aluminum foil around the container for better light reflection.
Summary
One autumn, totally sad because I couldn’t enjoy the beautiful green plants in my garden, I decided to discover the possibilities of indoor gardening. In my house, there is a sizeable sought-oriented living room with a huge door with a garden view. I only bought two Grow Light Shelves, enough flowerpots, and some soil, and started with planting. A new love was born!
Since then, every winter I have been planting veggies and herbs in my house. Moreover, I grow some herbs on my windowsill throughout the year. I want you to discover all the beauty of gardening in your own home too. Good luck!
Don’t forget to pin it!