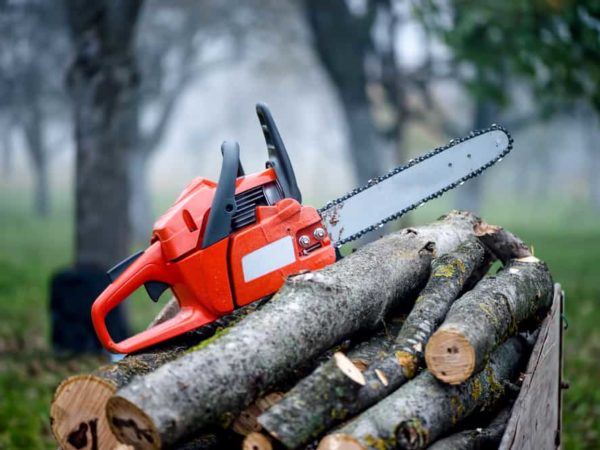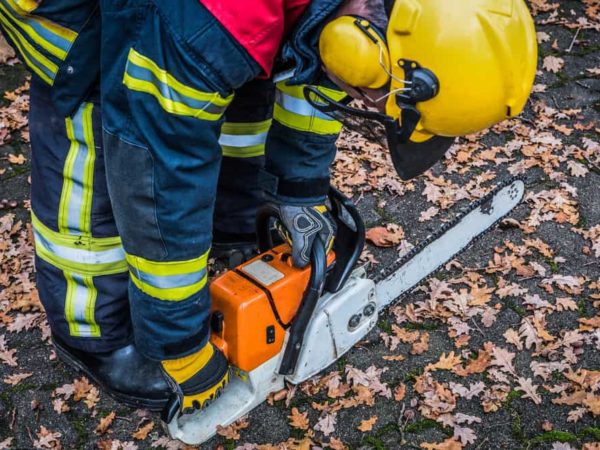
Chainsaws are versatile and invaluable tools that allow you to fell trees, prune branches or chop up firewood with ease. However, they can also be expensive pieces of equipment, and if you want to keep yours running efficiently and make sure it lasts as long as possible, you need to keep it clean and in good working condition.
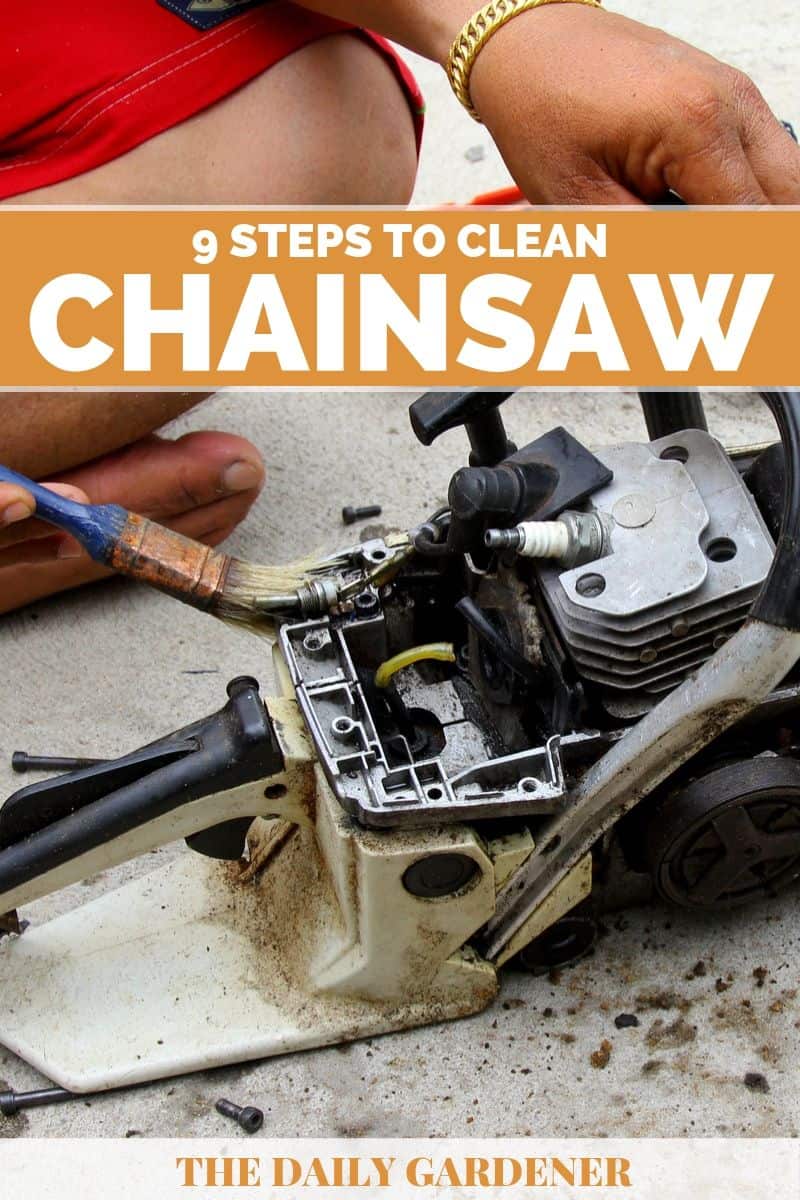
Here, we look at how to clean a chainsaw – as well as which parts need to be cleaned – to help you ensure your chainsaw remains in optimum working condition for as long as possible.
If you want a very in-depth look at chainsaw cleaning and maintenance, check out this excellent video.
How to Clean a Chainsaw?
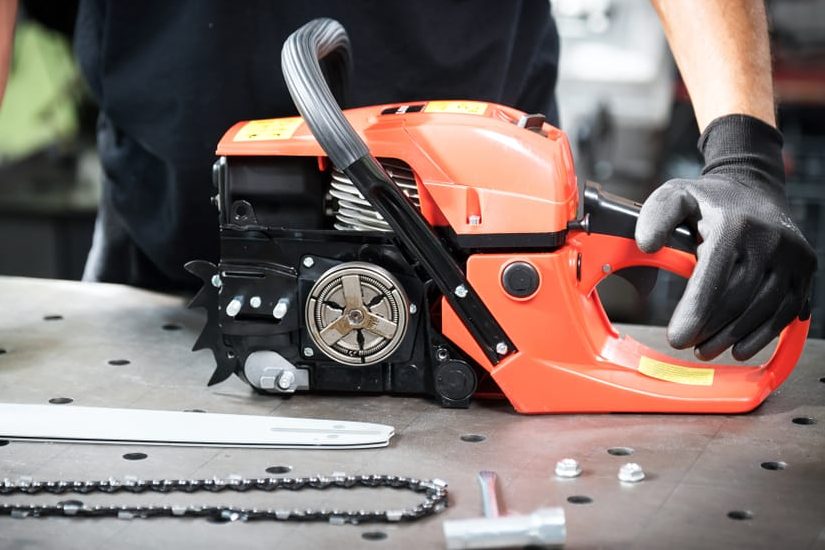
Step 1. Place your chainsaw on a solid, stable workbench
Before you start working on your chainsaw, place it on a solid, stable work surface like a steel top workbench. Make sure the area is free of other debris and tools – this way you won’t lose any of the parts or screws when you remove them.
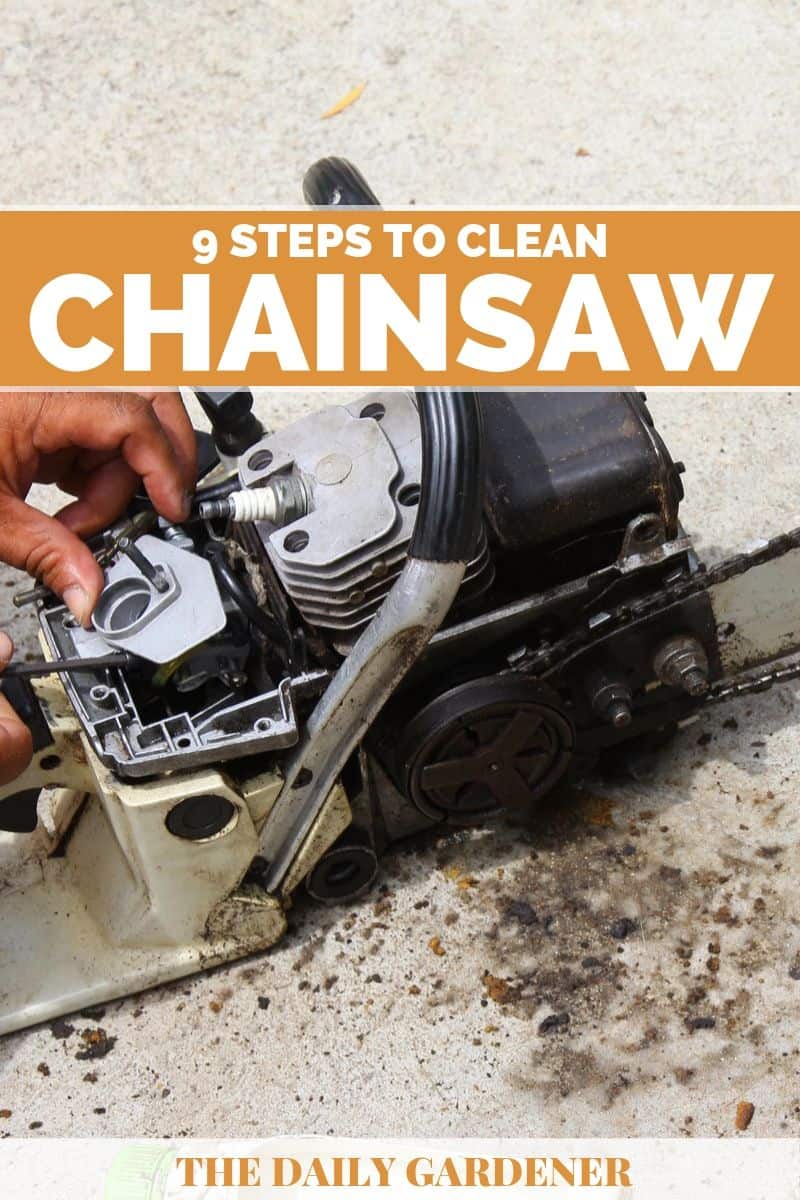
Step 2. Clean the spark plug
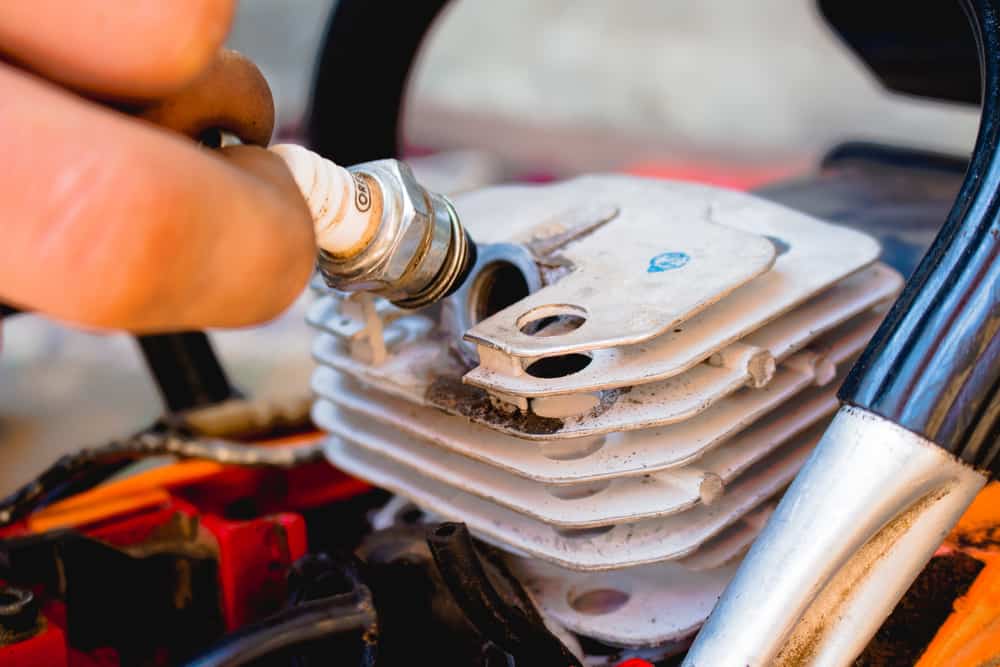
If you are giving your chainsaw a general clean, the first thing you need to check is the spark plug. A dirty spark plug will prevent your chainsaw from starting or functioning correctly, so you need to make sure it is in good working order.
Remove the spark plug and check it for any build-up of carbon. If you find a carbon build-up, you can clean it with a stiff brush. However, if the build-up is too severe, you might be better of replacing the spark plug entirely since they are not expensive to buy.
Step 3. Fuel tank
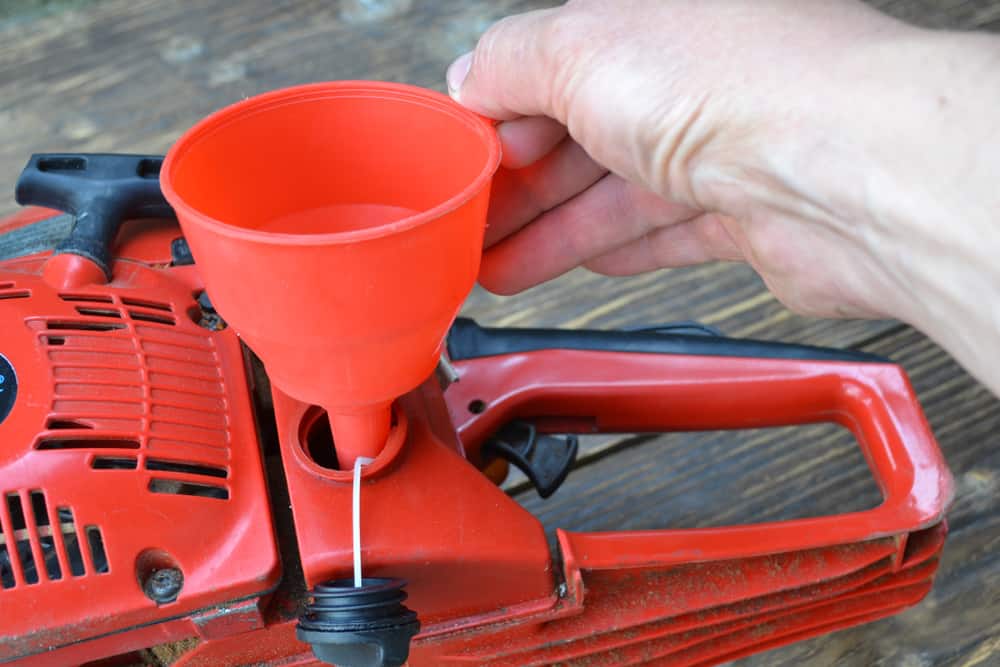
Gasoline does not age well, and even after sitting in the tank for only a month, it will start to deteriorate. The liquid part will begin to evaporate, leaving a sticky, viscous goo.
If your chainsaw has been sitting around for more than a month, you need to drain it and refill it with fresh fuel. However, if the fuel has been in the tank for around three months or more, you will need to clean it out.
Take out the fuel filter and immerse it in a strong solvent. You may also need to clean out the inside of the gas tank – this will also require a strong solvent like sodium hydroxide. Here’s a video of an extreme cleaning job on a gas tank that has been left for far too long.
If you use your chainsaw regularly and you always have fresh fuel in the tank, you can skip this step.
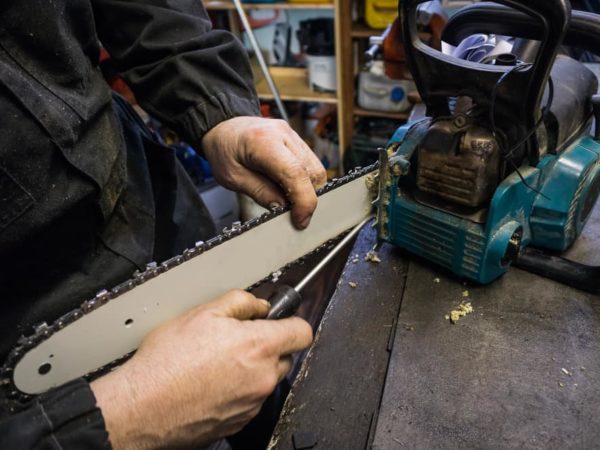
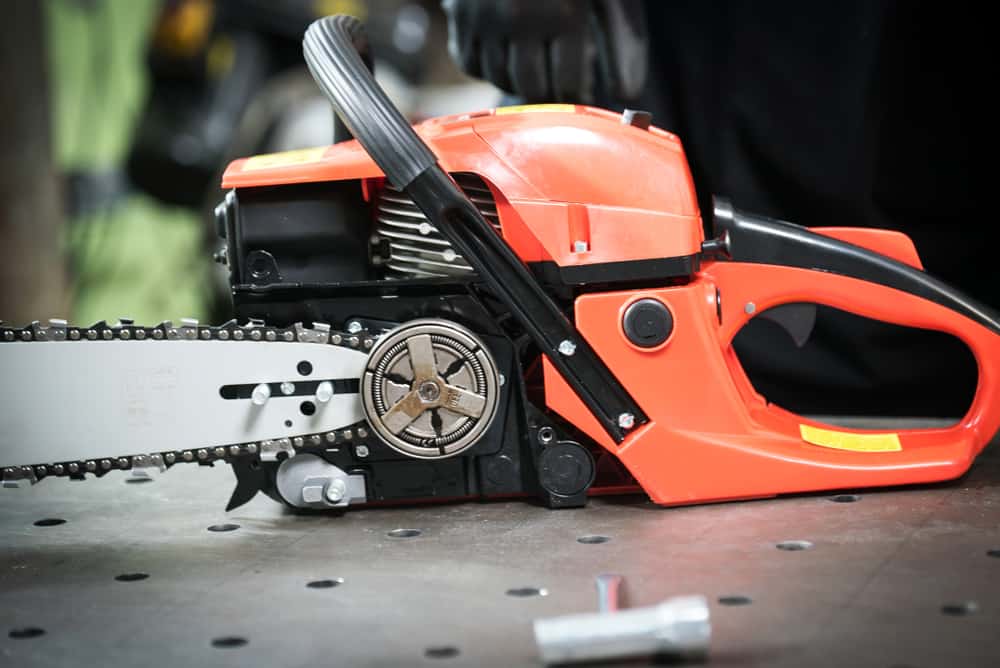
Step 4. Cleaning the bar

The next job is to clean the bar. Slacken the chain by adjusting the knob that controls chain tightness and removes the chain. Set it aside for the moment.
Clean all dirt and debris from the bar and the bar groove. If you have bar groove cleaner and compressed air, this will give you the best results – although you can still do a good job with a simple rag.
When you replace the bar later, remember to put it back the other way around. This will mean it wears more evenly, extending its life and improving efficiency.
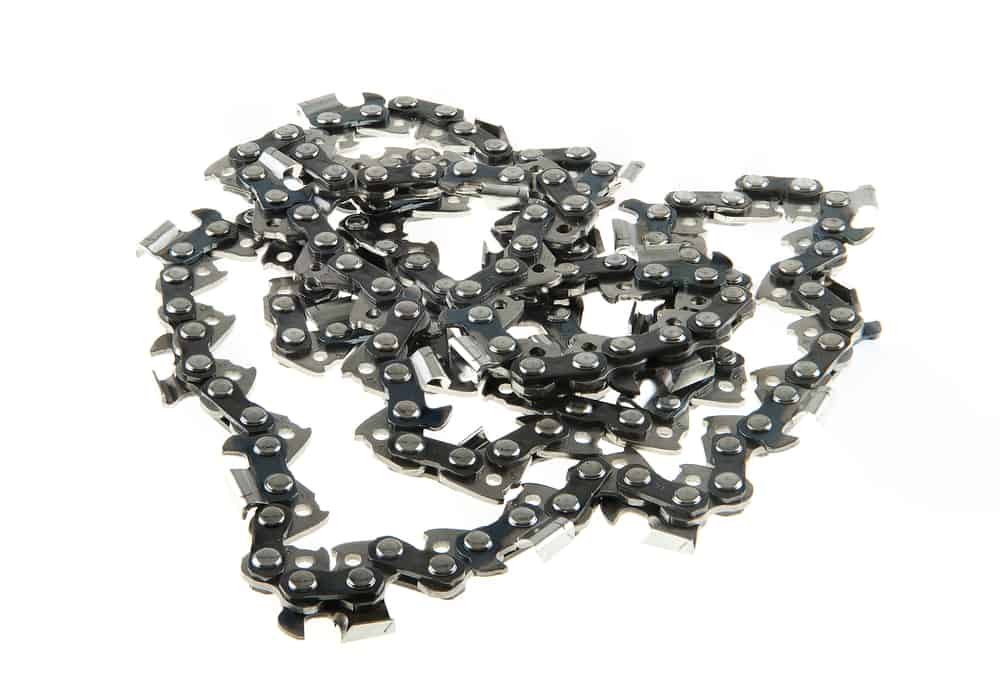
Step 5. Cleaning the chain
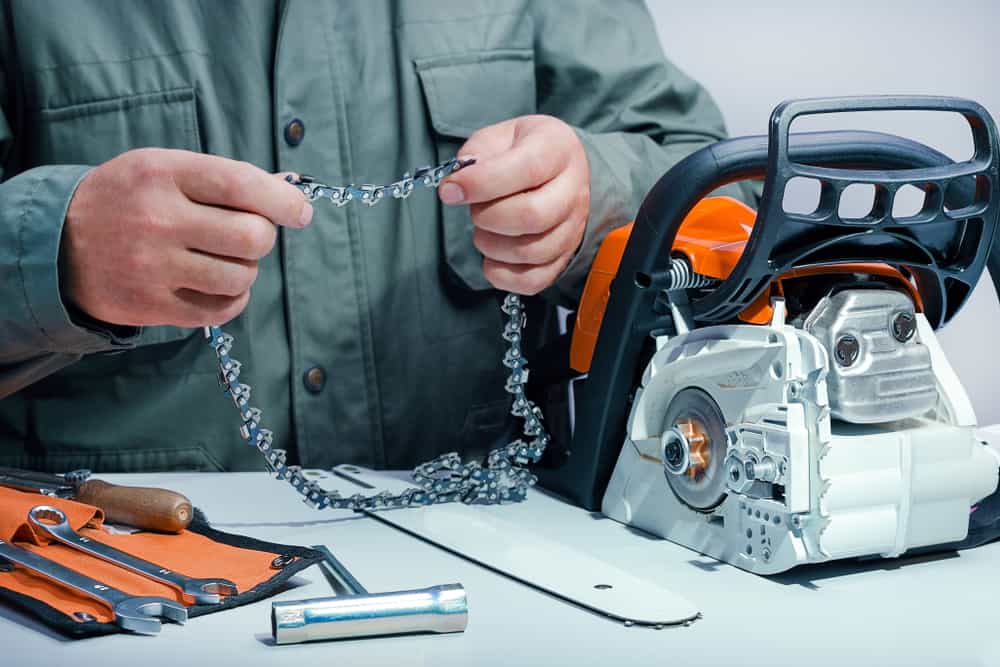
You now need to clean the chainsaw chain. The best way is to soak it in a solution of one gallon of water and one cup of household ammonia. When working with ammonia, make sure you do so in a well-ventilated area. Leave the chain to soak for at least 20 minutes.
Once it has soaked, give it a good thorough scrub with a stiff brush. Rinse the chain thoroughly and dry well with an old towel or something similar.
If possible, you can speed up the process by using compressed air to blast the water off the chain. This is especially useful in cold or humid places where it will take longer to dry.
Next, you need to lubricate the chain. Dip it in chain oil, let the worst of it drip off and then hang the chain up to let the rest of the excess drip off. You can avoid making a mess by placing newspaper under the chain while it drips.
Step 6. Chain lubrication hole
Make sure the hole that allows lubrication oil to reach the chain is clear and unblocked. You can use a piece of pipe cleaner or even just a piece of wire for this.
Step 7. Carburetor
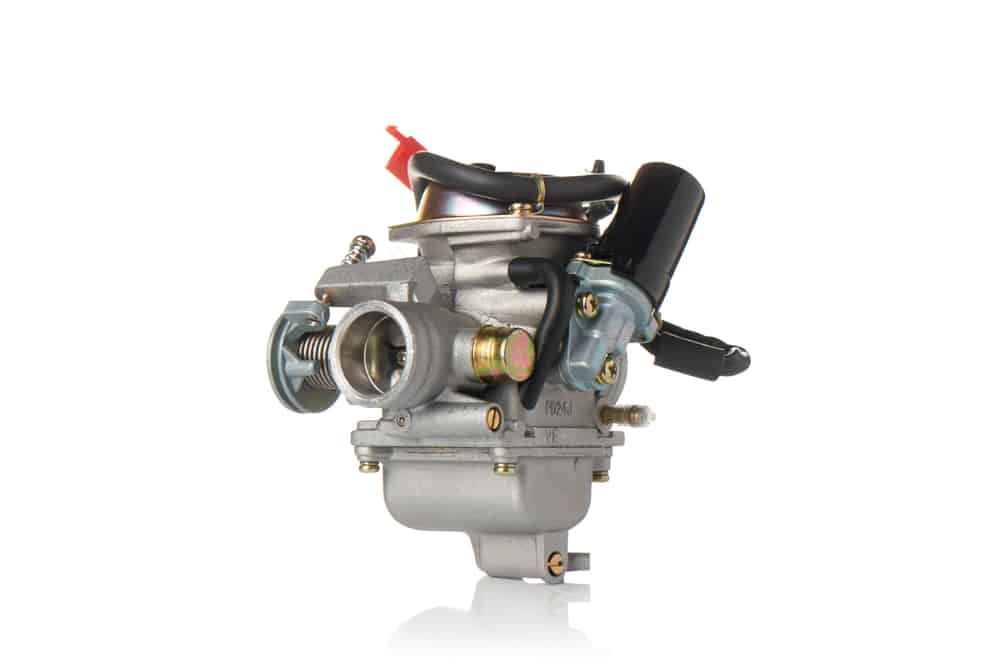
Clean any sticky residue from the carburetor. Remove the needle valves, diaphragm and cover plate and soak them in a solution of one gallon of water and one cup of household ammonia for 20 minutes.
Scrub with a stiff brush, rinse thoroughly with warm water and dry well to avoid rusting.
Step 8. Air filter

Remove the air filter, wash in warm soapy water and brush gently. Don’t try to clean it with compressed air or you may blow holes in it, making it useless. If it is too dirty, you might be better off replacing it since air filters are not expensive items to buy.
Step 9. Spark arrestor
The spark arrestor is a screen that prevents sparks from flying out of the chainsaw while it is in use. Over time, it becomes clogged and needs to be cleaned out regularly to ensure your chainsaw remains in good working order.
Unscrew the muffler cover and remove the spark arrestor from behind it. You may be able to clear the deposit by tapping it on the workbench or you may need to use a small brush to brush it clean.
Once you have cleared any deposits from the spark arrestor, replace it and then reattach the muffler cover.
What about electric chainsaws?

Most of these steps are only applicable to gas chainsaws, but electric chainsaws and battery powered chainsaws also need some cleaning – although not nearly as much.
With these types, make sure they are unplugged or that the battery is removed before you start working. You need to clean the bar, the chain and the lubrication hole, so simply follow steps #4, #5 and #6 – and forget the rest.
Keep your chainsaw clean to keep it working well for longer
If you clean your chainsaw regularly to keep it free of debris and any build-up of deposits from general use, you will ensure it lasts for as long as possible. However, if you don’t keep it well maintained, its performance levels will quickly drop, and you will need to replace it much sooner.
Don’t forget to pin it!