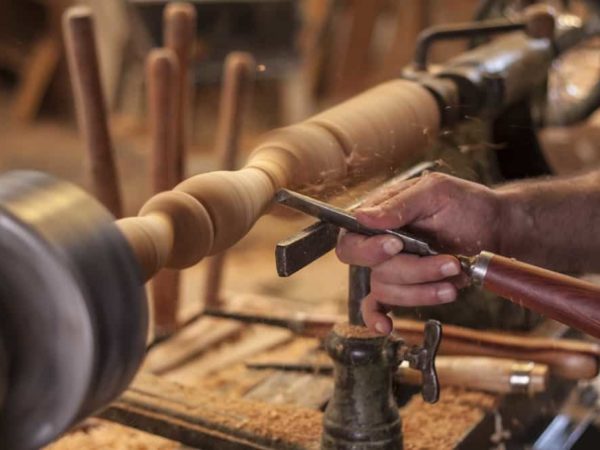
Using a lathe to create bowls, pens, chess pieces or other decorative ornaments from a block of raw wood can be an extremely enjoyable and satisfying process, and the feeling of achievement and accomplishment it gives you can be hard to beat.

Although becoming a truly outstanding woodturner can take many years of practice, the basics can be picked up in only a short amount of time. However, for beginners, knowing where to start can be daunting, so to help you, here are our top 11 tips for using a wood lathe.
If you want some more advanced tips and tricks, check out this video too.
Table of Contents
1. Safety first
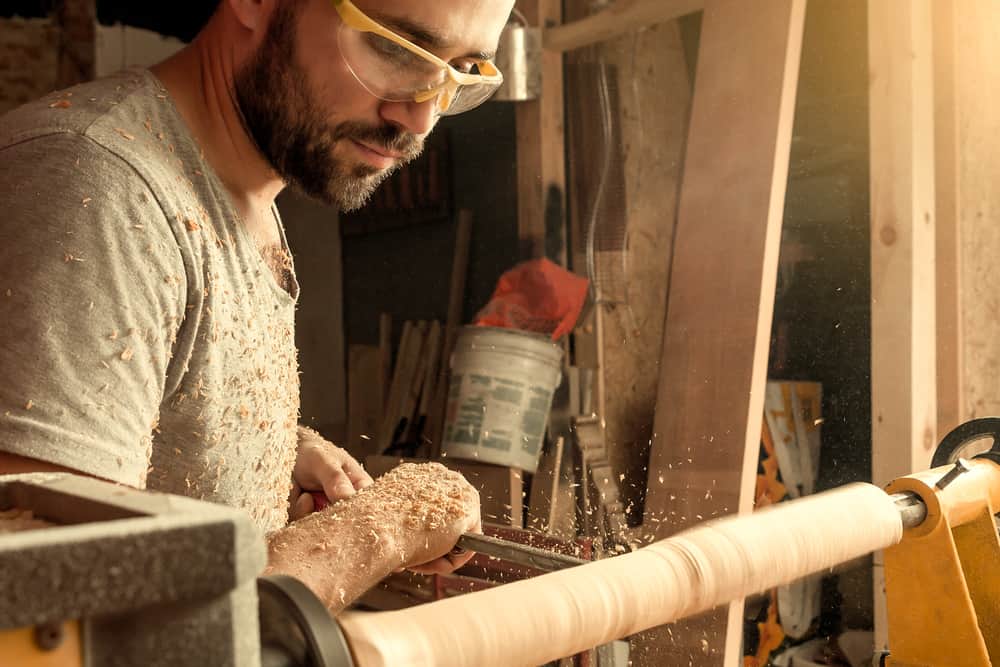
While wood lathes are counted among the least dangerous power tools, you should never underestimate them or take them lightly since they can still cause injuries.
Perhaps the most important consideration is protecting your eyes and face from wood chips that might fly off as you are turning your wood. Eyes goggles will protect your eyes and are the absolute minimum you should wear. However, a full face shield is preferable as it will protect your face from chips too.
Wear tight, well-fitting clothes rather than baggy ones. Baggy clothes can easily become trapped in the lathe as it spins, and this is one of the most common causes of injury.
Finally, use your tools smoothly and slowly – if you jab your chisel in suddenly, there is more chance of it being grabbed by the wood and being broken or ripped out of your hand, which can also be very dangerous.
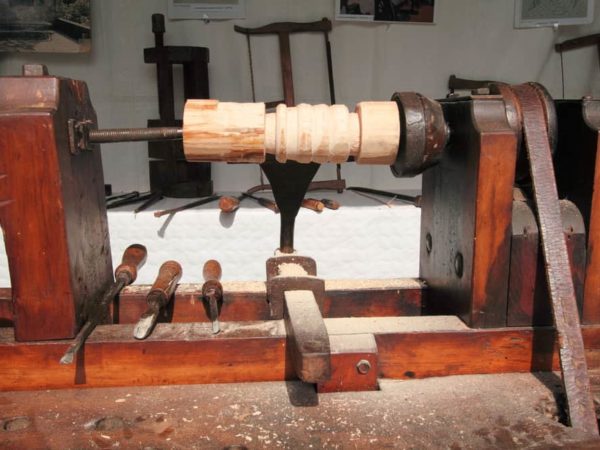
2. Choose the right lathe
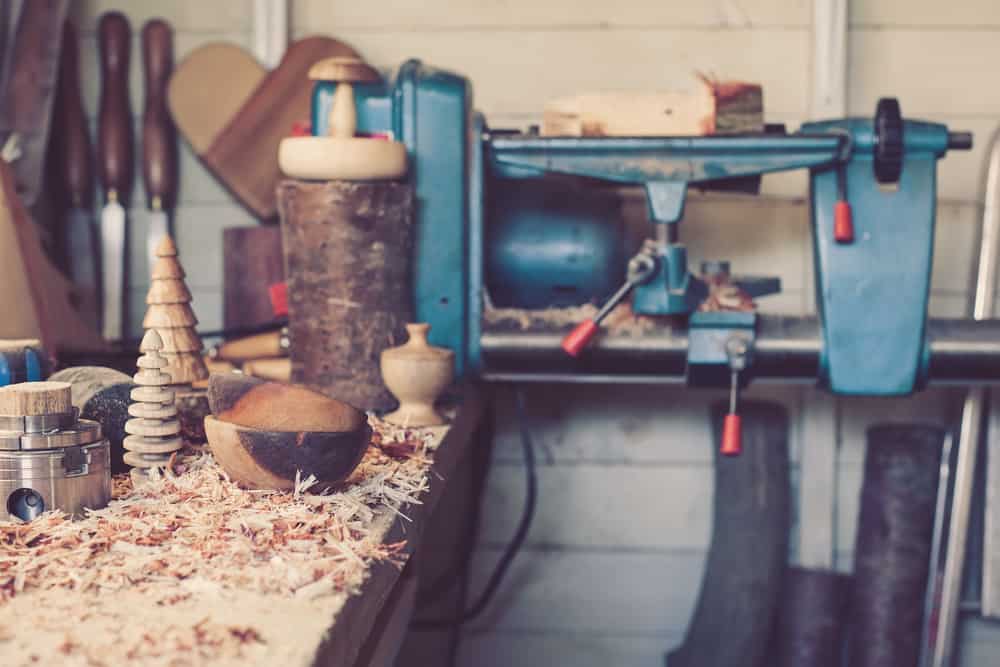
Choose the right lathe for the work you want to do. For turning pens, small ornaments or small bowls, a mini wood lathe than goes on a workbench may be preferable since they allow you to work in more detail on smaller projects.
On the other hand, for turning larger bowls or making furniture, a larger lathe with a longer bed length (the maximum distance between centers) might be a better option.
Also, make a point of learning about the different components and their functions, including the headstock, the tailstock, the wood lathe chuck, the wood lathe tool rest and so on.
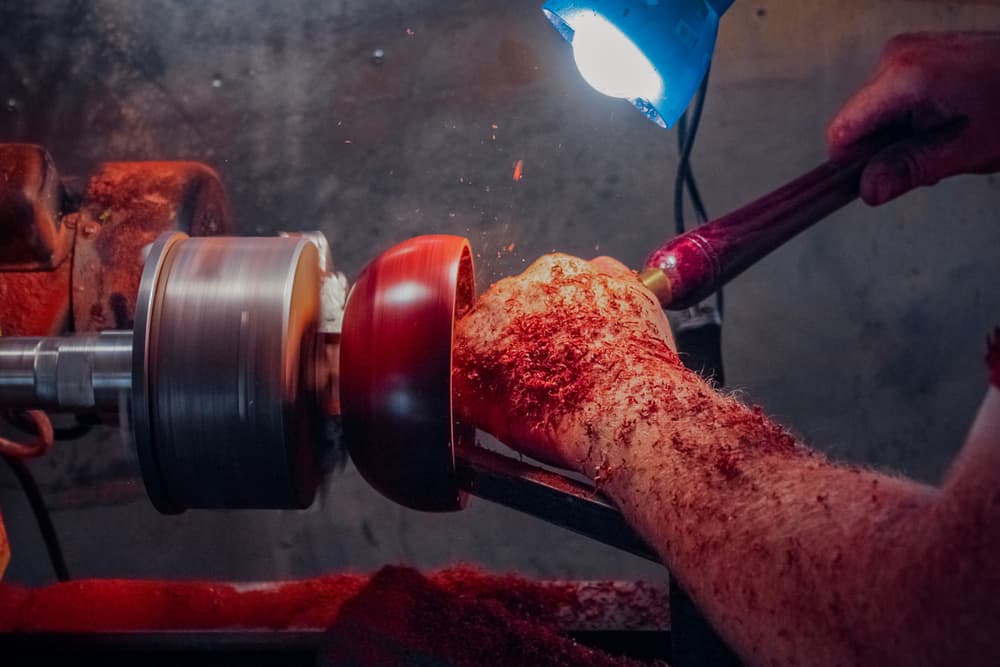
3. Work in the right light
Proper lighting when turning is essential as it will allow you to see clearly the details of what you are working on.
It is a good idea to have a movable lamp in your workshop because shining light from different angles will allow you to see imperfections that you wouldn’t otherwise spot.
For example, what might look like a smoothly sanded surface under light from one angle may actually have visible marks under another – being able to move your light will allow you to notice things like this before it’s too late.
4. Have the right tools
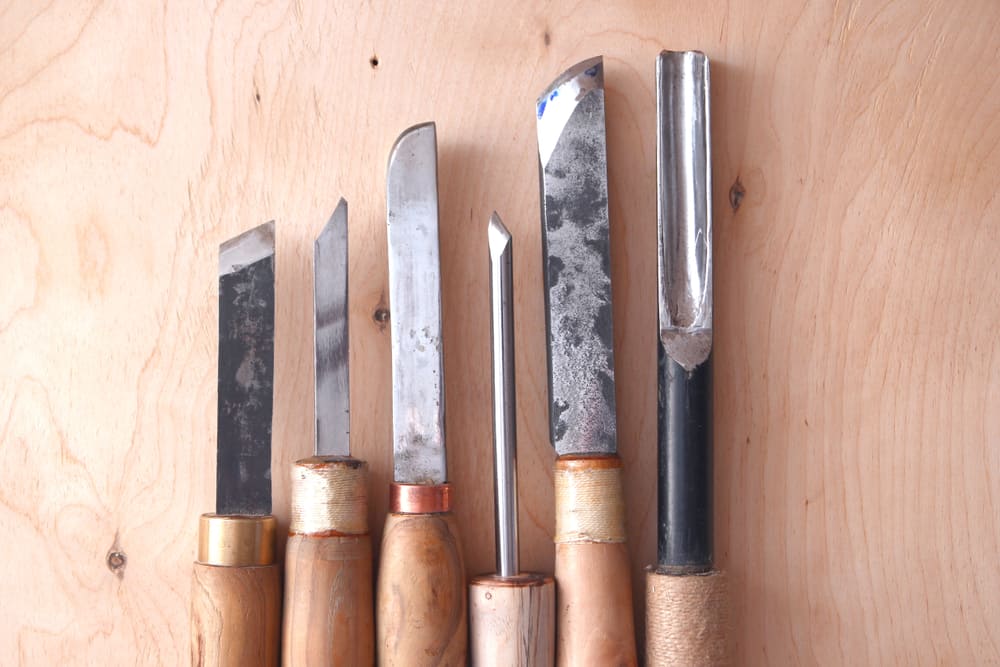
For woodturning, you don’t need a large collection of elaborate tools. There are really only a few main ones you need to make all the basic cuts, including gouges, skew chisels, scrapers, parting tools and so on.
Before you start, buy yourself a good-quality set of these basic implements and you’ll be ready to go.
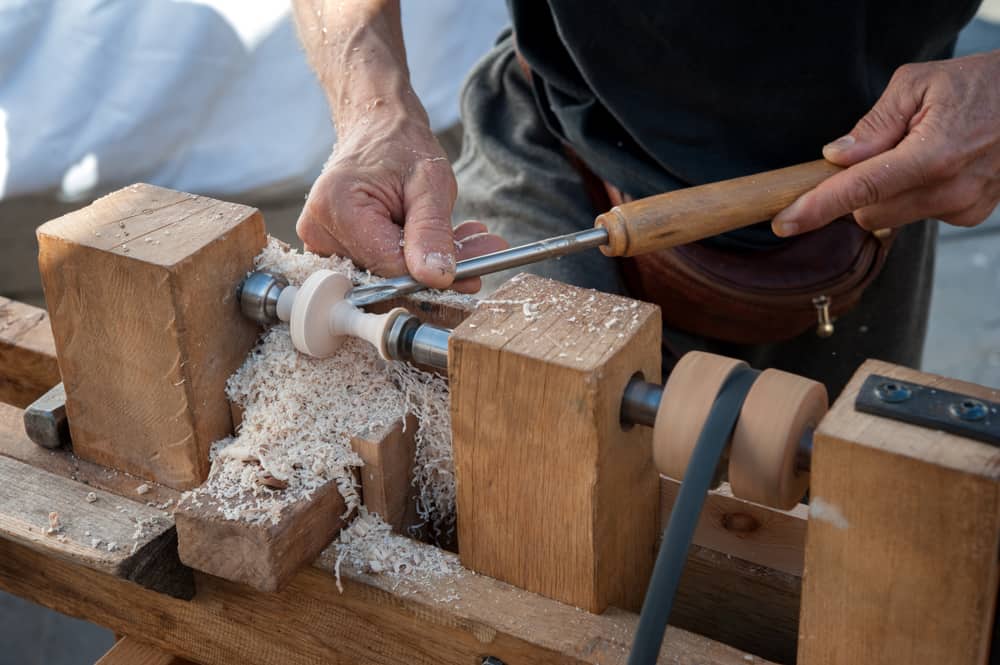
5. Learn to use the main chisels
Once you have your basic toolkit, learn how to use each one correctly. For example, a roughing gouge is the first tool you will use on a new piece of wood to give it the basic shape.
We don’t have space to go into the details of each type of tool here, but if you want to know more, here’s a great video with more information.
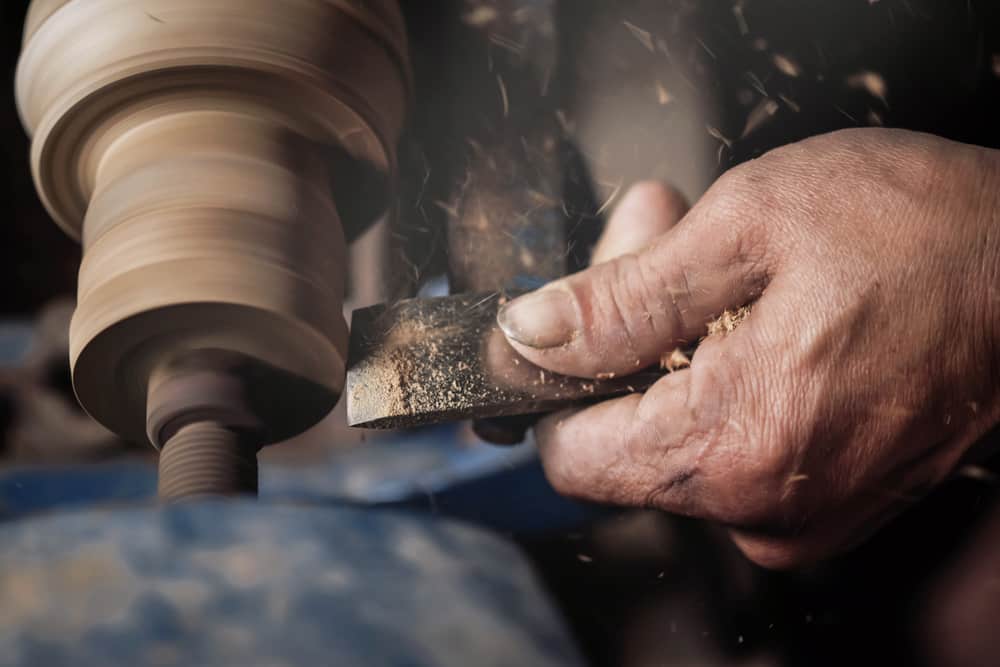
6. Keep your chisels sharp
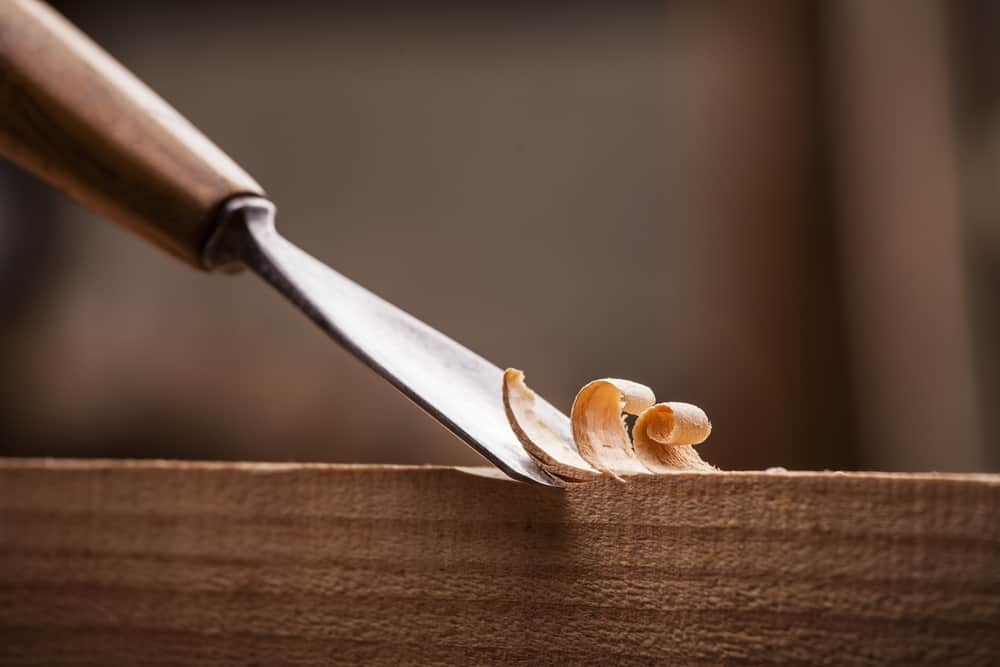
They say a bad workman always blames his tools, but if you don’t keep your chisels in good condition, you won’t be able to work with them effectively.
Once you have your set of chisels and know how to use them, make sure you always keep them sharp. There are two reasons for this. Blunt chisels can catch in the wood, something that can be potentially dangerous to the user – but sharp chisels will cut smoothly, giving the best results.
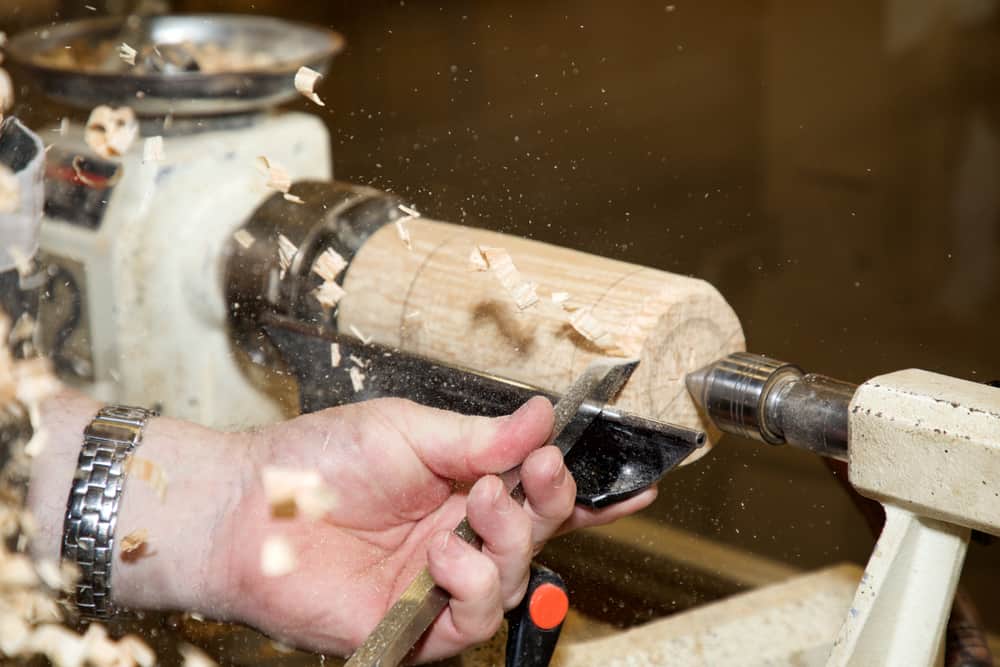
7. Practice the basic techniques

When you begin, spend time mastering the basic woodturning profiles. Many intricate designs are possible, but they are generally based on just a few relatively simple techniques. Once you are confident with the basics, you can go on to more complex and challenging patterns.
8. Start with softwood

For beginners just starting out, it’s best to work with softwoods first. These will be more forgiving, allowing you to master the basic techniques before moving onto more challenging projects.
Also, never work with split wood or wood with loose knots – these can fly apart during turning, endangering the operator.
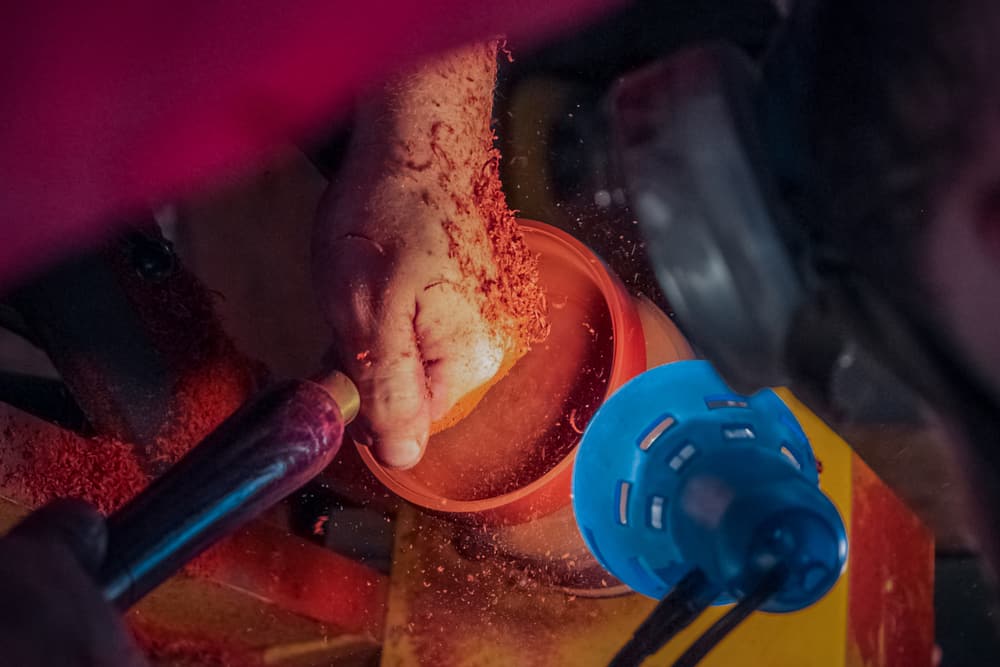
9. Use your body weight to make clean cuts
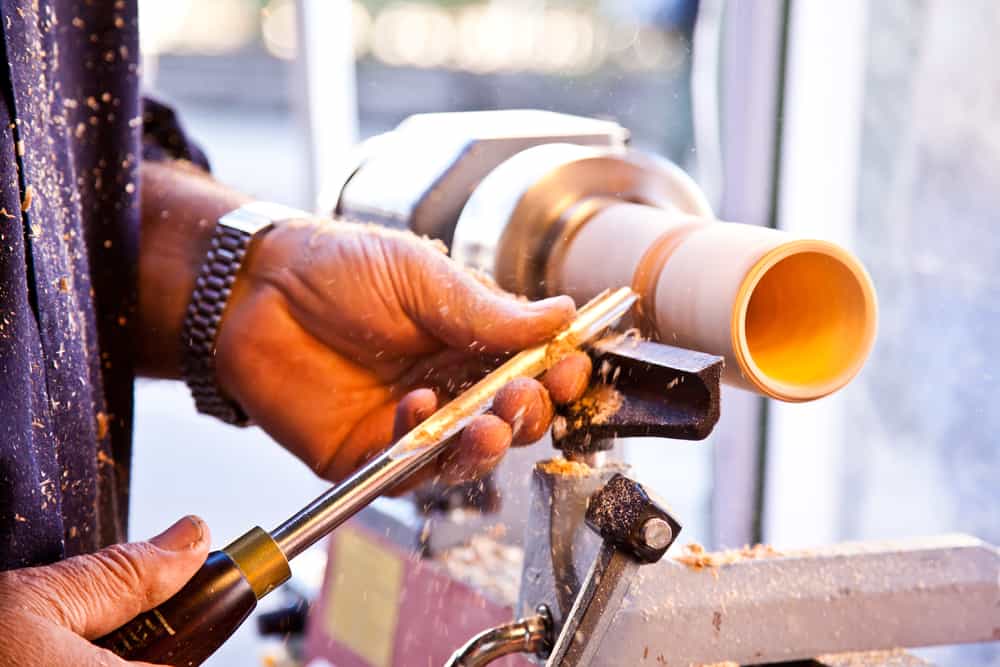
The secret to making clean, smooth cuts is to lean in with your elbows in and braced against your body, using your bodyweight to make the cut. Using this technique will allow you to make much cleaner cuts than if you just use your hand and arm strength.
10. Start off with simple projects and work up
Find some simple, unambitious projects to work on at first – for example, try making a hammer handle, then something easy like an uncomplicated bowl. As you become more experienced, you can allow yourself to become more ambitious and creative.
11. Take off bark with a screwdriver
When working with a block of raw wood, unless you plan to leave it on for the finished piece, remove any bark with a cordless screwdriver.
If you try to remove the bark with the roughing gouge as you begin to shape the stock, it can easily fly off in chunks at high speed and can potentially injure you.
Master the basics and work up slowly
As we said at the beginning, mastering the art of woodturning can take many years of practice, but with dedication and many hours in your workshop, you can get there too.
The key is to master the basics first, practicing the various techniques until you can make each type of cut or pass with ease. Once you feel confident with these techniques, you can begin to experiment, creating beautiful and original works of art of your own.
Don’t forget to pin it!