Have you ever heard about straw bale gardening? I didn’t have a clue that it existed until a couple of years ago.
Very soon, I decided to discover if this way of growing vegetables makes any sense. The idea was to have some fun. Today, I wouldn’t change this way of gardening for any ‘real’ garden in the world.
If you have already heard about Joel Karsten, you know that he was the one who perfected straw bale gardening as a gardening technique. He wrote a book ‘Straw Bale Gardens Complete’ to show us how to make out own lovely little garden.
These days, almost every gardener knows about this man, but he has still enjoyed growing plants in his bale garden in Roseville, Minnesota as he did before he became famous. He prefers roses, tulips, lilies, and dahlias, but doesn’t give up of growing new varieties on 24 straw bales he owns.
Table of Contents
What Actually Straw Bale Gardening Is?
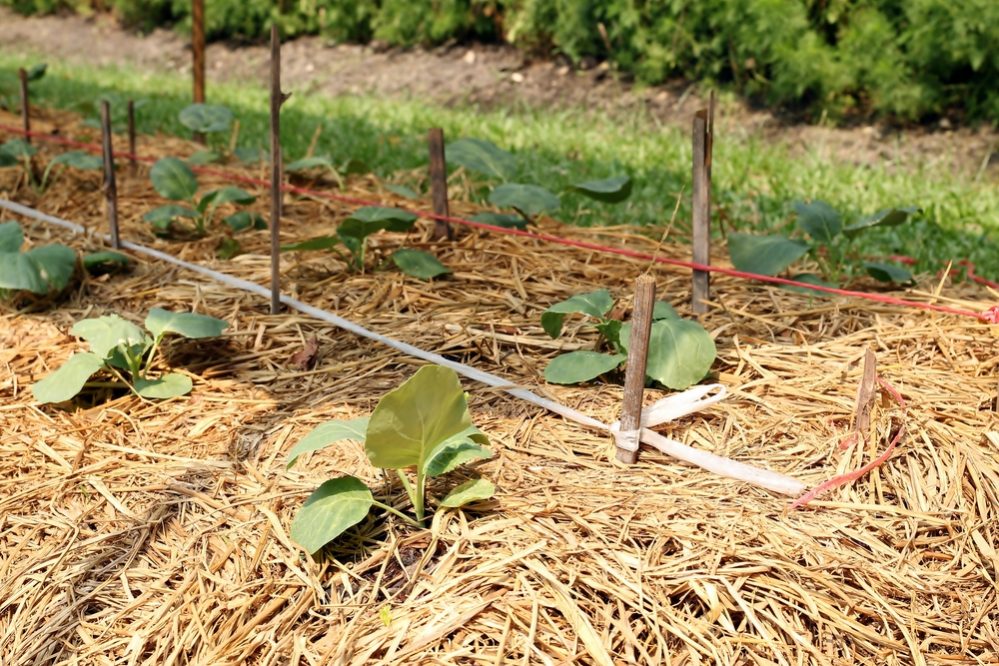
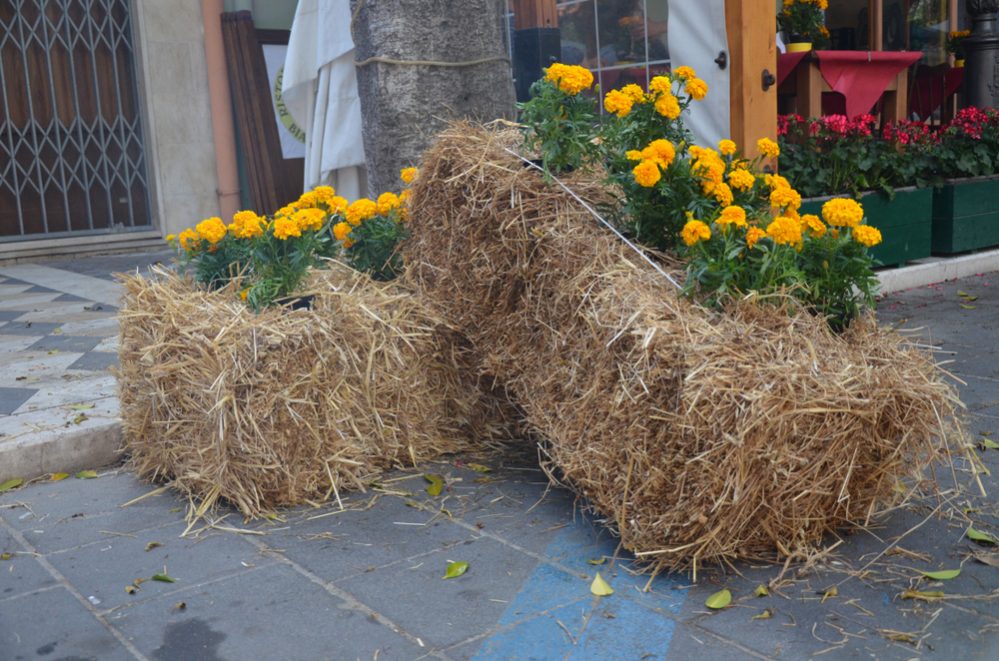
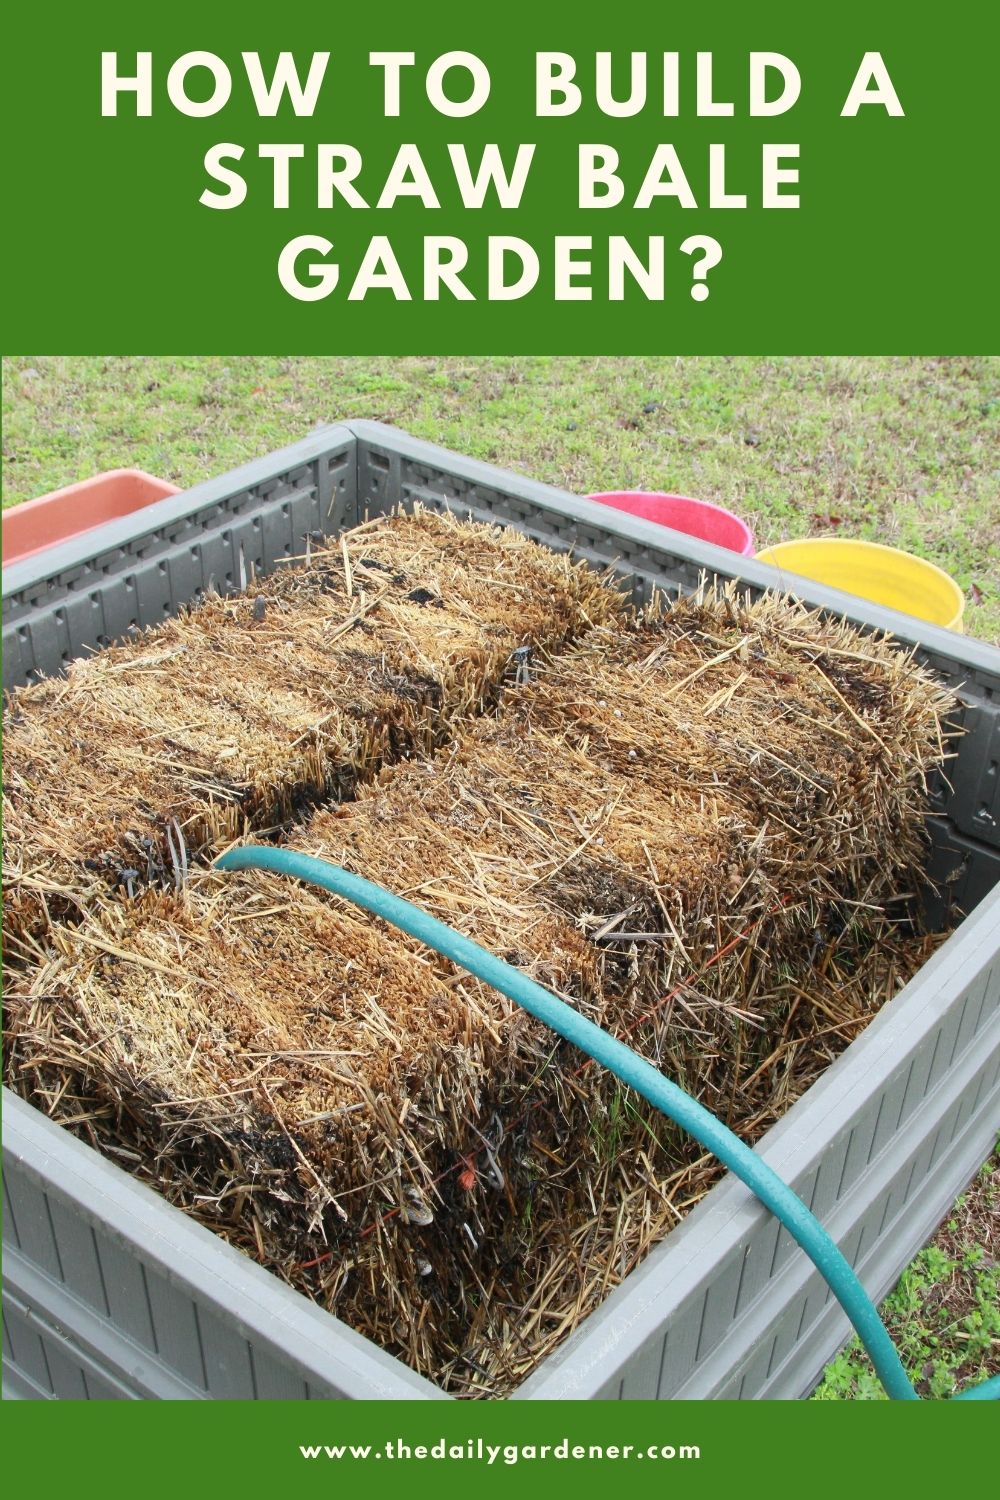
Straw bale gardening is a concept of using bales as natural boxes for growing plants. They are an ideal solution for people without hard soil (or no soil at all) who prefer avoiding plastic waste. You can use bales like ‘raised beds’ in your yard so that you don’t need some additional soil.
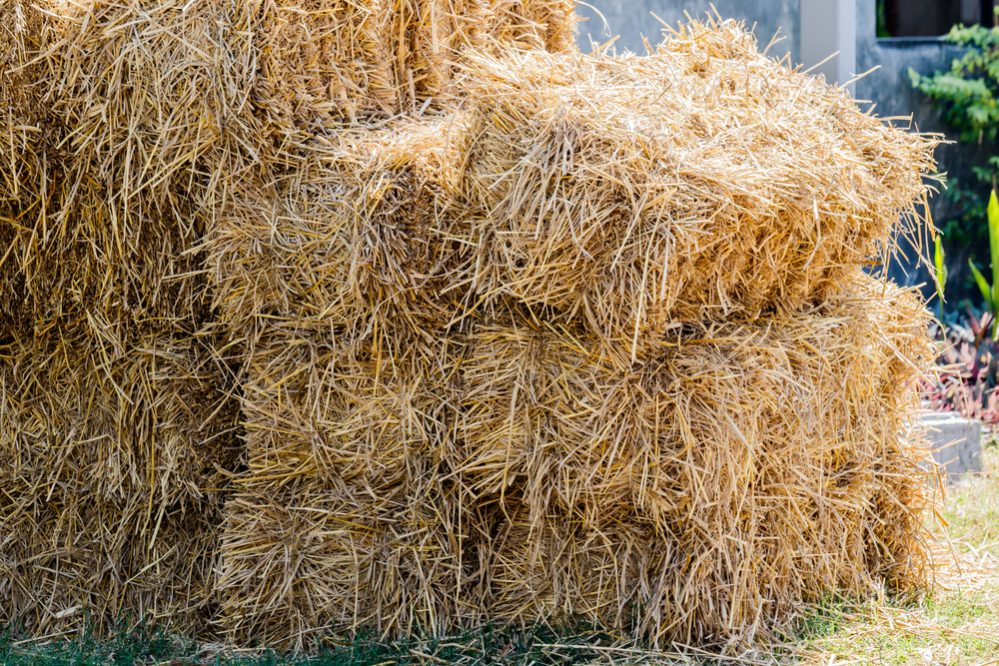
Keep in mind that you need bales of straw, not hay (it is dried grass)! Straw is a bulk of stalks of wheat or barley remained after the harvest. Before starting, you should condition bales, place them in a sunny location, and keep them well-watered, so that you can use them as a growing medium.
Why Should You Start With Straw Bale Gardening?
Straw bale gardening is an uncomplicated system to set up. This type of gardening offers you many benefits. In many circumstances, this garden can be your only option.
- You can create your garden even in areas with high rainfall and when the soil is deficiently draining or poor quality.
- You can make a garden made of a bale or two at flat roof area or even a balcony.
- It will extend the regular growing season up to a month.
- The decomposing straw will produce warmth. It will give your garden necessary heat to stimulate plant’s roots to grow better early in spring as well as an extra growing period in autumn. That makes straw suitable for colder climates.
- The problem with weeds is lower than in regular gardens. If some weeds appear in your bales, you can easily pull it out because the straw is loose.
- Weeding is comfortable because bales are elevated.
- Soil-borne diseases rarely occur in such gardens. Plus, it is free from many pests living in the soil.
- There is no need for heavy physical work to get excellent results. Even seniors can maintain this garden thanks to the elevated design.
- You can move straw bales when you decide to change the positioning of your garden depending on the sun and your decision.
- At the end of the season, you can use leftover straw as the compost.
Straw Bale Garden Problems
Generally, problems with this type of garden are rare, which makes them so popular.
- The biggest problem is a lack of nitrogen and other nutrients in straw which are necessary for thriving. You need to fertilize your bales to get healthy and lush plants.
- The frequent problem is dryness of the bale. Therefore, you need to water your straw bale garden more often, especially during the summer months.
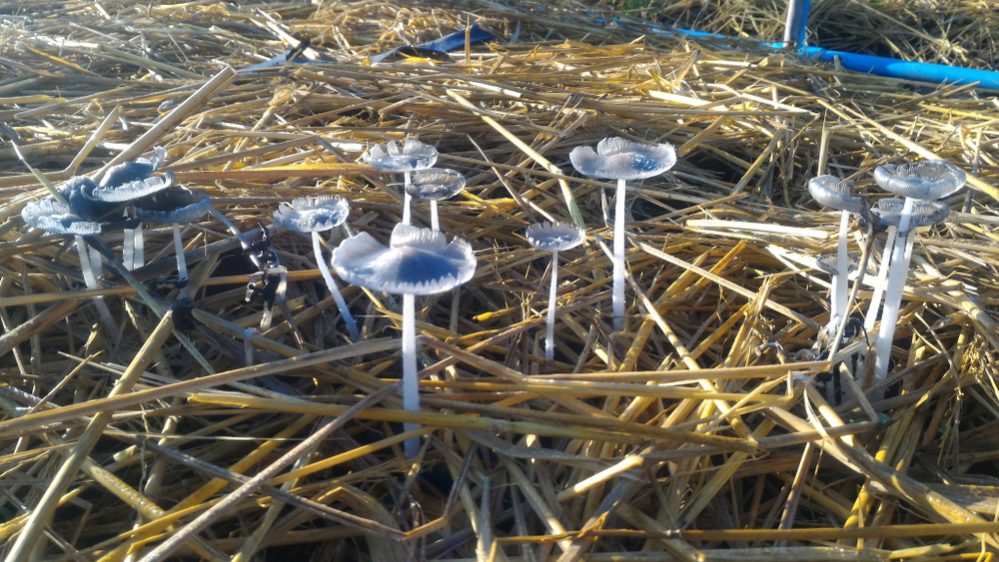
- Mushrooms are a sure sign that your garden is slowly decomposing and progressing well. However, they can be a serious problem because they hinder the development of plant crops. Just pick them off and throw to the trash. Keep in mind that these mushrooms are not edible. Since some of them can be poisonous, choose some other ingredients to prepare lunch.
Which Type of Straw is The Best Choice?
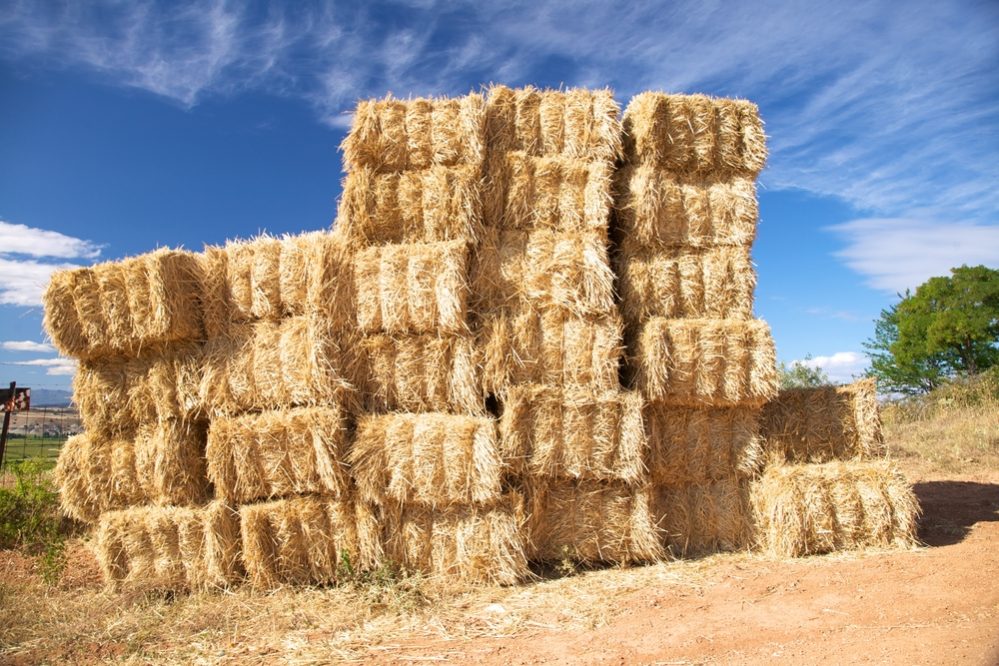
It would help if you did some research before deciding which straw is the best for your future garden. Ask about the straw you can easily get from local farmers. I can recommend you the straw consisted of the bare stalks of wheat, barley, rye, and oats left after harvesting.
You can also choose vetch or alfalfa, but try to avoid linseed or corn bales. Linseed contains oil which slows down the process of decomposition. Corn stalks are too coarse and degrade too slowly.
As I have already mentioned above, avoid hay bales. They contain the seed heads and entire stalk, which is not a good solution for your plants.
Additionally, they are mixed with weeds and other grasses which will sprout all over your bales. If you don’t mind these disadvantages, choose them. This type of bales is packed with nitrogen, and you don’t need to add it to get desirable plant growth.
Where to Buy Your Straw Bales?
Find a local farmer who grows cereals. Ask him if he has a surplus of straws bales. Look for better-supplied plants nurseries, garden centers, home improvement stores, or even some animal feed stores. Probably most of them sell straw bales.
The best solution is to purchase some straw bales at an organic farm. There, you can buy some bales free of toxic fertilizers, pesticides, and herbicides at an affordable price. Talk to people, get to know the farmers in your area and make the most satisfying choice.
The cost of straw bales mainly depends on the region where you live. Approximate prices range from one to twelve dollars per bale.
Equipment and Supplies for Straw Bale Gardening
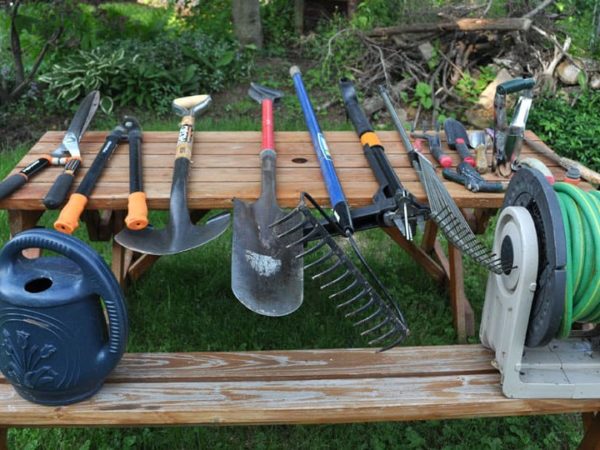
Start with some simple equipment and buy only the necessary tools. Over time, you will discover what tools you also need, and you will be able to purchase them. If you are an absolute beginner in gardening, you should start with:
- Cardboard or sheets of newspaper to cover the bottom of the containers
- Straw Bales
- A hand trowel for planting
- A garden hose
- Organic fertilizer for general plants
- If you need to direct-sow seeds, you will approximately need a bucketful of compost per bale for the initial planting
- Wire fence (optional)
How to Build a Straw Bale Garden
For a start, discover the spot with at least six to eight hours of sun a day and easy access to water. The more your plants are exposed to the sun, the higher the yield you will achieve.
Keep in mind that a wet straw bale can become pretty heavy, which is critical if you plan to organize your garden on the rooftop. Also, constant wetness can damage wooden decks.
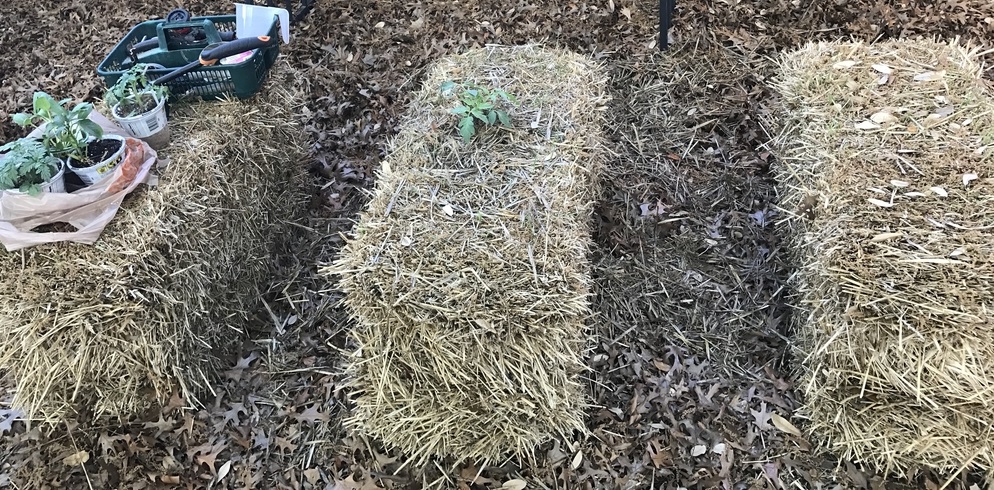
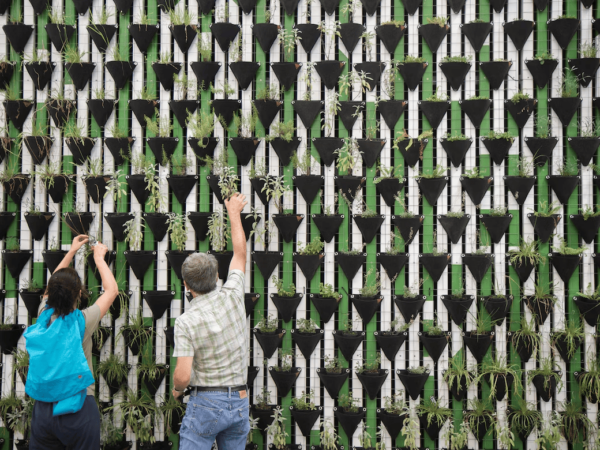
Arrange the bales the way suitable for you. If you don’t have much space, the classic row or circle designs are a good choice. You can be more creative and experiment with complex designs only if you have plenty of open space. If you are a city-dweller, hang your bale on the inside of your balcony rail.
Regardless of whether you sort bales into rows, circles, or in a more complicated way, make sure to leave space between them. In this way, you will make it easy to work in the garden and have enough space for a wheelbarrow and lawnmower among the bales. Once you start watering the plants, bales will become heavy and difficult to move.
Decide if you want to put your straw bales in the container or directly on the ground. Choose a metal or wooden slat for the base of the container, so that air can circulate adequately, and water can drain quickly.
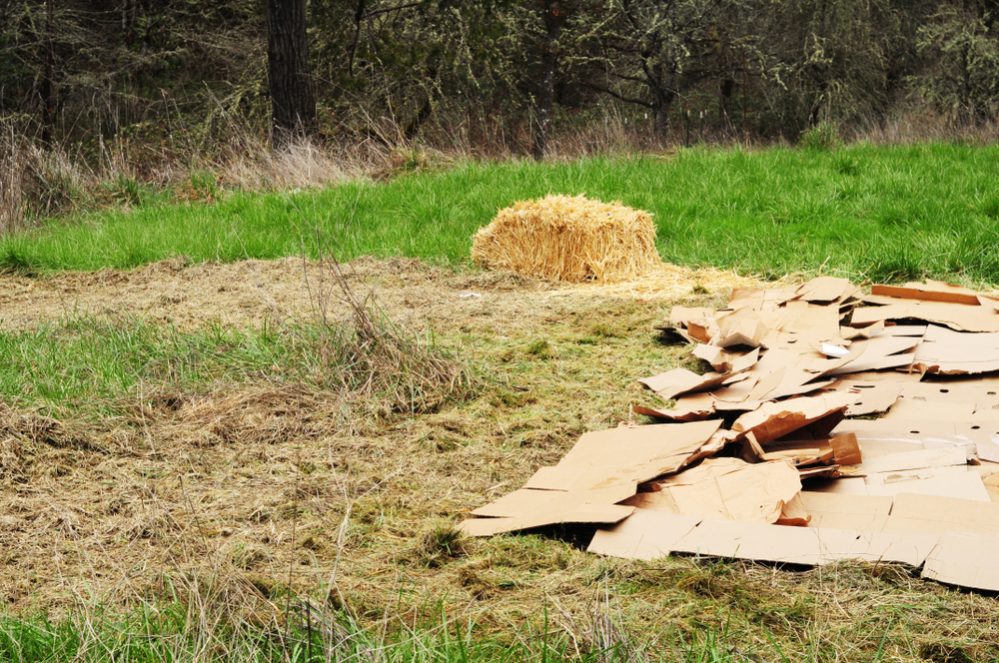
Put some cardboard, fabric, or a sheet of newspaper on the bottom and place a bale on them. This foundation will prevent the growth of weeds into the bale.
Prepping a Straw Bale Garden
You need about ten days to prepare an average straw bale garden properly. The goal is that your straw bales begin to decompose before you start planting them. It is the only way to provide the necessary nutrition for your plants naturally. Do it by following these steps:
- Set up your bales and generously spread all-purpose fertilizer on their top
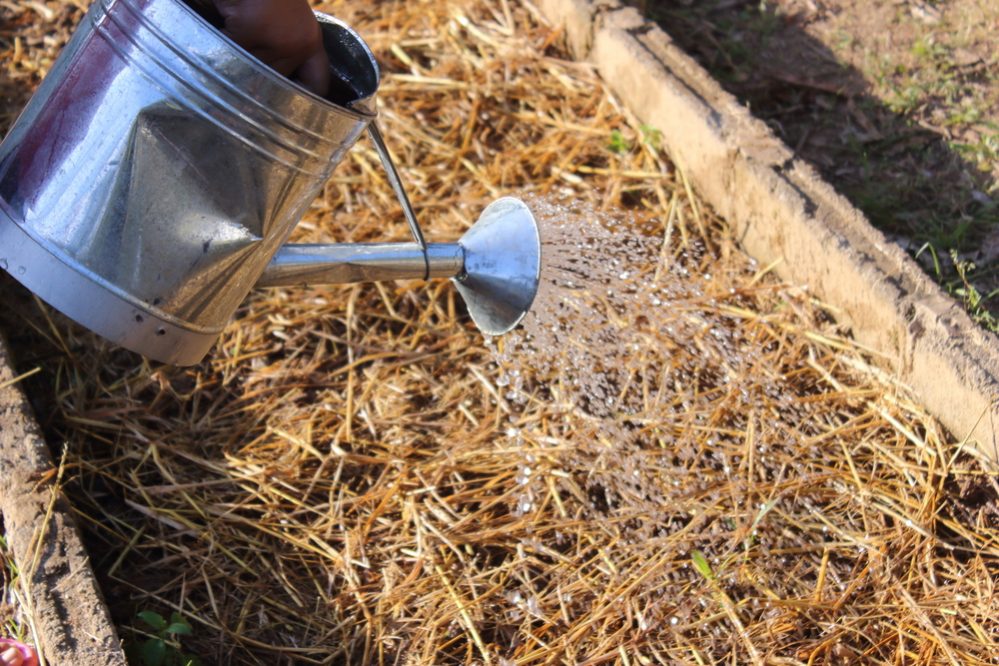
- Water a chosen fertilizer daily to get saturated bales
- Add more fertilizer from time to time, spread it, and soak the bales
- Put a two to three inches thick layer of soil and compost mixture on the top of the bales and plant the desirable seeds
The Best Fertilizers for Your Straw Bale Garden
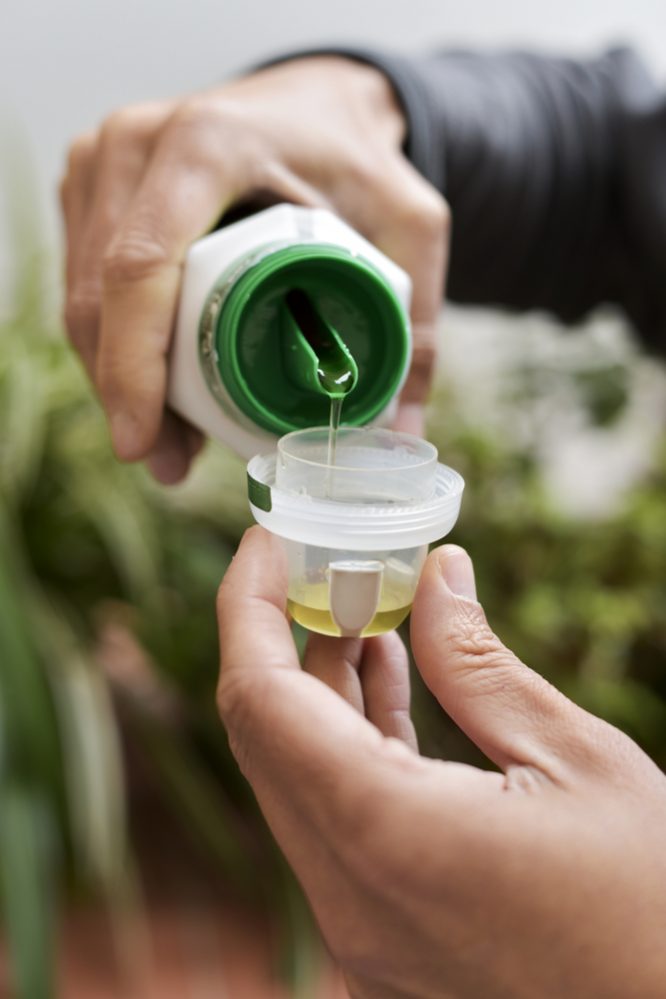
Use good fertilizer because it is essential for keeping your plants healthy. A multi-purpose organic fertilizer, which contains a high level of nitrogen, is always an excellent choice, especially for beginners.
Liquid fertilizer is a better option than granule ones. Take care that your plants have enough phosphorus, calcium, nitrogen, potassium, and other minerals essential for their growth.
If you decide to make an entirely organic straw bale garden, pick one of the available organic fertilizers. I will list just a few for you here:
- Fish oil – It is the most used fertilizer in organic gardening since it contains most of the nutrients which chemical fertilizers also have. This oil has a high level of nitrogen, amino acids, phosphorus, and potassium. Let it be your first choice for an early growth boost.
- Seaweed mix – It is an ideal choice for improving fruiting plants yields. Since seaweed contains minerals and enzymes that other fertilizers don’t have, pick out them if you want to plant potatoes, tomatoes, cucumbers, and peppers successfully.
- Wood ash – This old-fashioned fertilizer provides potassium and lime for the healthy growth of your plants. Also, if you sprinkle it around the plants, it will be an ideal means of protection from pests. To avoid that wood ash produces salts when gets wet, add it to your compost. That way, the salts will quickly drain away.
- Compost ‘tea’ – It is a perfect choice to suppress fungal diseases and provide beneficial microbes for your plants. Choose this fertilizer to boost your garden plants effectively considering the fact that it can quickly make nutrients available to plants, even faster than chemical fertilizers.
- Bone and fish meal – These fertilizers provide calcium, nitrogen, and phosphorus for plants. Plus, fish meal is rich in potassium.
Pick Out the Right Plants
Finally, we have come to the fun part. You should decide which plants will be most suitable for your straw bales garden. Even though you can grow almost anything in a bale, the fact is that some plants grow better in bales than on the soil. Plants that are the best choices for your first time are:
- Tomatoes
- Cucumbers
- Potatoes
- Carrots
- Turnips
- Eggplants
- Radishes
- Yellow squash
- Zucchini
- Peppers
- Lettuce
- Chard
- Broccoli
- Spinach
- Kale
- Cabbage
- Cauliflower
- Herbs such as basil, cilantro, and parsley
- Fruiting plants, especially strawberries
Don’t forget to provide support for fruiting plants that climb or hang. Extremely tall varieties can weaken bale, and it is probably wise to avoid them for your first year.
How many plants you can grow per bale?
The most popular plants for straw bale gardening |
|
|
Plant |
How many per bale |
|
Tomatoes |
2 – 3 |
|
Zucchini |
2 – 3 |
|
Squash |
2 – 4 |
|
Strawberries |
3 – 4 |
|
Peppers |
4 |
|
Cucumber |
4 – 6 |
|
Lettuce |
Per directions on the package |
|
Beans |
Per directions on the package |
Inform yourself how many plants you should cultivate per each bale. It primarily depends on which ones you choose.
For example, you can plant two to three tomatoes, squashes, or zucchinis per bale, and three to four peppers, cucumbers, or strawberries per each one. Also, you can decide to grow a mixture of plants.
What Not to Plant in Straw Bale Garden
There are not many plants you can’t or shouldn’t grow in your new straw bale garden. Try to avoid:
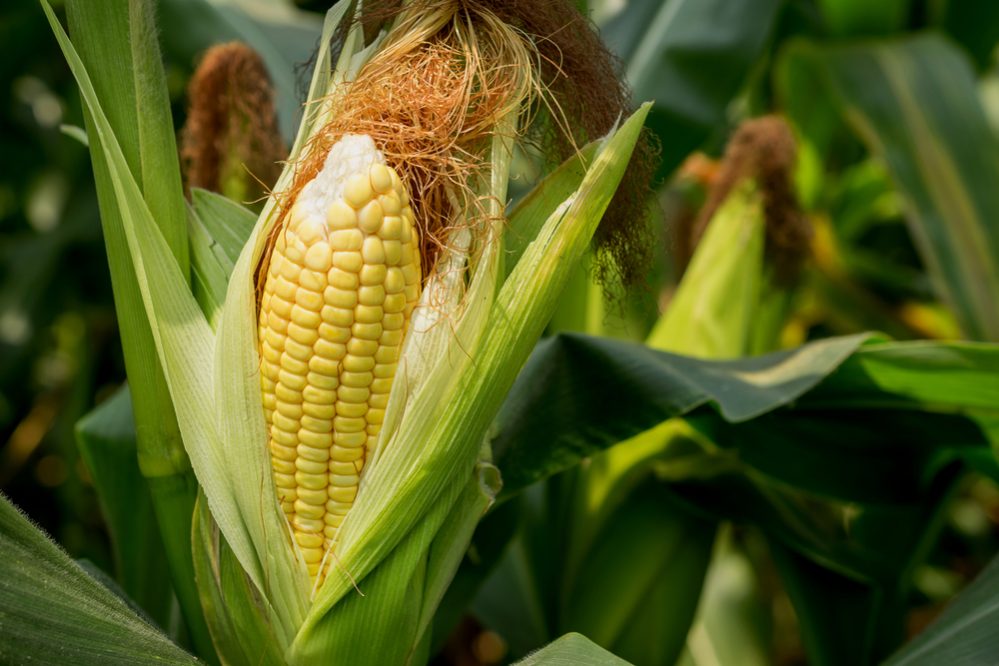
Standard corn because it is a top-heavy and too tall plant for a straw. Your bale will probably topple over or break apart under its weight.
Plants that spread by ‘offshoots’ with their own roots or running plants are a too big challenge for the beginner. Avoid them at least the first season.
How to Plant in Straw Bales
There are two ways to plant your straw bale garden:
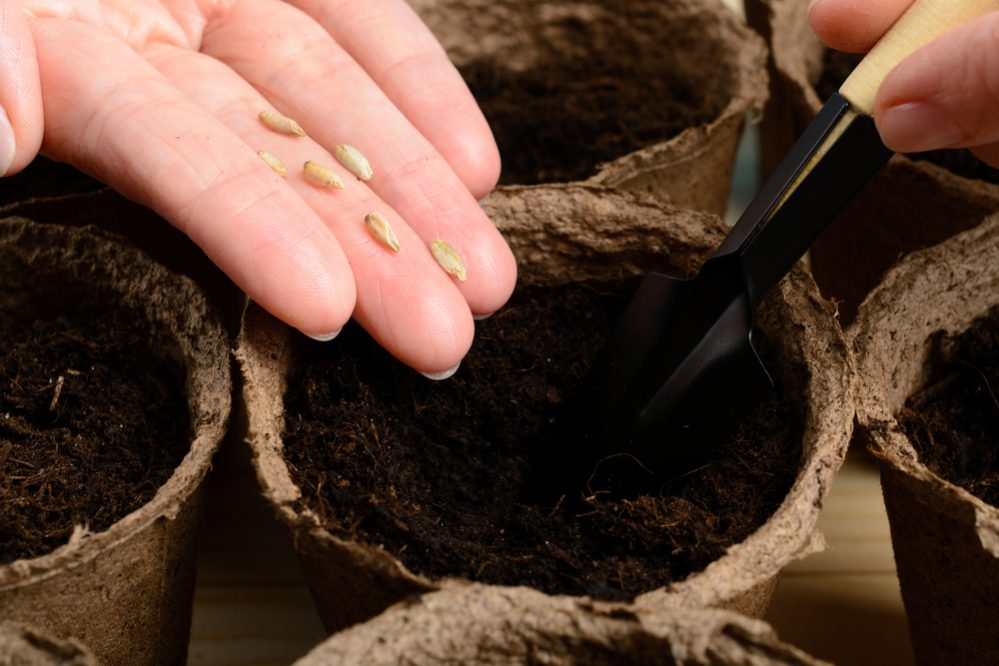
- Direct way – Use seed starting and plant it directly into the bales.
- Indirect way – Grow seeds in small pots, wait them grow, and plant out the young plants into the bales.
Take care of the position of different plants and try to place taller ones in the back. So, they won’t shade the smaller greenery when they grow.
If you are not sure how to plant particular seeds, just follow the directions on the package. There is no difference in planting compared to a traditional garden.
How to Maintain Your Plants
Once your plant your veggies and herbs, you need to look after them adequately to help them grow. Be prepared for regular:
- Watering and fertilizing – Straw bale gardens require much watering. You need to water bales daily because straw quickly dries out.
- Weeding – It is an easy task since weeds hardly creep into a straw. The foundation made of cardboard, fabric, or newspaper is helpful.
- Pruning – Remove unhealthy-looking dead leaves and rotting, discolored, and pest-infested fruit.
- Support – Utilize supports such as loosely-looped wire, twist-ties, or twine to hold your plants in place. That way you will help your fruit and veggies to grow in the desired direction.
How to Harvest From Straw Bales
Harvesting is actually the most pleasurable part of the gardening process, and there is no difference between straw bale and soil gardening. When your plants grow at their full size or height, it is the time to pick them.
Conclusion
If you are one of those people who love growing your own garden, but you don’t have enough space, straw bale gardening is an excellent choice for you. You need to make a plan and do some research. There are many beginner’s guides that will undoubtedly help you at the very beginning. Go for it!
Don’t forget to pin it!

