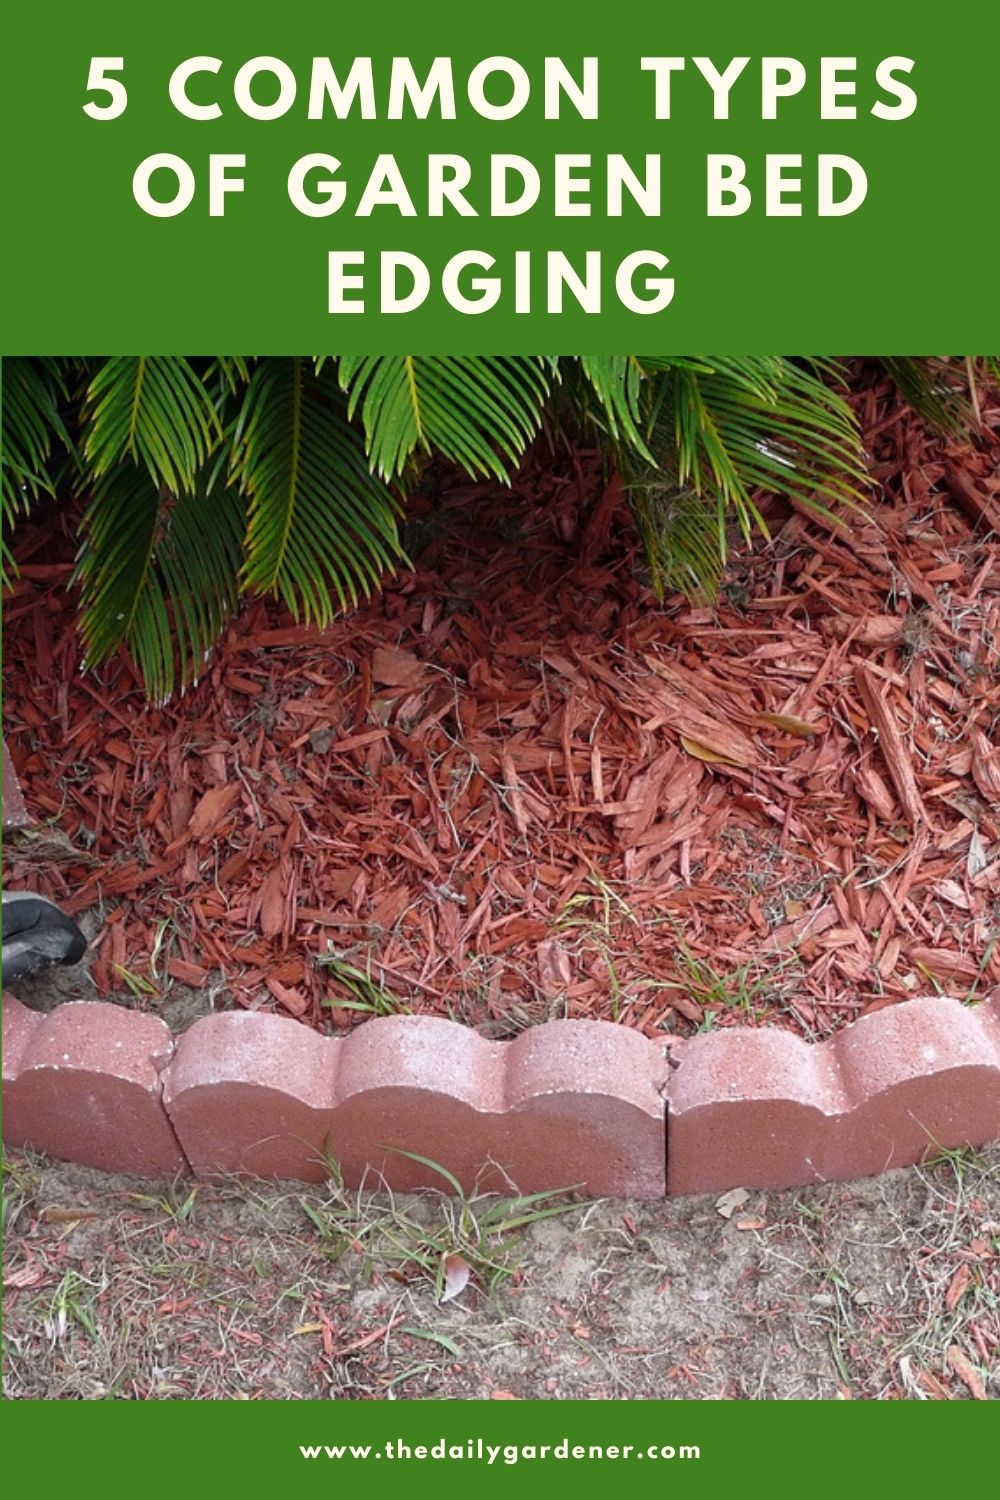
Are you looking for a quick and easy way to make your garden look tidier and more cared for? Or perhaps you are looking to do some more substantial work around your edges?
Having a clearly-defined lawn can create a strong impression – so here are our best garden bed edging tips.
Table of Contents
Why Bother with Edging?
Edging is something that is time-consuming first time round and then needs constant work to keep it looking in perfect condition – so why bother? Well, there are several reasons.
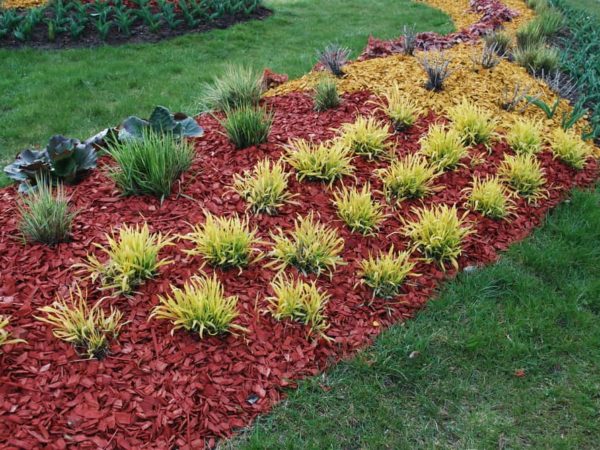
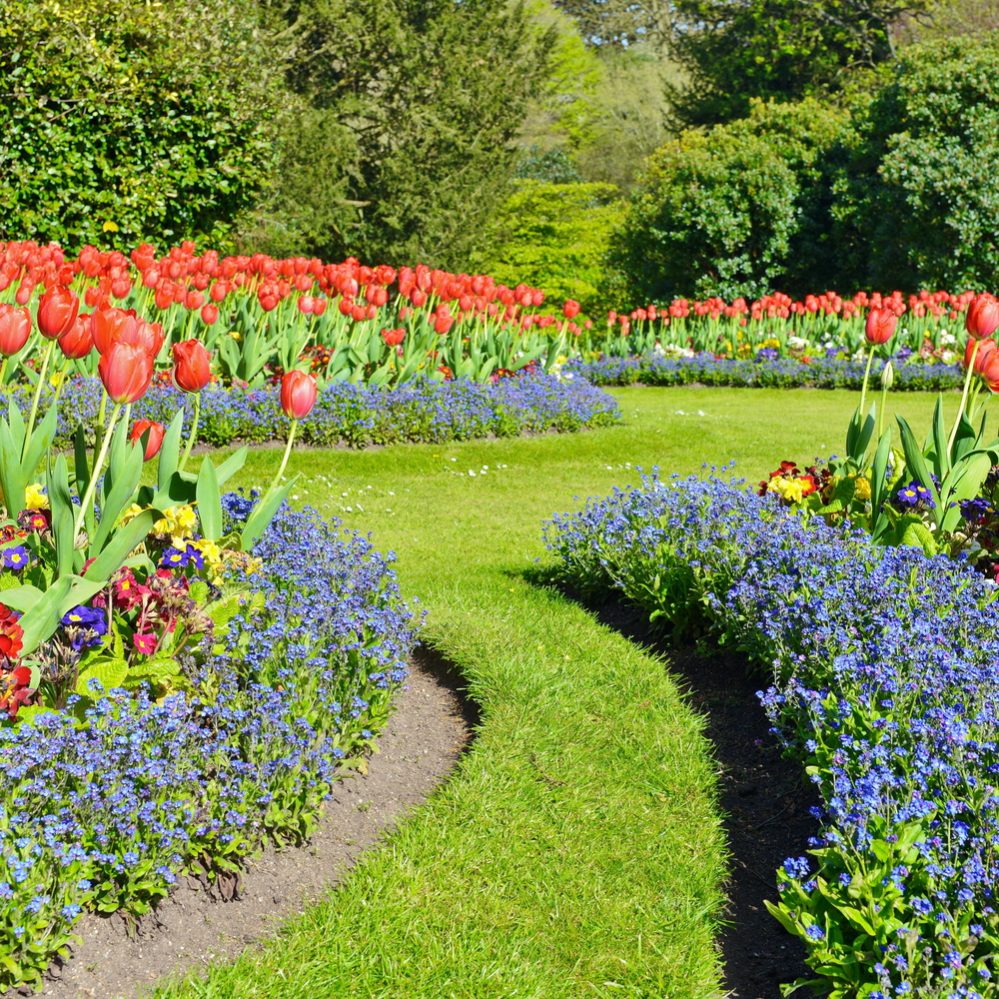
The first reason is simply that it looks great. A finely manicured garden with a lawn that has well-defined, crisp edges has a very striking look. It feels like a garden that is looked after and is the very opposite of an overgrown garden you have lost control of.
There is also a practical purpose, too. For the integrity of your lawn and flowerbeds, it is important to keep them separate. If left alone, plants and grass will quickly migrate across the border, and you will have grassroots in your flowers and weeds in your lawn. Proper edges help prevent this.
However, before you take your spade in hand and start digging up your garden, think carefully about whether you really need an edge at all. For a soft, informal look with flowers hanging over the borders, sometimes a lawn looks better without a clearly defined edge.
Different Types of Edging
There are several different types of edging, ranging from the very simple and inexpensive to the complex and costly.
Of course, your budget is going to be of primary concern – there’s no point dreaming of a garden that requires an outlay of thousands of dollars if you simply don’t have the funds – but another key consideration is the aesthetics you want to create.
If you are hoping for a neat and tidy garden with a clearly defined but understated lawn border, you might consider a simple trench. On the other hand, installing a wall around raised flowerbeds will create a very impressive visual effect.
Here, we look at five different options, from the simplest and least expensive to those that involve the most significant amount of work – as well as the financial outlay.
1. Simple Trench
Having a simple trench around your lawn is one of the easiest ways to create an edge – and is also the least expensive. The first time you create the edge, you will have to put in some hard work, but then you will also have to expect to do maintenance on the edge at least once or twice a year.
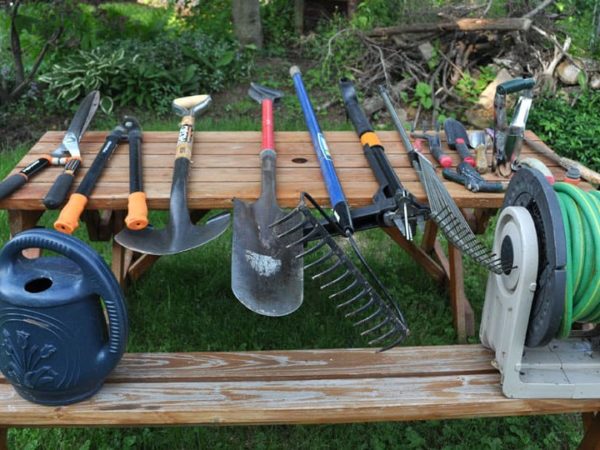
The main advantages of this method are that it requires nothing more than basic gardening tools you probably already possess and that it will cost you very little – nothing at all, in fact, if you don’t need to buy any new tools.
However, it will not remain a permanent feature in your garden, and if you don’t look after it, it will gradually disappear. While a freshly-dug trench can look clean and stylish, this effect will be short-lived.
What you need
- Edging tool (special type of half-mood spade specially for the purpose)
- String and stakes OR paint OR garden hose
- Garden trowel
- Garden shears
How to do it
The first step is to mark out exactly where you want your border to be. If you want your edge to be professional-looking and sharply defined, this step is vital. If you just take your spade and start digging, you will end up with a horribly uneven border and your garden will look scruffy.
This first step is easy, and how you do it depends on your garden. If you have straight edges, the easiest way is to tie a piece of string between two stakes and use that. Alternatively, for curved edges, you can paint a line onto the grass or lay down a garden hose to follow.
First, use the edging tool to cut along the line you have established and remove the chunks you cut out. Next, for a really sharp edge, you need to get on your hands and knees with your garden trowel and tidy the edge by hand.
Finally, take your garden shears and work your way around trimming the grass to establish that perfectly straight, clean edge you were dreaming of.
Tips
- You can save yourself time and effort by using a machine to cut the edges rather than the edging tool. It is possible to hire one if you don’t own one yourself
- You can also save time by using an electric trimmer rather than trimming manually using shears
2. Plastic Edge
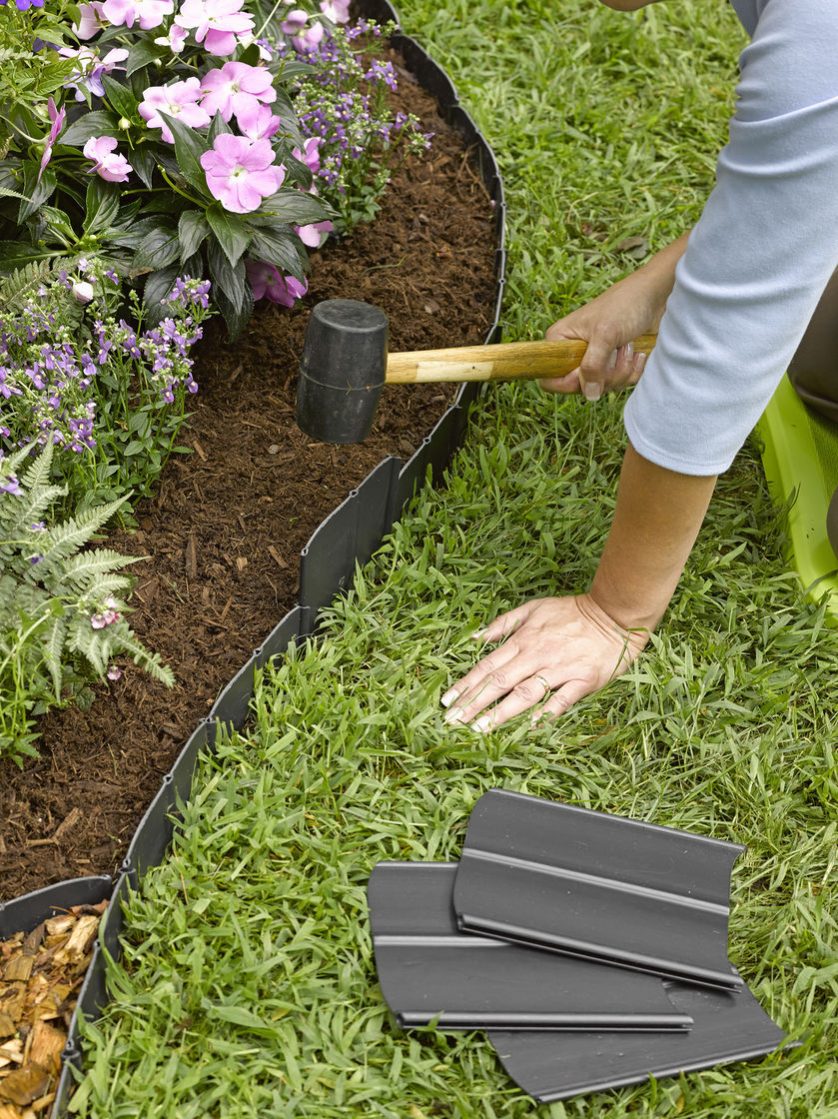
This very common edging solution has the advantage of being longer-lasting than a simple trench while still being an inexpensive option. It requires some work when you first put it in, but after that, it will require less maintenance than if you just cut a trench.
On the other hand, plastic edges can look cheap. They are also more visible than a metal border, and having your lawn surrounded by a line of plastic is not the most attractive option. If you do go for plastic, choose the more durable version; it will stand up better to lawnmowers.
What you need
- Square spade
- String and stakes OR paint OR garden hose
- Plastic Edge
- Stakes
- Hacksaw
How to do it
First, mark out your edge in the same way as described above for a simple trench. Once marked out, take your square spade and work your way round, digging a narrow trench for the plastic edging to go in – the trench should be about an inch less deep than the edging.
Once the trench is dug, place the edging in and support it with stakes. You may have to cut the final piece to size with the hacksaw.
When everything is in place, drive in the stakes. The top of the edging should now be about half an inch higher than the lawn itself. Backfill the trench and push down firmly.
Tips
- If the edging is lower than the lawn after you drive in the stakes, pry it up a little with a hammer or a shovel
- Make sure the edging is not too much higher than the lawn – otherwise you will catch it with the lawnmower
- After compressing the soil on the trench, cover with mulch
3. Metal Edge
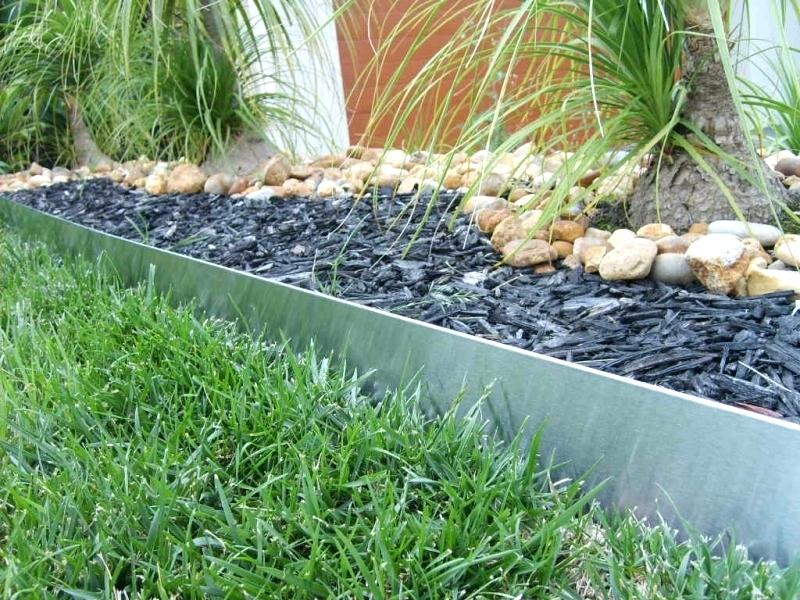
A metal border is the same as a plastic one except that a painted metal border can be almost invisible – compared with a highly-visible and often ugly plastic one. Metal also lasts longer, but of course, metal borders cost more – and you may even need to order the material specially.
You have two choices, steel or aluminum. Aluminum is lighter and won’t rust; you can probably find aluminum edging at a larger garden center or at a landscape supplier. Steel is heavier and will eventually rust; it is also harder to find at regular garden centers than aluminum.
What you need
- Square spade
- String and stakes OR paint OR garden hose
- Metal edging
- Stakes
- Hacksaw
How to do it
The method for a metal edge is exactly the same as for a plastic one. Dig out the trench and place in the metal edge, making sure it doesn’t sit more than half an inch higher than the lawn. Support it with stakes, backfill the trench and then hammer in the sakes.
Tips
- Metal edging will bend easily around gentle curves, but if you have sharper curves, it can be more problematic. In this case, bend your edging around something circular to produce the right shape before installing it into the trench
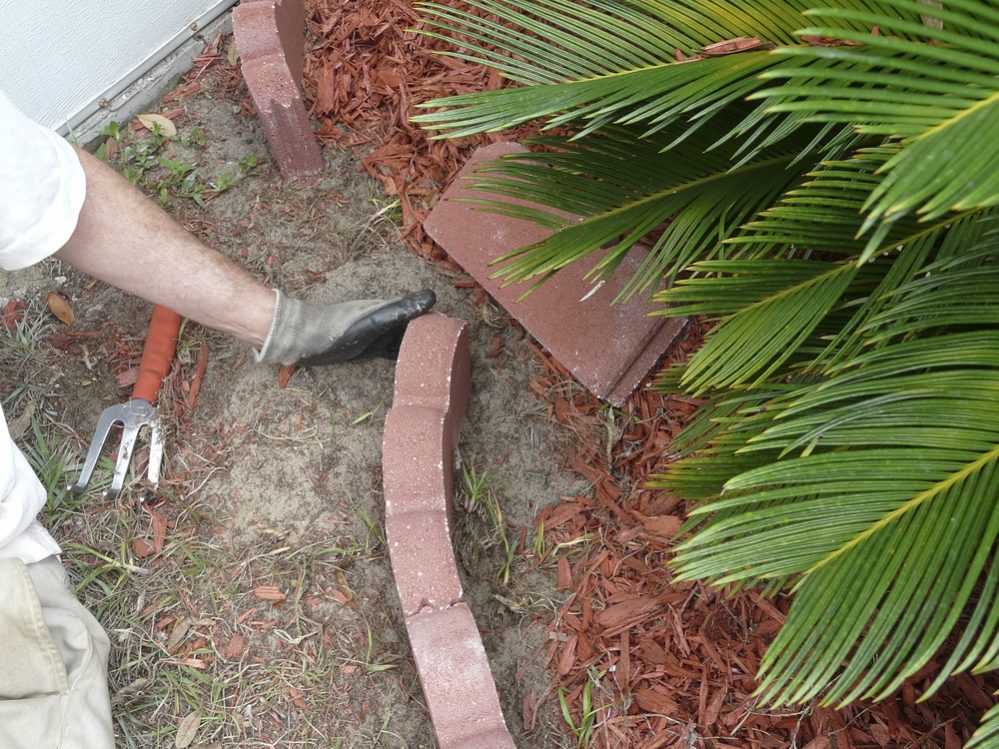
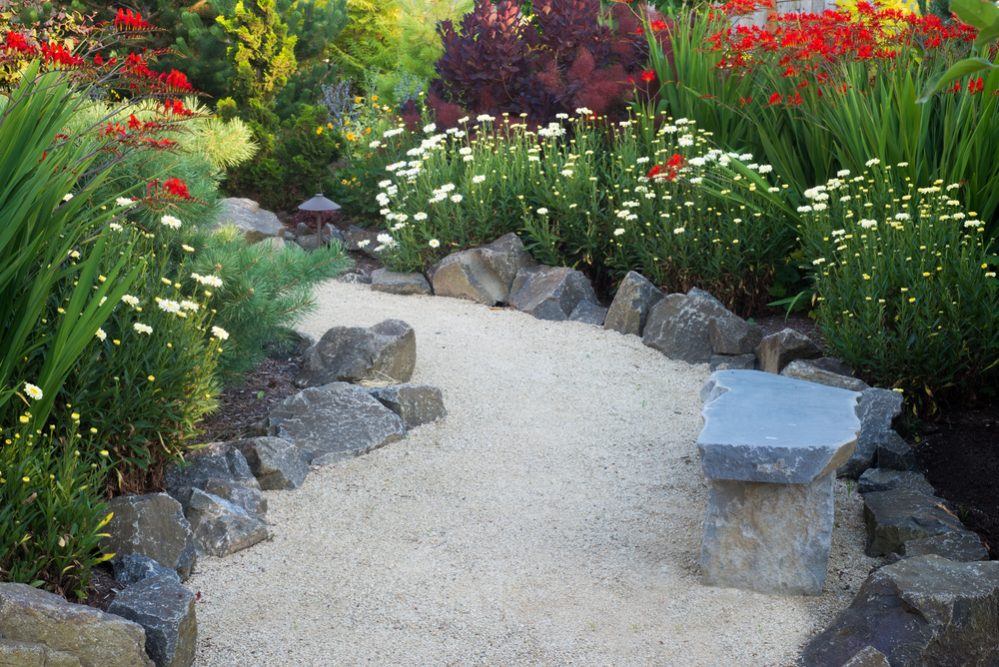
4. Paver Border

A paver border is a big step up from simple trenches or plastic/metal borders in several ways. Rather than trying to make it as invisible as possible, the whole point of this kind of edge is for it to stand out, highlighting your lawn with a clear outline. A paver border makes a bold statement.
This kind of border is also a step up in terms of work, materials, and expense. You will have to be ready to pay considerably more and, if you are installing it yourself, you will need to be ready to put in the hours to lay it.
The result, however, will be an elegant and stylish garden. Your lawn will have a border that keeps grass roots from reaching your flowerbeds, weeds will have a hard time establishing themselves in your lawn and you will have a perfectly flat platform for your lawnmower when cutting the grass.
What you need
- Square spade
- String and stakes OR paint OR garden hose
- Landscaping fabric
- Sand (enough to half-fill the trench for the pavers to sit on)
- Pavers
How to do it
Mark out the edge using string, paint or a garden hose as explained above. Dig out a trench about four inches deep and about an inch wider than the bricks you plan to use. Pay special attention to the grass border – this side of the trench needs to be sharp and clean.
Line the trench with landscape fabric and half-fill with sand. Pack the sand down and then lay the bricks tightly over the sand. The tops of the pavers should be just slightly higher than the level of the lawn. The pavers should be placed close together, but you can fill any gaps with leftover sand.
Tips
- Make sure the pavers are slightly higher than the lawn – this will help when it comes to mowing
- The sand and landscaping fabric will help prevent grass or weeds crossing the border – however, eventually, some will push through and will need to be weeded
5. Raised Flowerbed Border
This is the most demanding option to install as well as being the most expensive. At the same time, it is also the most prominent type of border and will dominate most gardens. This kind of border can be especially effective in a boring flat garden since it adds an extra dimension.
The actual stone you use may depend on what is available in your local area, but the weight will invariably be considerable. You should make sure you have the stone delivered as close to where the work will be taking place to save yourself unnecessary labor.
What you need
- Square spade
- String and paint
- Stones for the wall
- Gravel
- Chisel and hammer
- Goggles
- Landscape fabric
- Optional: plastic or metal border
How to do it
Start by marking out the border with string, making sure the curves are smooth and rounded. Paint the line onto the ground so there is no risk of it moving.
Dig out a trench along the line; it needs to be about four inches deep and six inches wider than the stones you are going to lay. Fill the trench with gravel and then lay the first course of stones. They should be set back a couple of inches from the grass border.
Lay the second course of stones on top of the first. You will need to pay attention to the shapes of the stones to find the best fit; don’t be afraid to chip away at the stones with the chisel to help make them fit better.
Cover the inside of the wall with landscape fabric and fill with earth. Once filled, you can trim any excess fabric. The fabric will stop the earth from your flowerbed gradually washing out through gaps in the wall.
Although some might find it unattractive to add a plastic or metal border, you can include one (as described above) where the gravel meets the grass. This will help keep it clearly defined, and you can cover the section between the lawn and wall with mulch.
Tips
- If you use the chisel on the stone, always wear goggles to protect your eyes.
Many options for many different looks
The most important thing to do before you start is to visualize the kind of garden you hope for when the edging is completed. This will allow you to consider which of these five options is most suited to you before you spend your money and begin the work.
Don’t forget to pin it!