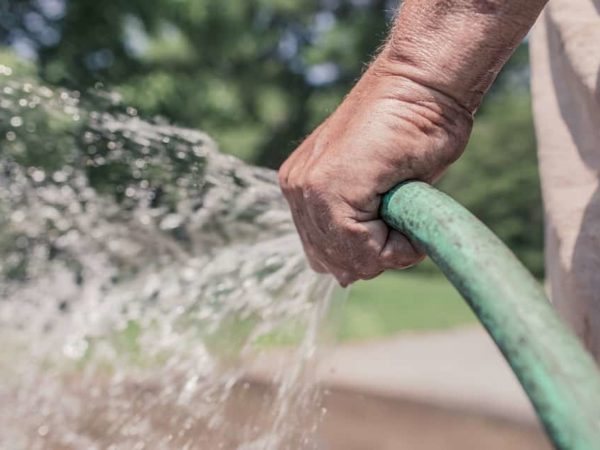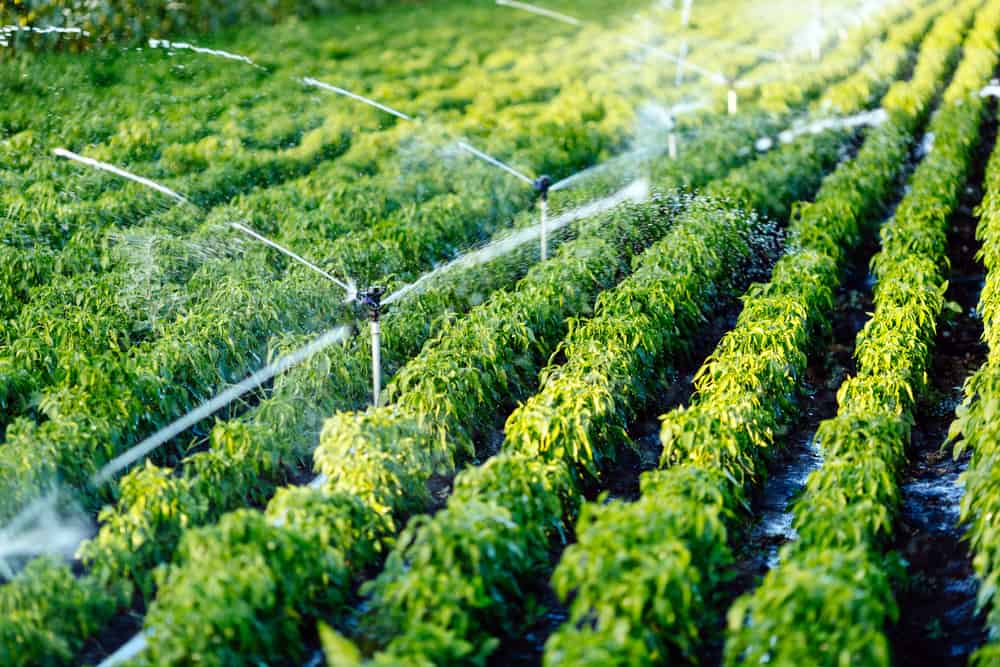
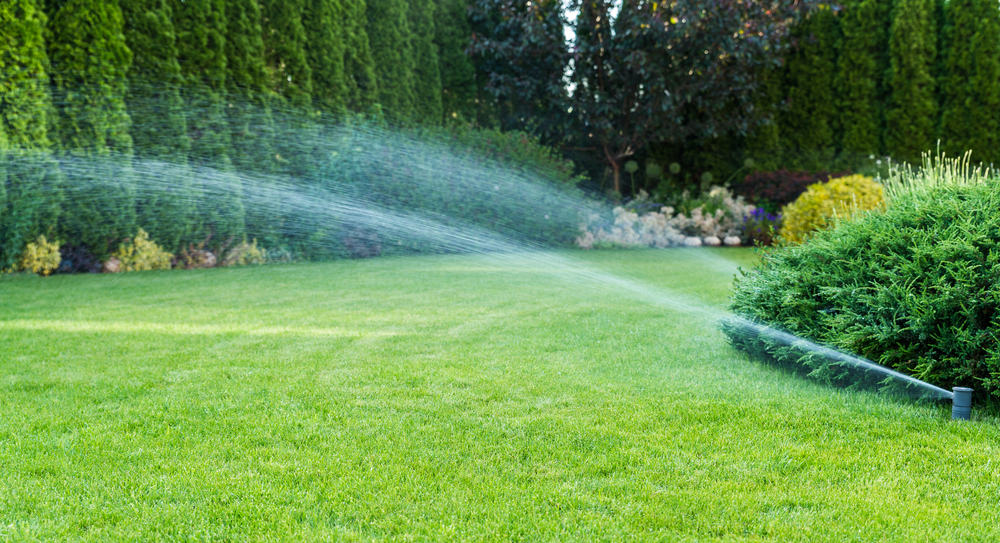
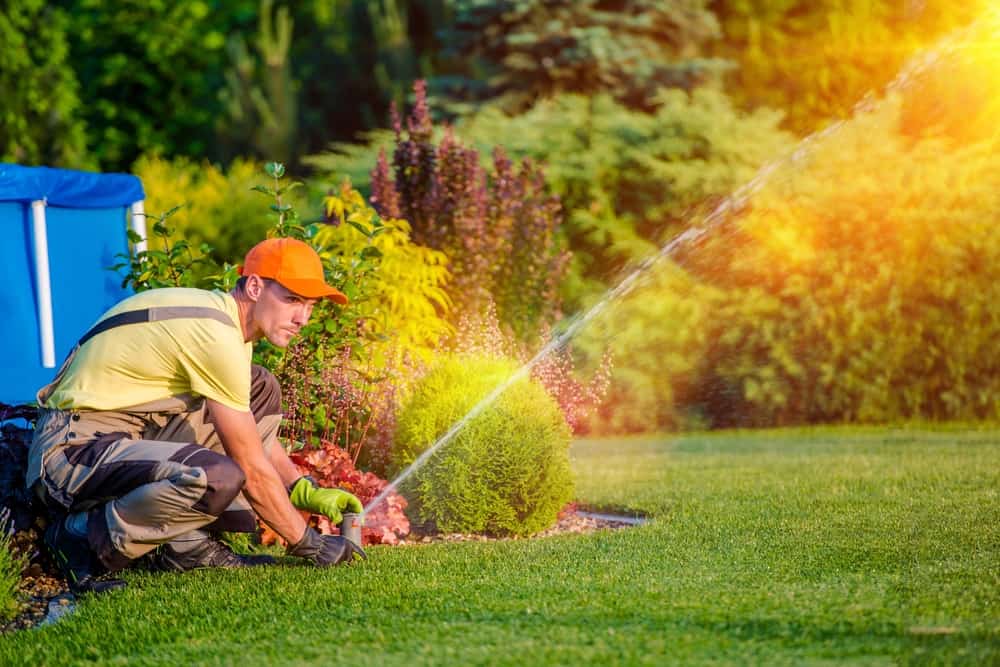
If you have your lawn or garden, you know how vital watering during long, hot days is. A sprinkler system can be a really reliable and convenient solution for you.
Plus, the process of installation is not too complicated, and you can save up to 40% of the cost of a professional installation.
Table of Contents
How to Start
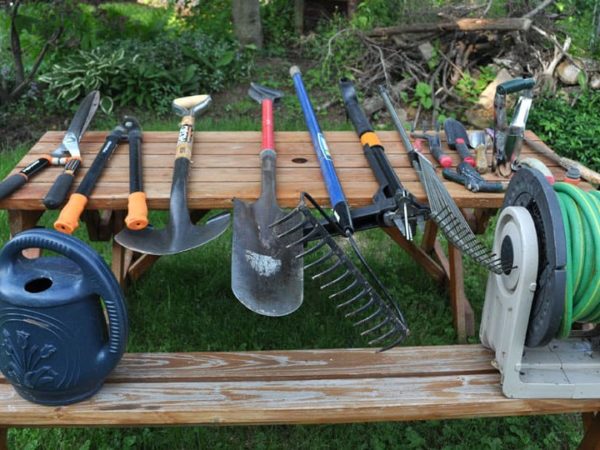
After evaluation of the size and shape of your garden that you want to water that way, you need to determine the most effective sprinkler type for you, dig out the trenches as well as install the pipes, control manifold, and sprinkler controller.
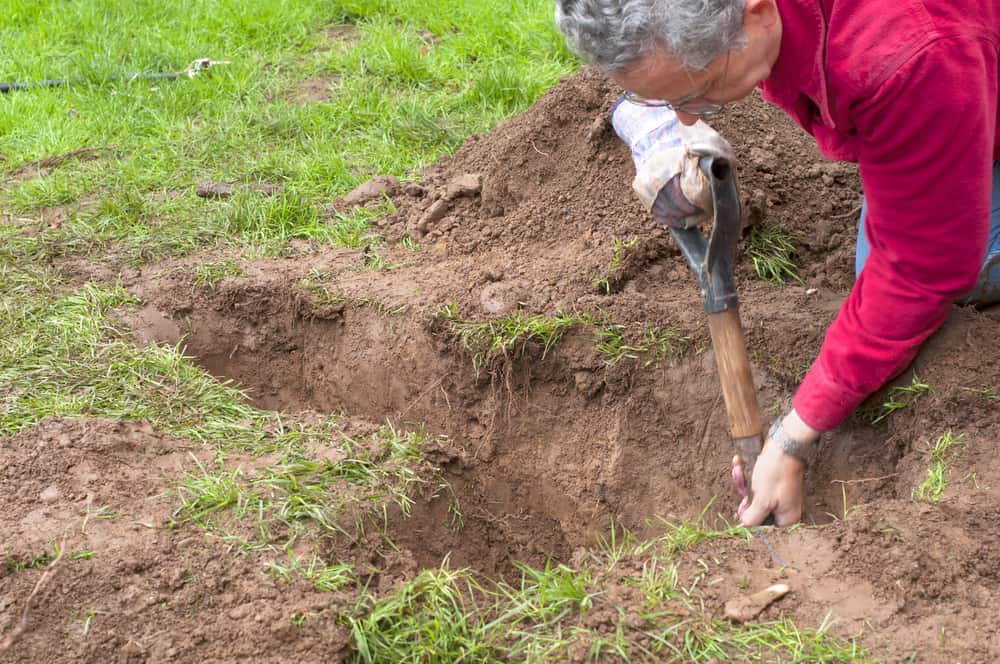
After a big shopping, go to your yard, take a shovel in your hands, and – start digging. Well, I have said that you can do it, but not that trenching and connecting the water source will be a simple task.
In the end, after connecting everything, you just need to flush the whole system and enjoy watering your garden effortlessly.
Why Install an Underground Irrigation System
Cost savings
This type of irrigation systems implies a host of benefits, including a drop in costs. You will notice the decreasing of monthly water bills after a month or two, while the initial costs will be repaid after a few watering seasons. Believe it or not, I am talking about hundreds, sometimes even thousands of dollars in water costs per season.
Increasing the value of your property
By saving water, you will become a socially responsible and eco-friendly property owner. Plus, the system will enhance the efficiency of your home and consequently increase the marketability and value of the property.
Time savings
You couldn’t believe how much time you can save by installing this system. Not to mention the elimination of highly frustrating timing schedules, dragging hoses around your lawn, and struggling with spot-correct problem parts of the yard.
This sprinkler system operates on the simple principle. It is on you to set the system correctly and let it run early in the morning to allow your plants and grass enough time to absorb the water.
Probably the ideal time for this activity is a period between 4:00 a.m. and 8:00 a.m. Yes, it is as excellent as it looks. Your yard will be watered and become fresh while you are sleeping!
How Do You Get Started?
Be aware from the very beginning that an underground irrigation system is not an easy project. Every mistake can cost you money and additional time for fixing.
However, you will notice the first results almost immediately after starting using a well-installed system. Also, this system requires so little maintenance throughout a long period, so it is worth the effort and initial costs.
For a start, you should:
- Check the local codes
- Submit permit requirements
- Research the ordinances of the local municipal watering
- Find out if the local regulations require a licensed professional installation
- Before every digging, you need to check for possible underground utilities
- Sketch the whole lawn
- Determine the grass and soil type to determine the level of water requirements you need to provide
- Determine water pressure in PSI (pounds per square inch) and water flow rate in GPM (gallons per minute)
- Check the water supply line diameter
- Determine well pump size if you have a well, or water meter size for a municipal system
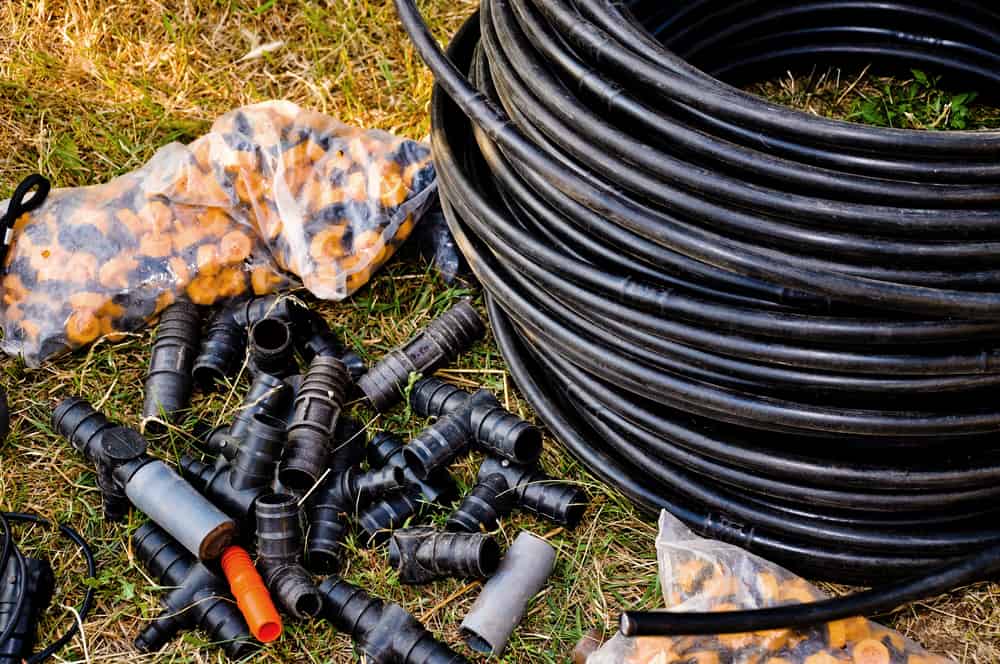
- Purchase the correct components
- Most manufacturers offer the planning guides, and you should read them carefully
Determine local codes
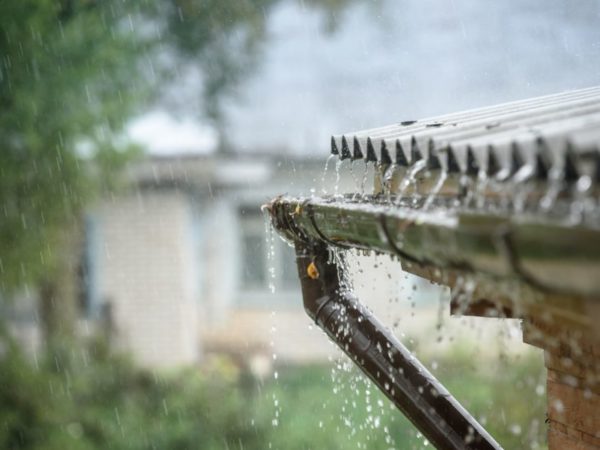
Before digging, you need to go to the local municipality and check about code requirements for your future underground irrigation systems. Also, to prevent possible contamination of water when the water pressure decreases, you need to inspect anti-siphon valves and backflow preventer.
They need to give you a required permit for installing the system and inform you if you can do the job by yourself or need a licensed plumber to connect the main line.
If there is an option to use reclaimed (recycled) water, you should take it since it is greener and less expensive solution than a regular one.
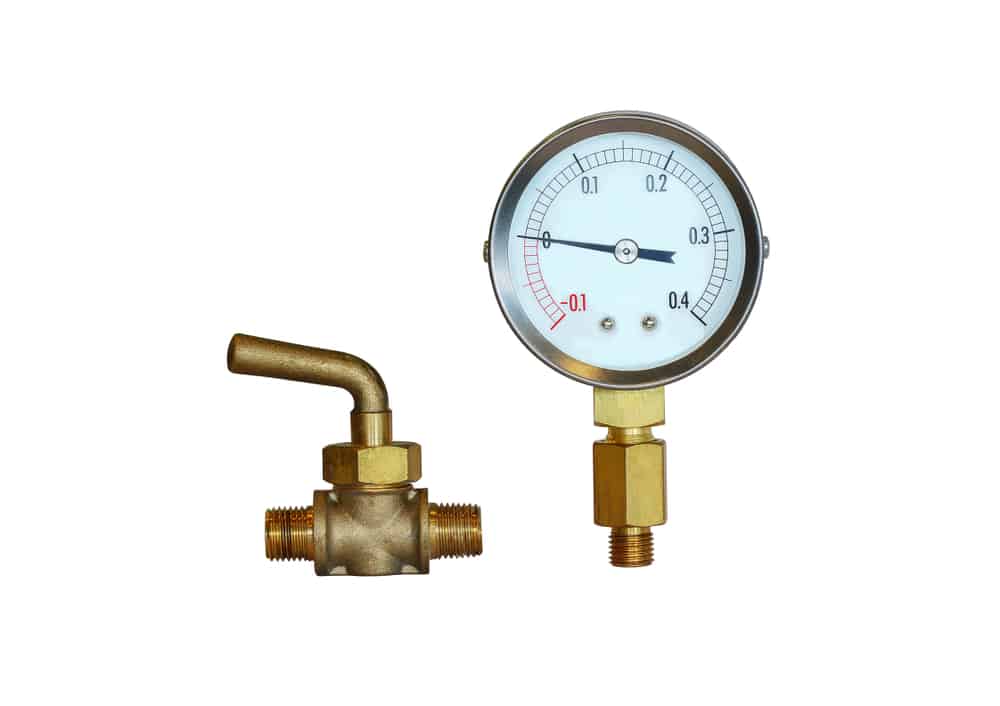
Determine water pressure
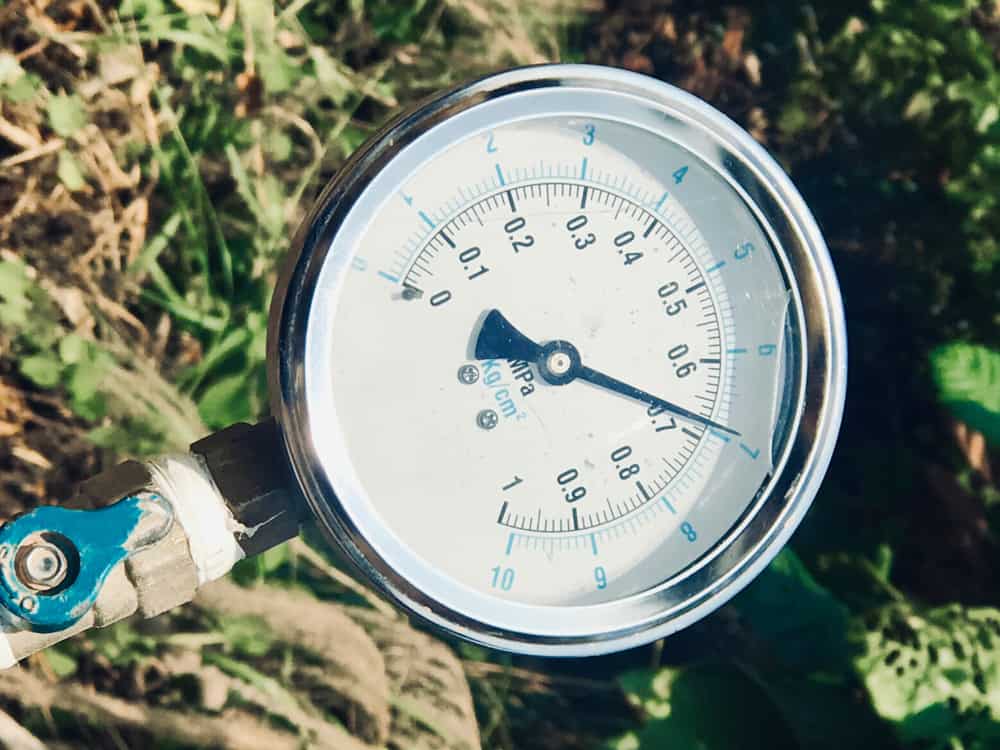
There is a possibility to get the water pressure value from the local municipality, but those numbers won’t be specific for your house but an average for the whole neighborhood.
Therefore, you should do it on your own. You need to use a pressure gauge to measure both water pressures, static (when the supply of water is switched off) and working (when the supply of water is turned on).
If you send this information to the manufacturer, you can get a personalized system layout and a list of necessary material.
Determining water meter size
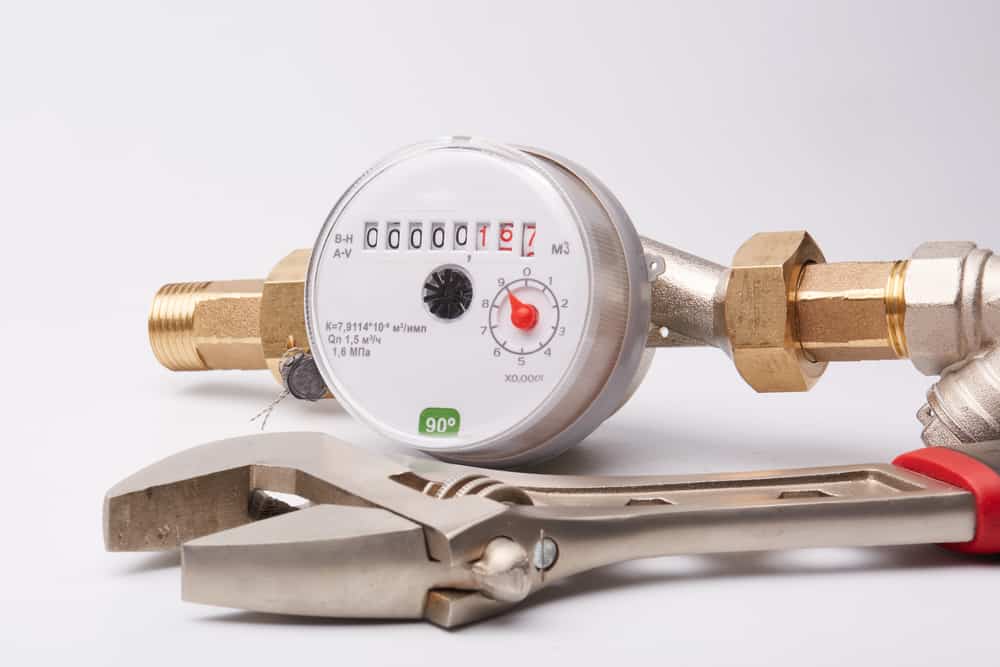
Standard water meters can be 0.6 inches (1.6 cm), 0.75 inches (1.9 cm) or 1 inch (2.5 cm) in diameter. It is not complicated finding its size if you are connected to a municipal water system. Find the appropriate number imprinted on the meters. The other option is finding that value on your utility bill.
If you are not connected with a local system and have a well, for example, you need to determine the pump size by using the manual or ask the manufacturer for help.
Determining the water flow rate
The pressure of water affects all aspects of the system, including the type of sprinklers, the number of zones for evenly watering, and the watering intervals. You can use two methods for this purpose:
String test method
Attach a pressure gauge to an outside faucet. After opening the faucet, you should simply record the reading. Keep in mind that pressure is generally higher early in the mornings. Therefore, you should take several readings and record the lowest one.
|
String length |
2.75 inches
(7 cm) |
3.25 inches
(8 cm) |
3.25 inches
(9 cm) |
4 inches
(10 cm) |
4.1 inches
(10.5 cm) |
|
PVC pipe |
/ | 0.75 inches
(2 cm) |
/ | 1 inches
(2.5 cm) |
/ |
|
Galvanized pipe |
/ | 0.75 inches
(2 cm) |
/ | 1 inches
(2.5 cm) |
/ |
|
Copper pipe |
0.75 inches
(2 cm) |
/ | 1 inches
(2.5 cm) |
/ |
1.25 inches (3 cm) |
Don’t forget to check the material your main water line is made of (PVC, copper, or galvanized). If you are not sure, ask the municipality.
Then, determine the size of your pipe. This data is essential to match the irrigation pipe’s size to the existing water service correctly. Use a piece of string, wrap it around the pipe, and find out the measured length of the used string. After that, compare the numbers you get with the chart, depending on the type of pipe you have.
When you know the size of the main line and the available water pressure, you won’t have a problem to calculate water flow in GPM (gallons per minute).
Bucket test method
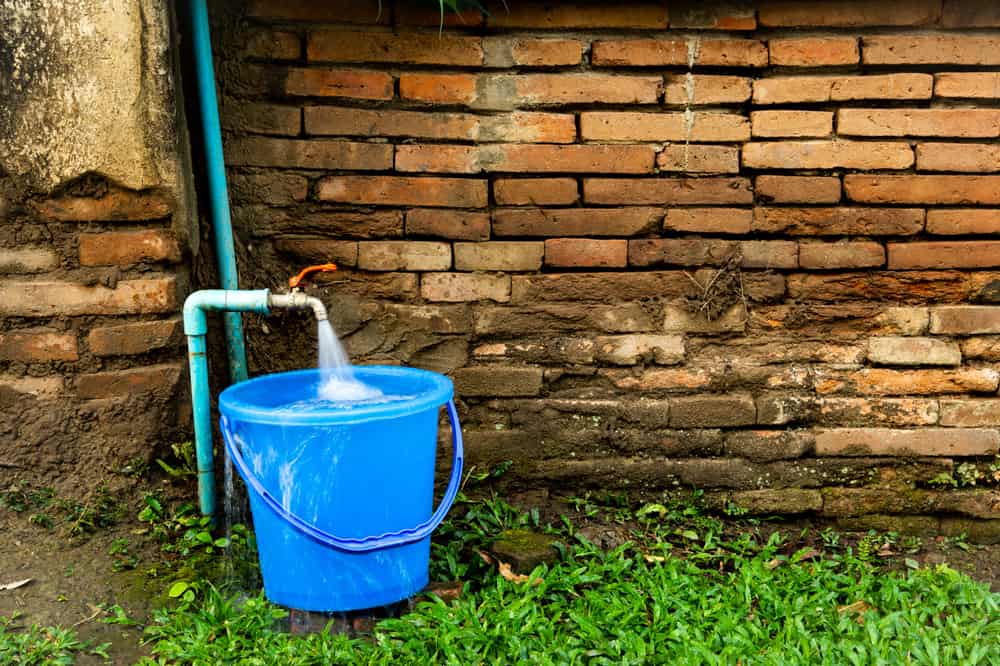
This test is a quite simple way to determine water pressure. You just need to measure how long you need to fill the bucket by using the outside faucet. You will get the exact water flow in GPM after multiplying the size of your bucket by 60.
For example, if you have a bucket of 5 gallons (19 l), and filled it in 30 seconds, the calculation is:
5 gallons / 30 seconds * 60 = 10 GPM
That means that your water flow equates a 10 gallon/minute.
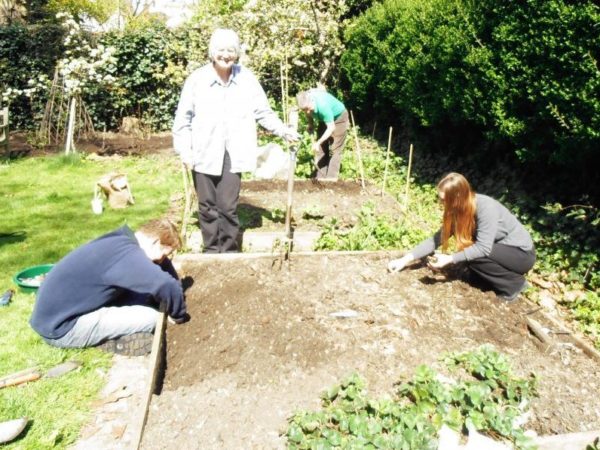
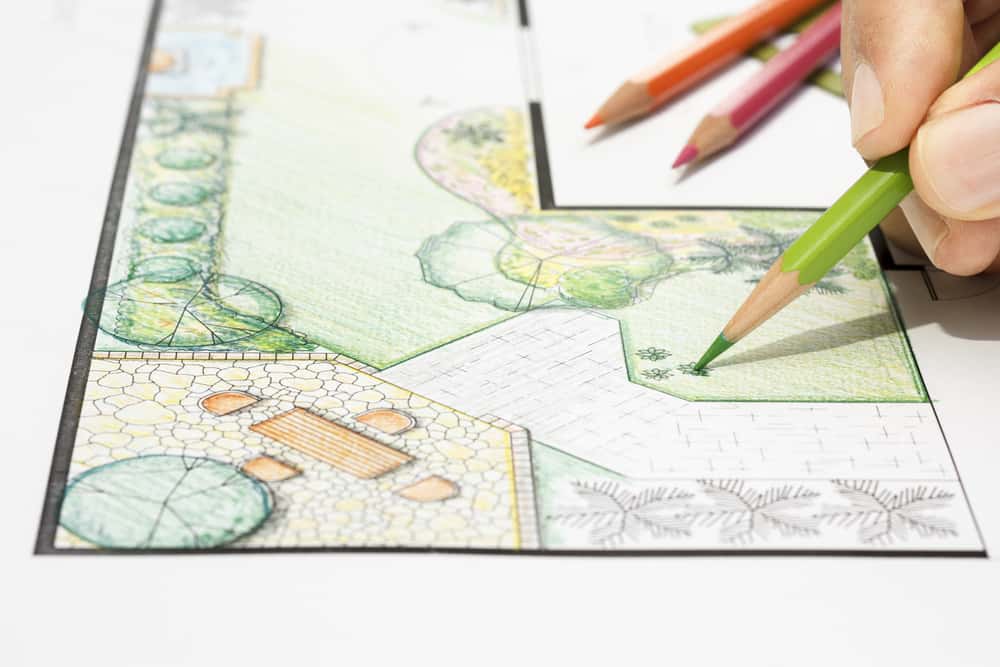
Measure and sketch your garden
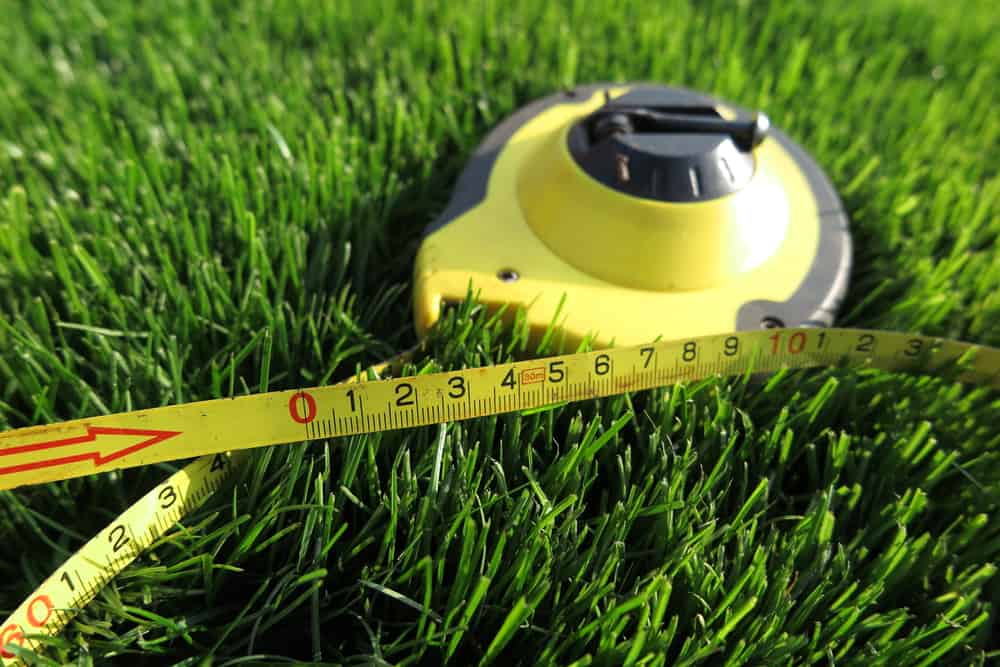
Measuring and sketching your yard is one of the final steps before installing a new underground irrigation system. You can do it by hand or by using an adequate online tool which will handle all the basic information about your garden and the type of sprinklers you want to place.
Keep in mind that any error you make in the phase of planning will affect the functionality and design of your new system. Therefore, this job is essential, although it is quite boring.
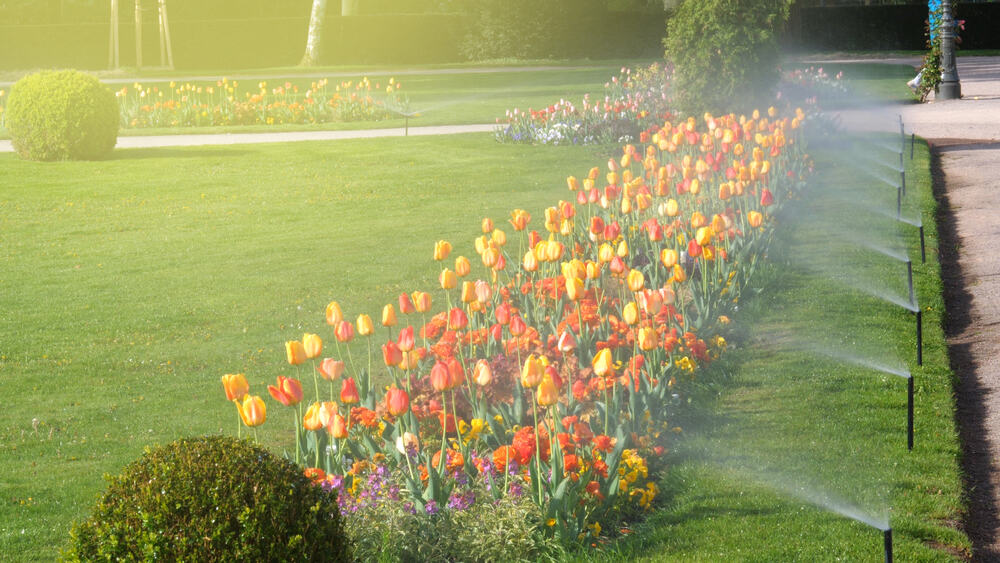
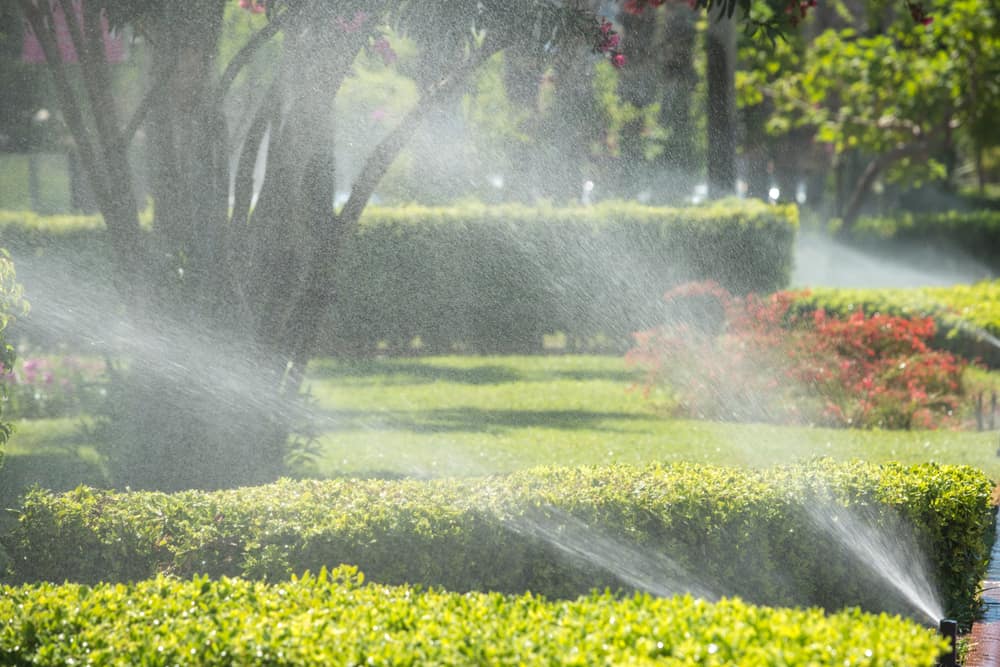
Plan the coverage
A sprinkler system has sense only if you get 100% coverage to avoid every dry spot in your garden and make it usable. One of the simplest, but most effective ways to achieve that is overlapping the pattern of sprays. Place your system the way that radius of spraying of one sprinkler head overlaps the range of sprinkling the adjacent head.
Nowadays, most sprinkler heads are adjustable and designed to fulfill your specific needs. For example, you can target the particular place you want to be watered without wetting your house, sidewalk, or driveway.
Which one sprinkler head style and size you will pick out depends on the arrangement of trees, shrubs, and other plants in your garden as well as the position of a belonging sidewalk and driveway.
One more thing! When you choose the proper sprinklers, always measure their high according to the size of the mature plants.
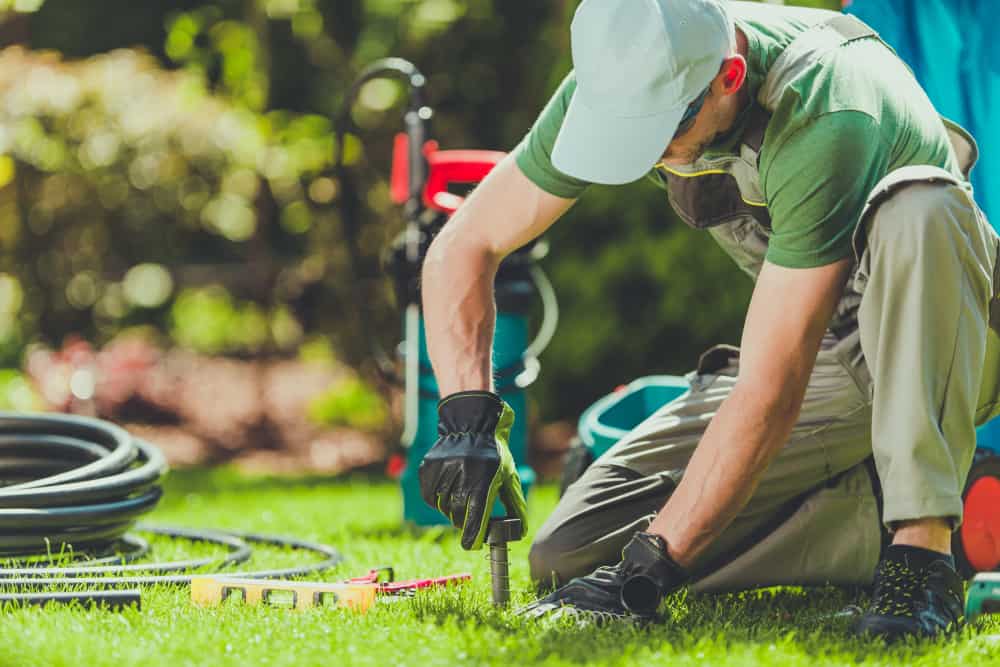
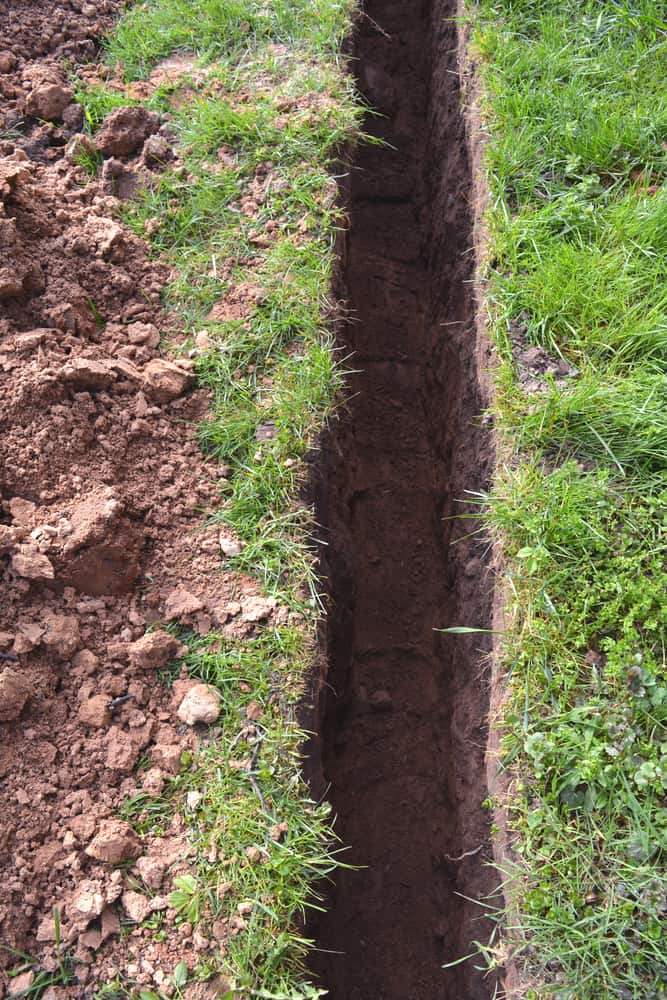
Digging the trench for your new sprinkler system
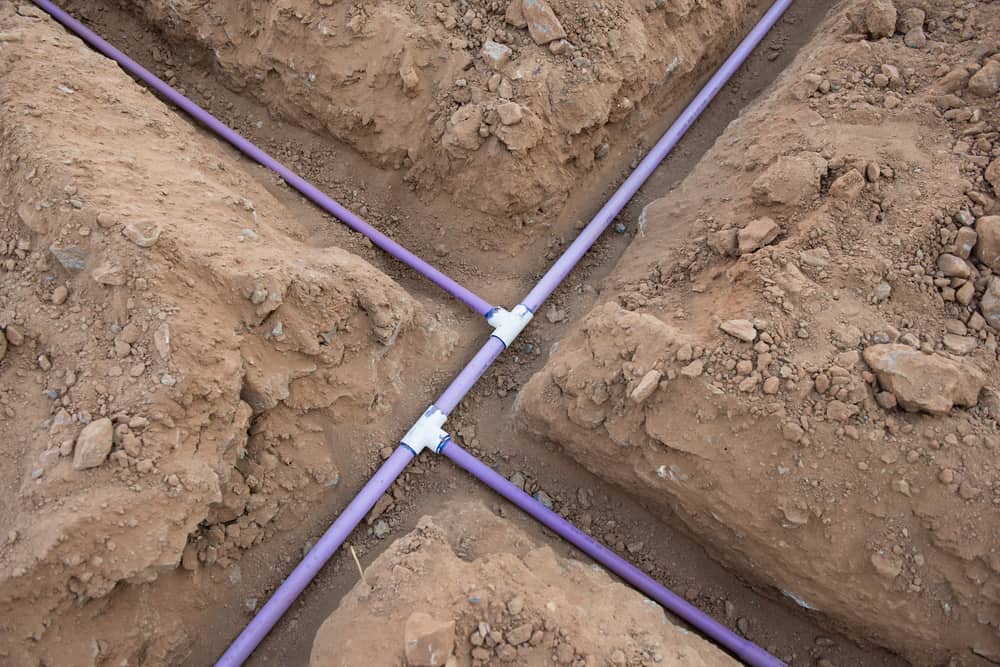
Use stakes and string to mark the direction of the pipes and mark the positions of sprinkler heads with adequate markers. Start with digging the main runs, and then make the necessary branch lines. You can do it by your hands or to rent a trencher.
Check how deep you need to bury your pipes and which is a recommended pipe size. The trench should be at least 6 inches (15 cm) deep, but you need to dig 8 to 12 inches (20 – 30.5 cm) deep trench to keep pipes safe if you live in a cold region where the severe frosts are frequent.
Also, take care to level the trenches to place all heads to the same height. That will increase the efficiency of your system.
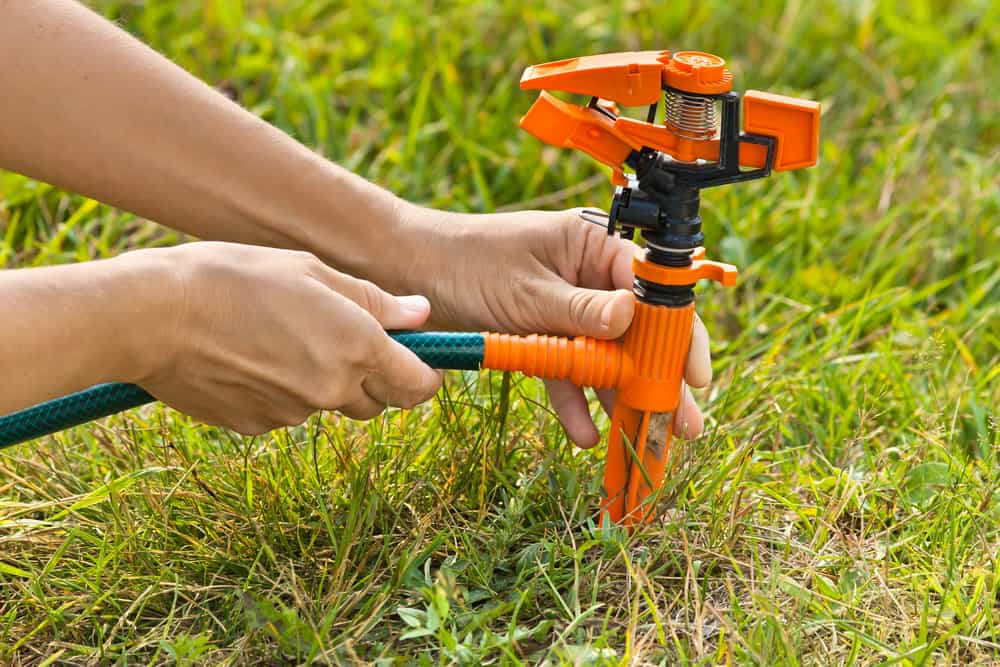
Select a sprinkler type
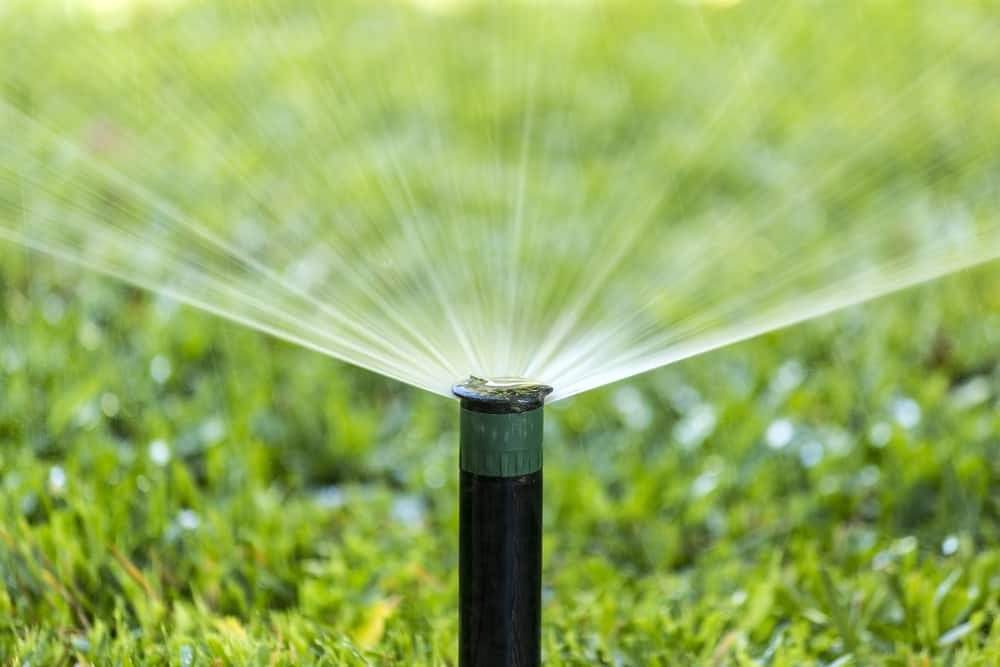
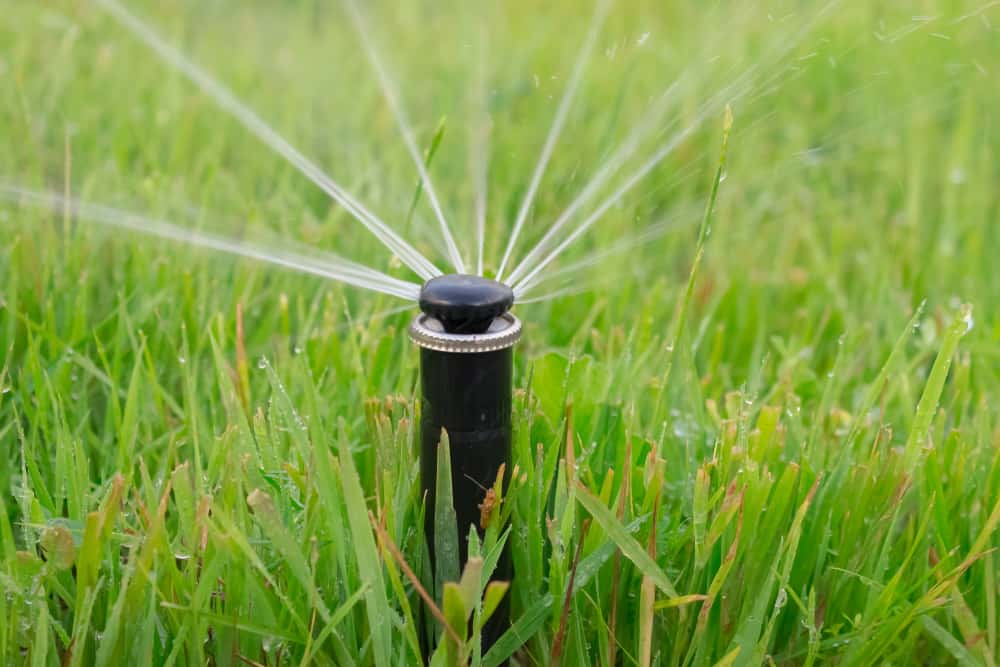
a). A gear-driven rotor sprinkler head
It is a perfect solution if you need to cover wide areas of your yard. This versatile model is the most common sprinkler head you can find on the market.
They have their own timer and a possibility to adjust the desirable distance. Since those heads can revolve 360 degrees, you can get the coverage of a large area by adjusting each head to spray water to the full length of 8 to 65 feet (2.5 – 20 m).
b). Bubblers (shrub sprinkler head)
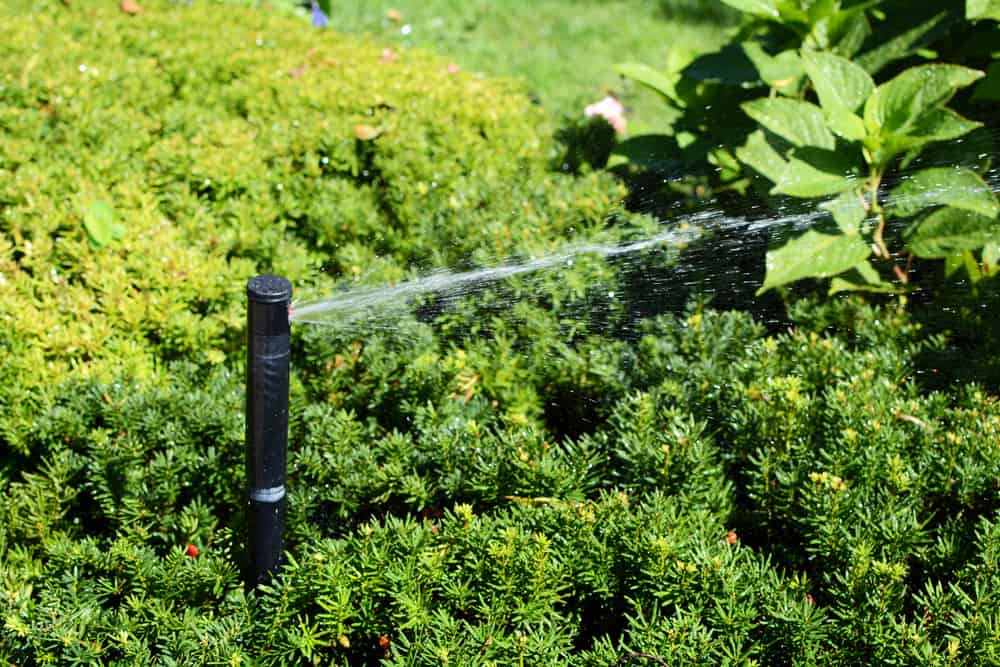
Use those sprinkler heads to irrigate your flowers, veggies, and shrubs. They don’t elevate above the surface of the ground but provide a low-level stream of water. This design allows you to saturate the soil in your garden, especially if it is densely vegetated.
You can’t expect a bubbler to irrigate a wide area. On the contrary, it can water approximately 3 square feet (0.3 m2) of your garden. Therefore, you should place them on the flat ground and close to each other. Avoid this model if your yard is sloped, or you will have an issue with a ‘river’ running downhill.
c). Fixed pop-up sprinkler heads
When you need a sprinkler head for watering areas around your house or garden shed (if you have some), you should pick out this model.
This type of sprinkler heads water in a half-circle, so you will get watered garden without having wet walls. You can also use these heads to water your plants next to driveways or streets.
Map Out the Sprinkler System
Map all the relevant elements
When the preliminary research is finished, you should start arranging your new irrigation system. The essential elements you should consider are:
- Your house
- Trees, shrubs, flower beds, and rows of vegetables
- Fences
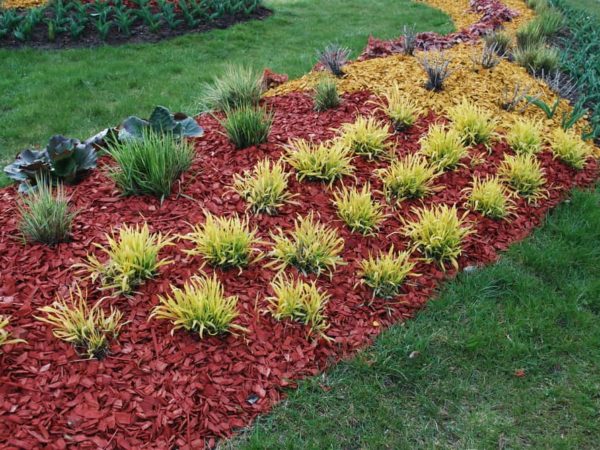
- Mulched areas
- Areas of full sun and deep shade
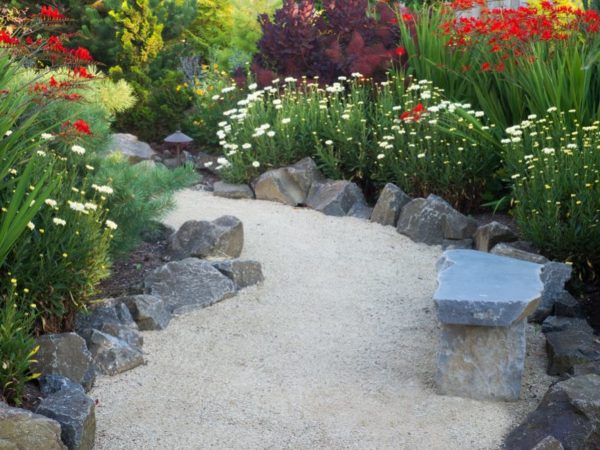
- Sidewalks and driveways
- Sloping areas
- The position of the water meter
- Wind direction
One of the best options is to draw a rough diagram of the garden you want to sprinkle. Start with marking the main area and adjacent parts which sprinklers need to cover. That way, you can make a precise plan of the pipelines routing and spots for every sprinkler head.
Map out your sprinkler system |
|
Create and count adequate zones |
|
Start with mapping out your future sprinklers |
|
Divide your system rightly considering water rates and requirements of your plants |
|
Arrange the valves |
|
Draw in the position of the timer and the pipes |
If your yard is huge, you should create a few watering zones, depending on the water flow rate (in gallons per minute) your system can supply.
Every watering zone will represent an independent set of sprinkler heads and pipes. You will organize them following the water supply and physical attributes of your yard. Don’t forget that each zone needs a separate control valve.
Divide your yard into zones
The next step is dividing your yard into rectangles of approximately 1,200 sq ft (111.5 m2) each. Every one of them will be one zone, and you need to plan to irrigate it as a separate unit. Avoid dividing your property into bigger areas because they would require special heads and more water than you can get from a regular water system.
Try to make zones depending on the terrain, and limit each one to one type of it. Only that way, you can ensure the proper work and full utilization of sprinkler installation. For example, Zone 1 should cover lawn, Zone 2 – garden, Zone 3 – slopes, and so on.
Location of sprinkler heads
You need to mark the position of all sprinkler heads on your diagram. Place them throughout the yard following the spraying distance of chosen sprinklers. It will be much more comfortable for you to calculate and mark the exact lengths to which sprinkler heads can toss water. It will be helpful while picking out the shape of heads, which will fit your needs best.
A good-quality rotor head sprays a full circle, semicircle, or arc. They are usually 25 to 30 feet (7.6 – 9 m) in diameter. That means that placing heads approximately 45 feet (13.7 m) apart will provide adequate overlap.
If you have decided to choose bubbler sprinkler heads, which cover a radius of about 1.75 feet (53 cm), you should locate them 1.5 feet (45.7 cm) apart.
Finally, a fixed pop-up sprinkler head sprays up to 10 feet (3 m). In other words, you need to install this type of heads about 18 feet (5.4 m) apart to ensure correct coverage.
Always keep in mind that it is better if you have more overlap than you need than to place heads the way some parts of your garden stay dry.
Draw the main water line
Draw the main water line from the position of an outdoor water nozzle, control valves, backflow preventer, and timer.
You should plan that the lines go straight and turn at angles of 90 degrees. If you draw all parts accurately, the diagram will show how long your pipes should be, and the exact length you need to purchase.
Draw branch lines
Try to draw all the branch lines you need. They will connect your main line to each sprinkler head, and should be 0.5 inches (1.3 cm) in diameter. In some cases, you can use pipe of 0.75 inches (1.9 cm), when planning to use one branch line for two heads. However, don’t use one branch line for more than two sprinklers.
Install the System

Now, it is the time to install your underground irrigation system in the garden. I will give you the general instructions here, but you should always check the manual before you start working.
Buy adequate pipes
At the very beginning, you should purchase adequate pipes for every irrigation zone you have determined. In average, you need to buy a pipeline of 1 inch (2.5 cm) for your main line and pipes of 0.5 (1.3 cm) to 0.75 inches (1.9 cm) for branch lines.
Go to the local store and purchase as many pipes as you need according to the diagram you have drawn.
Install your system |
|
Mark spots for trenches, sprinklers, valves, and risers |
|
Mark the main water line |
|
Did the central and lateral trenches |
|
Install the mainline of your irrigation system |
|
Place control manifolds and install lateral pipes |
|
Wash away the system and remove debris |
|
Install all sprinklers by zones |
|
Set drip irrigation risers |
|
Install the timer and sprinkler controller |
|
Check if the system works well |
Measure the pressure of the water supply
Use a water gauge and precisely measure the pressure of the water supply. After turning the water on full blast, you should read the kPa (kilopascals) or psi (pounds per square inch) indicator. To get a functional home-sprinkler system, you need a water pressure of 210 kPa or 30 psi.
Mark the locations for trenches and sprinkler heads
Following the drawing, you should mark the locations for trenches and sprinkler heads in your garden. You can use rope and flags for that purpose.
Dig the trenches
Before you start digging trenches, you should cut the turf from the main and branch lines. Try not to harm those clumps of grass since you can put them back over covered ditches once you finish the job.
Take care to dig at least 10 inches (25.5 cm) deep trenches. It is essential for the protection of your pipes from most damage. However, if you live in a region with a cold climate and severe frost, your ditches should be minimum 6 inches (15 cm) under the frost level.
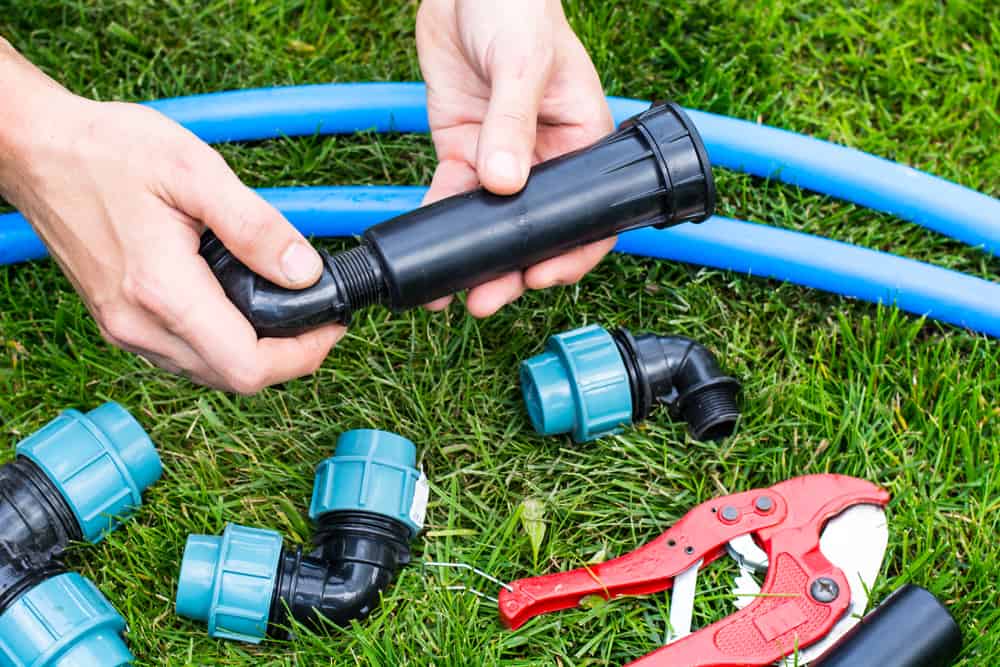
Place the pipes and install all the pieces adequately
Put piping in the tranches you have just dug. Begin with the main water line pipe, and add the branch pipes in their place. Also, install risers to connect all the branch lines with their sprinkler heads, and attach them to the pipes.
The next move is to connect your main line to the appropriate control valves and timer. Always check if the timer is correctly installed by testing sprinkler zones manually. Then fix a backflow preventer to the water supply line to prevent possible contamination of potable water in your home.
Flush the pipes and install the sprinkler heads
Don’t forget to flush the pipes under the water pressure at least one to two minutes. Do it before installing the sprinkler heads to prevent their later clogging. Finally, install the sprinkler heads according to the mapped locations. Place them at least 6 inches (15 cm) deep in the ground, and press the soil around to fix them in the desired position.
Inspect and Adjust Your New Sprinkler System
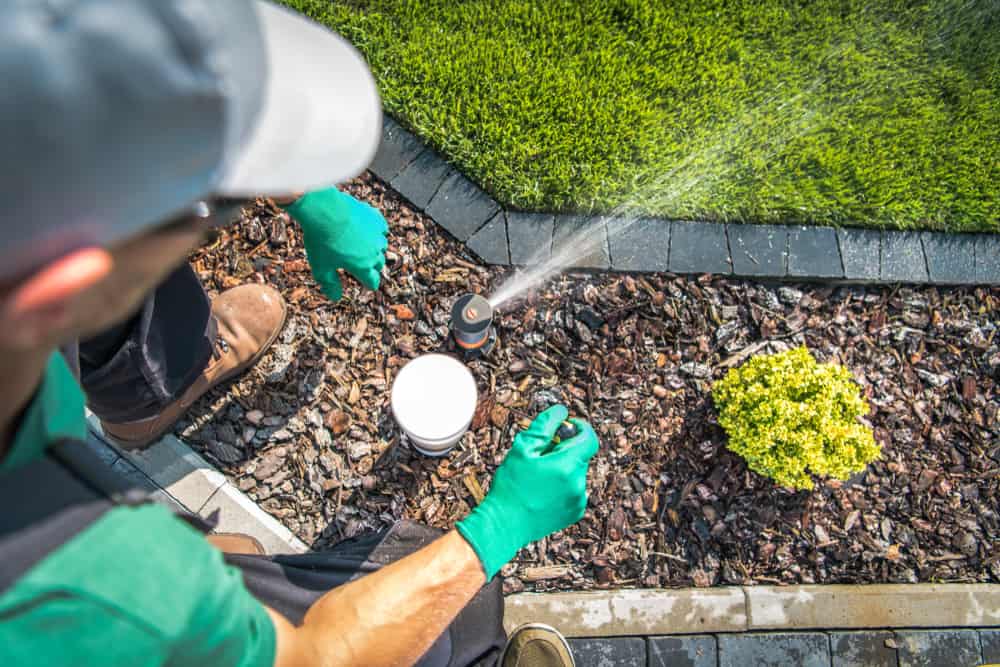
Once you install your irrigation system, you should check the direction of the sprinkler heads and the spray coverage. If you are not satisfied, you can adjust their rotation from 0 to 360 degrees.
Also, adapt the spraying distance and pattern as well as possible leaking along the pipes. If you are satisfied, backfill all the trenches with the soil and put clumps of grass back in place.
Don’t forget to pin it!