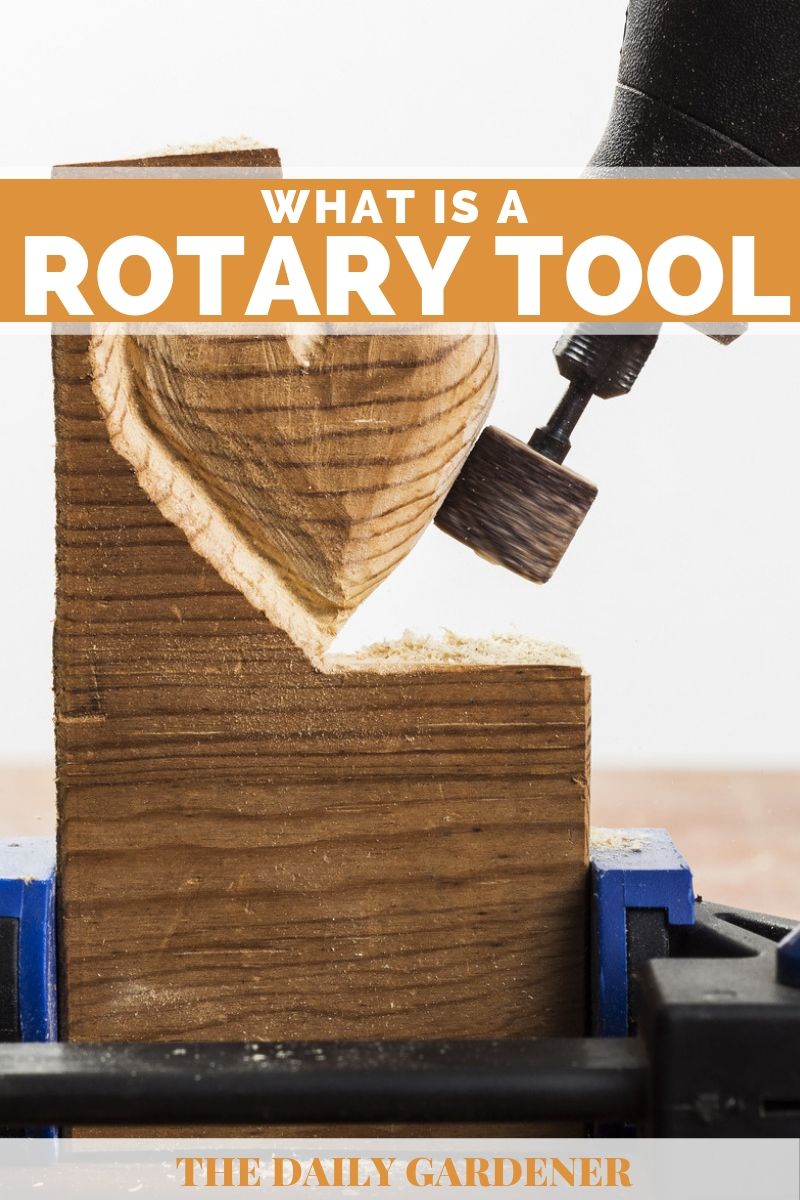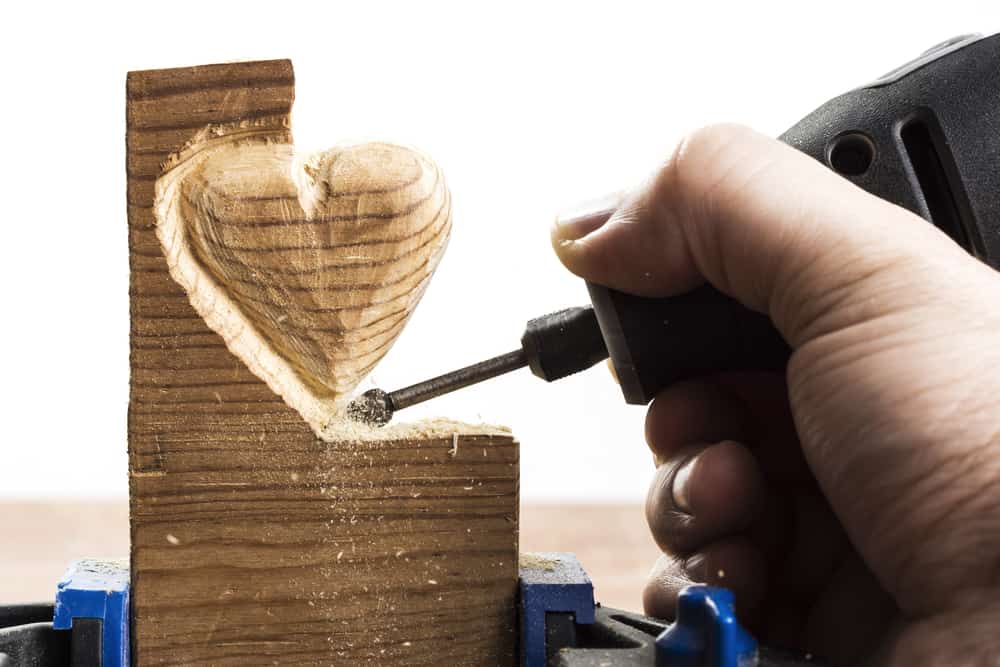
A rotary tool is a small, hand-held device with detachable bits at its tip. Think of it as a more portable version of your standard power drill. You can use a rotary tool to cut, sand, polish, carve, engrave, and/or scrape debris off surfaces (grime, old paint, tarnish, or even corrosion).
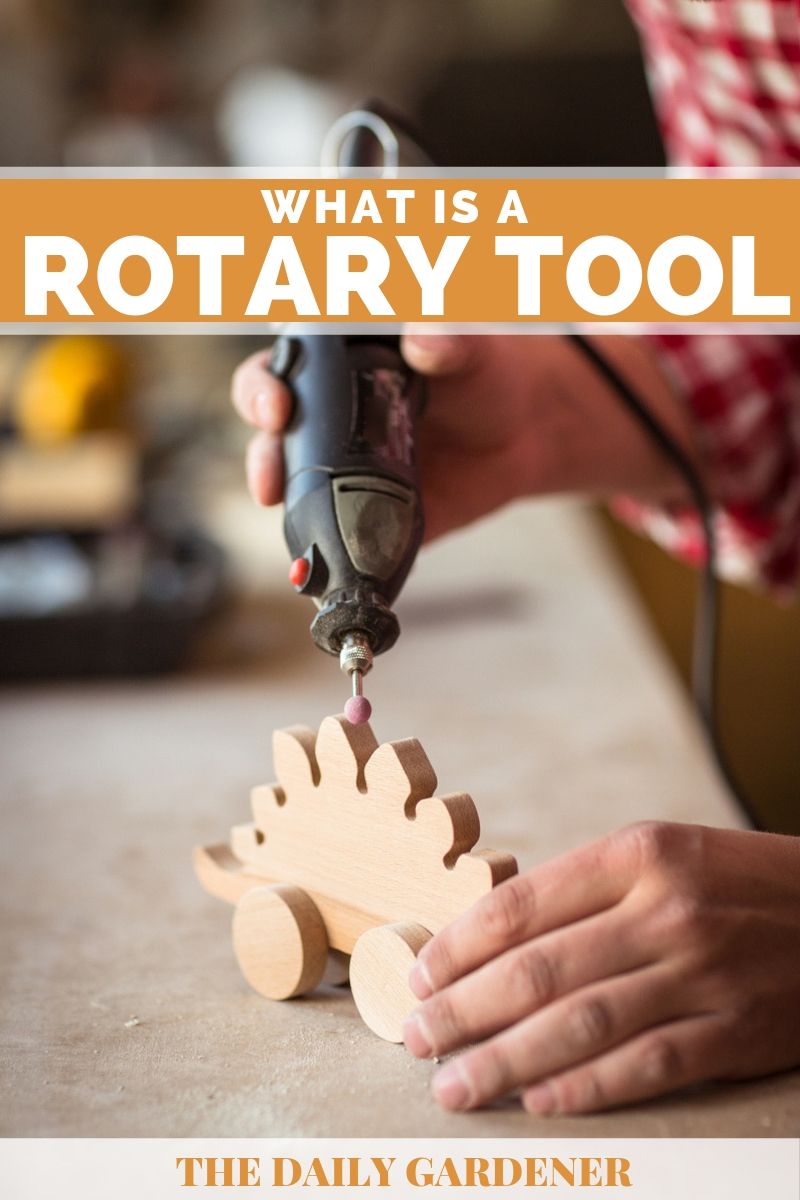
Rotary tools – just like their name suggests – work by spinning at super speed. The pace and friction of your tool enables it to cut through metal, plastic, and other surfaces. The speed you apply depends on what you’re trying to do. For example:
- Low speed – drilling holes
- Medium speed – sanding, grinding, cutting
- High speed – engraving wood/glass
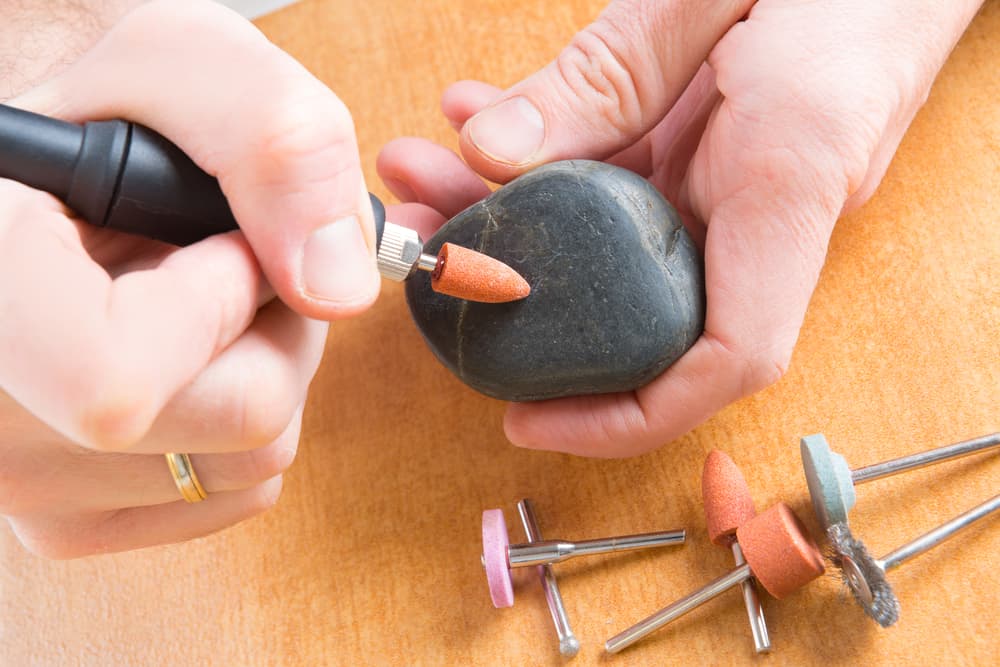
To use a rotary tool, you have to attach selected bits to one end, and there are lots of different kinds. There are discs for cutting, diamond-tips for engravings, and rotary drums for sanding. When you buy a rotary tool, look at the included bits, then see what extras you want to buy.
Table of Contents
Parts of a rotary tool
Sometimes called a dye grinder, a rotary tool has three main parts. These are:
- Collet: This piece sits at the front of your rotary tool. It’s where the drill bits go in, and it secures them in place so they don’t wobble or fly off while you’re working.
- Locking pin: It’s a button on the side of your rotary tool. You press it down when you want to insert or remove one of your bits.
- Speed dial: It adjust how fast (or slow) your bit spins. Some rotary tools only have high and low settings. Others have number-based settings from 1 to 6.
When you’re buying your tool, think about the main materials you’ll use it on. If it’s just for engraving, then you can settle for a two-speed tool. But if your activities are more versatile (e.g. cutting metal sheets, writing names on glass beads etc.) then the more speed settings the better.
Types of bits for your rotary tool
Dremel is one of the most popular rotary tools on the market. It ranges from the basic two-speed model to a comprehensive Dremel kit with up to fifty accessories. Dremel divides its rotary tool bits into several categories, according to their intended use. These include:
- Engraving / carving bits – these usually have pointy ends and abrasive surfaces. Diamond-tipped bits are best for glass and metal, while softer bits can be used for wood or plastic to avoid damaging the surface you’re working on.
- Sanding bits – these are drum-shaped bits coated with sandpaper. They need to be replaced regularly because they wear out really fast. They work best on plastic and wood and hardly have any effect on metal.
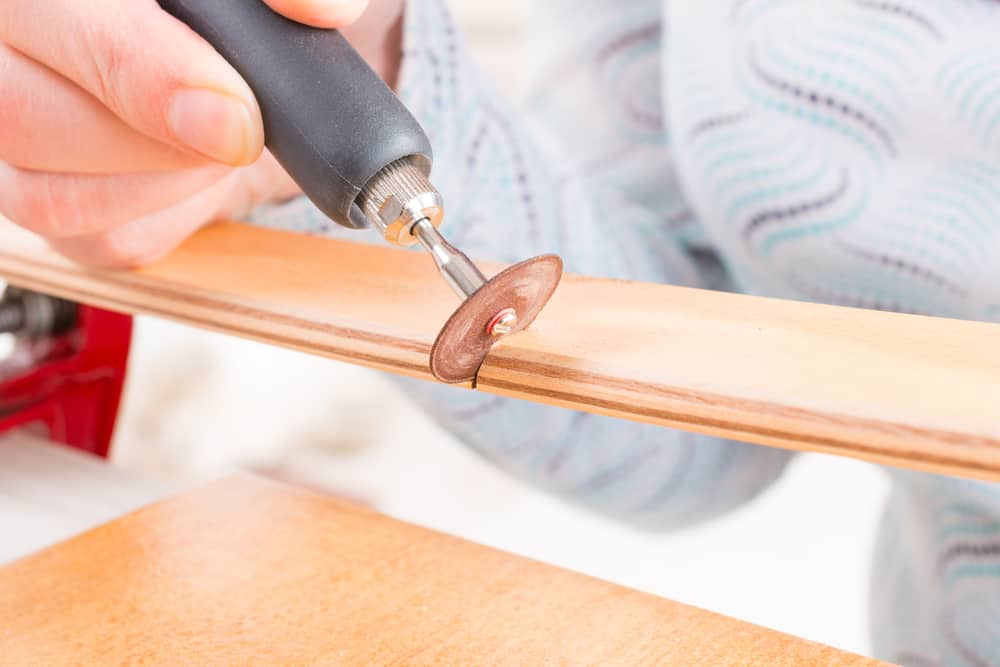
- Cutting bits – these comprise thin discs or wheels with a sharp cutting edge. Regular discs break easily, so you have to angle them carefully. They work best for plastic and wood. Use reinforced plexiglass cutting discs if you’re working with metal or ceramics.
- Sharpening / grinding bits – At the most basic level, use orange bits (made of aluminuim oxide) for glass and metal, and leave the green bits (made of silicone carbide) for plastic.
- Polishing / cleaning bits – it’s not about hygiene, it just scrapes off corrosion and other kinds of debris, revealing the flawless surface underneath. These bits can be used with felt polishing wheels, polishing mandrels, and polishing compounds such as wax.
Safety tips for rotary tools
While a rotary tools makes your life easier and your work faster, they can cause lethal injuries. After all, you’re dealing with a motor that moves sharp bits at extreme speeds, so things can go sideways very quickly. Here are some safety tips to avoid hurting yourself or damaging the property:
- Rotary bits produce tiny particles of metal, glass, or plastic dust. The dust can get into your eyes and airways. Wear protective goggles and a dust mask to prevent this.
- The fine dust can easily block the vents in your rotary tool, so inspect the vents regularly and clear any blockages.
- With sharp bits moving at high speeds, a slip of the hand could be lethal (and expensive to correct), so use gloves to improve your grip.
- The surface you’re working on must be anchored down to stop it from moving around. Use a vice, or nail it down. If you try working on a piece that you’re holding in your hands, the force of your rotary tool could wobble or twitch, which could affect results.
- Always work in a well-ventilated space, so that the dust released can float safely out of harm’s way and avoid causing respiratory illnesses.
- If you can afford it, install a dust collection system and/or an air purification system to keep the air cleaner, fresher, and safer while you work.
- The speed and friction of bits generate intense heat, so avoid touching the bit immediately after work – it may singe. Give it time to cool down.
- If you’re working for prolonged hours, you may need a cooling system for your workshop, because the heat does build up over time.
- Remember, this is an electrical appliance, so avoid working with wet hands or near damp surfaces, and ensure your power outlets have surge protection devices.
Like all labor-saving tools, this one has tons of benefits and a few drawbacks. But with the right safety protocols, you can enjoy convenience without experiencing the down-sides.
Why rotary tools?
Compared to working manually or using non-rotary devices, rotary tools have two main advantages: speed and precision. Cutting through a metal bar by hand takes ages, and uses lots of elbow grease. A rotary tool can do the same thing in seconds, and it feels effortless.
The tool also lets you maneuver in tight spaces and create intricate patterns, from writing sentimental messages on jewelry to cutting holes and grooves in ceramics. You can even get a right-angle bit extension for tight corners. So if you’re in the market for a rotary tool:
- Think about the tasks you’ll use it for.
- Focus on the materials you’ll be working with (e.g. plastic, glass, steel etc.)
- The more speed settings you can afford, the more you can do with your tool.
- Find a tool with multiple bits included. This will cut your costs.
- Talk to the supplier and see if you can get extra bits at a discount.
Do you have any more questions regarding rotary tools? Let us know in the comments!
Don’t forget to pin it!