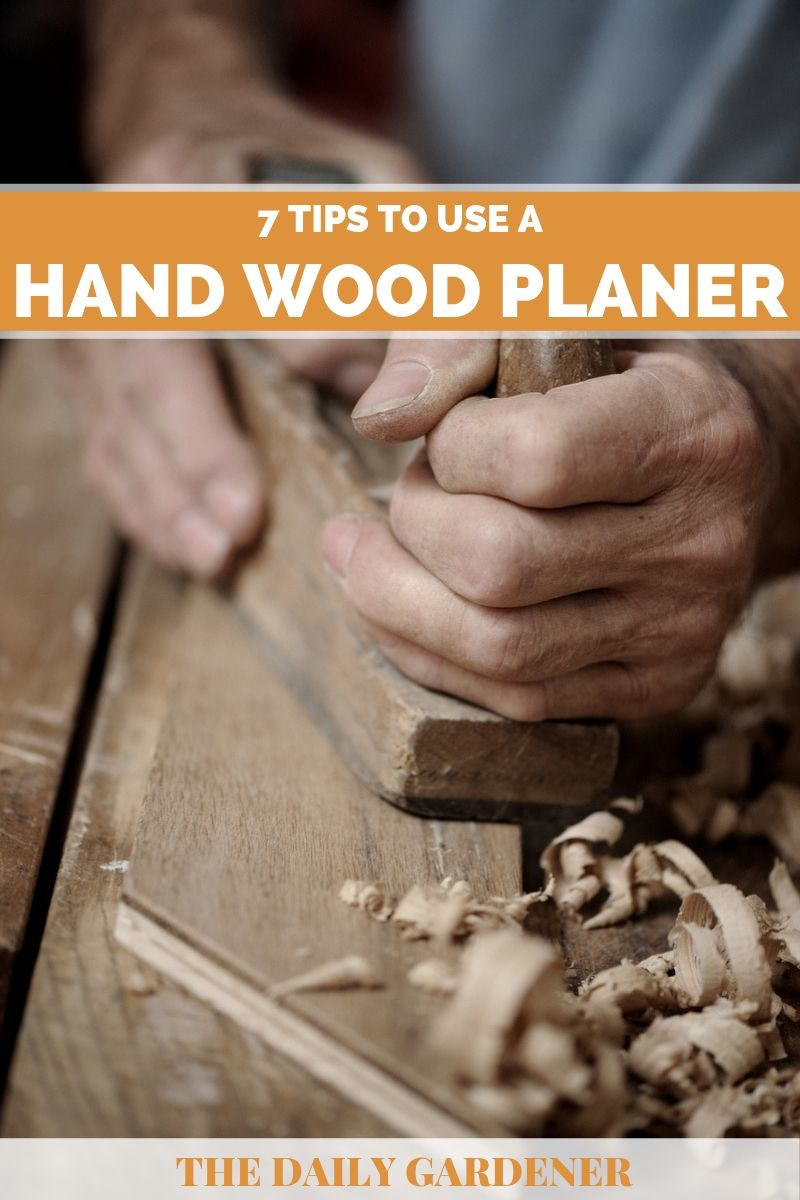
Planers have been used since Roman times to create flat wooden boards – but getting great results can be tricky.
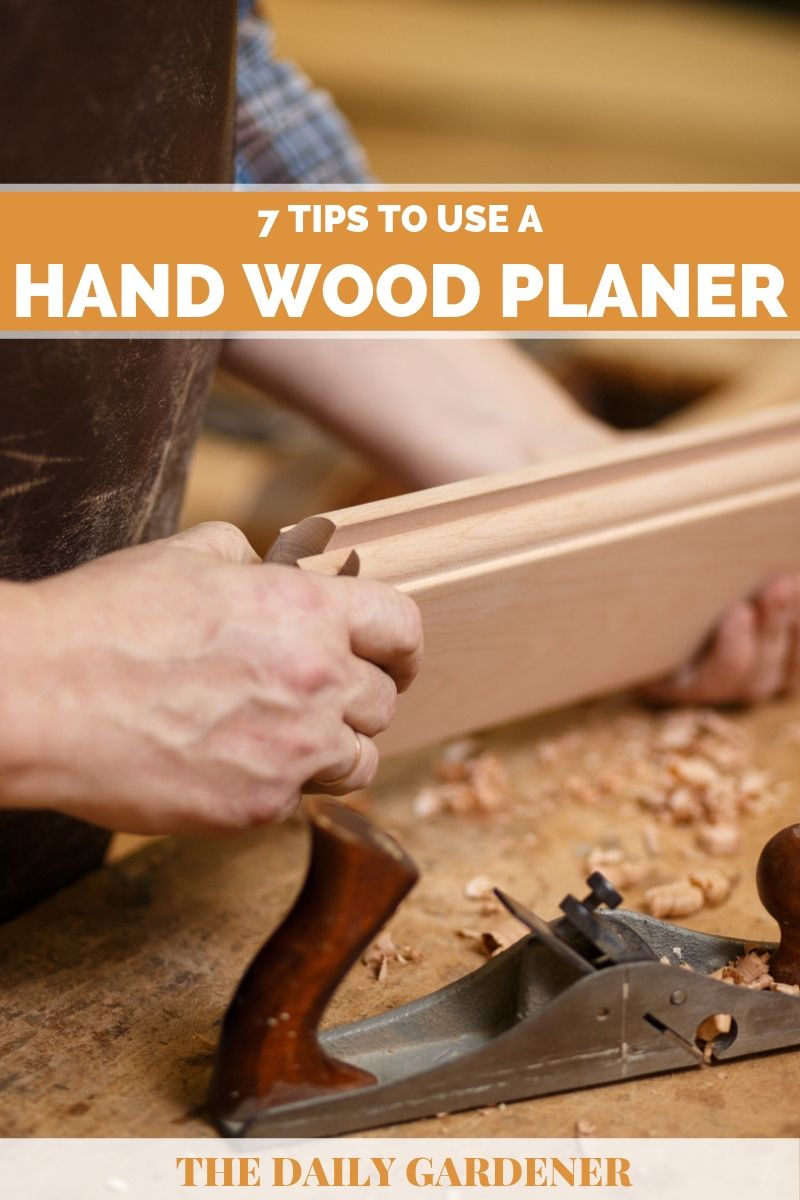
Here we share seven top tips to use a hand wood planer. Check them out, and get ready to produce a flawless finish on your next carpentry project.
Table of Contents
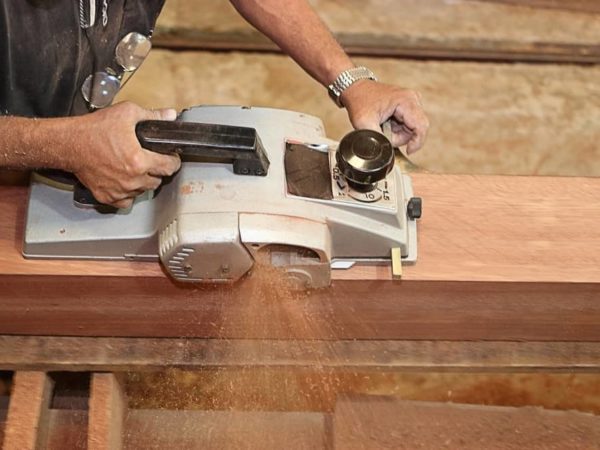
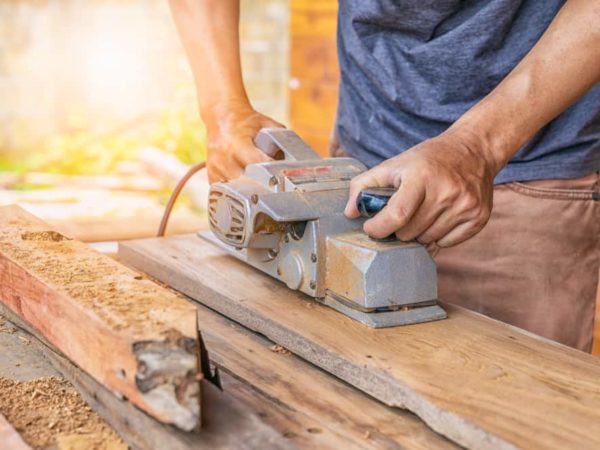
1. Choose the right planer for your job
Hand planers come in lots of different shapes and sizes. Make your life easier by picking the one that’s right for your project.
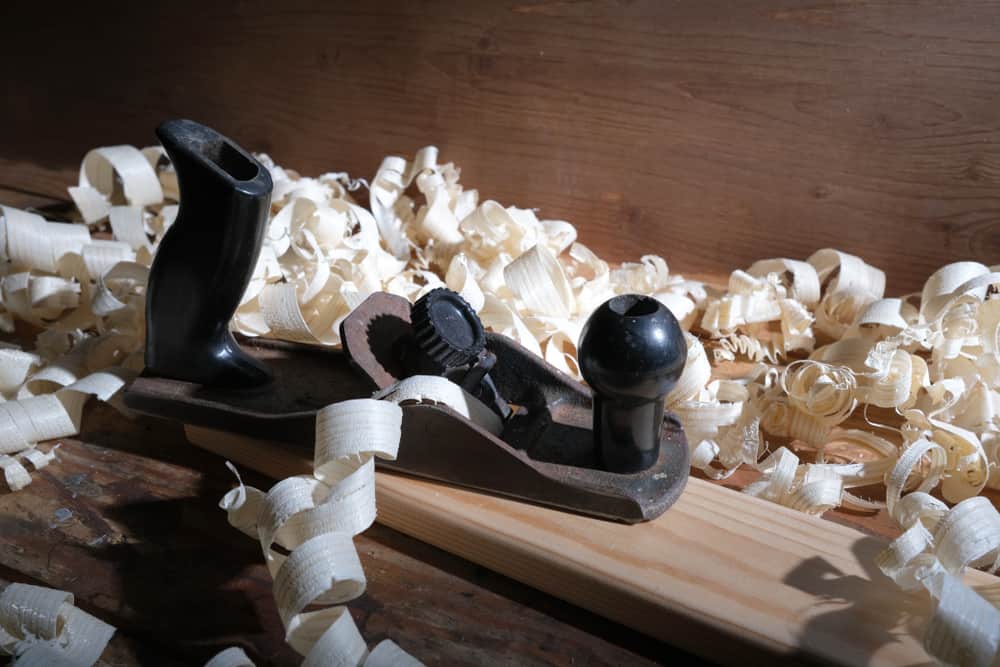
The most common type of hand planer is known as a bench planer. This comes in a range of different sizes, first set by the iconic Stanley Rule & Level company. The sizes are numbered, with the number referring to the length of the base. The higher the number, the longer the base.
If you want to create a smooth finish on a small piece of timber, go for a planer with a low number. The No 1 is the smallest smoothing planer.
If you want to flatten the surface of a large piece of wood, choose a number 7 or 8. The longer base will allow the planer to ride out peaks and troughs on the board. As a result, it will be a whole lot easier to get an even surface.
2. Make sure your planer knife is sharp
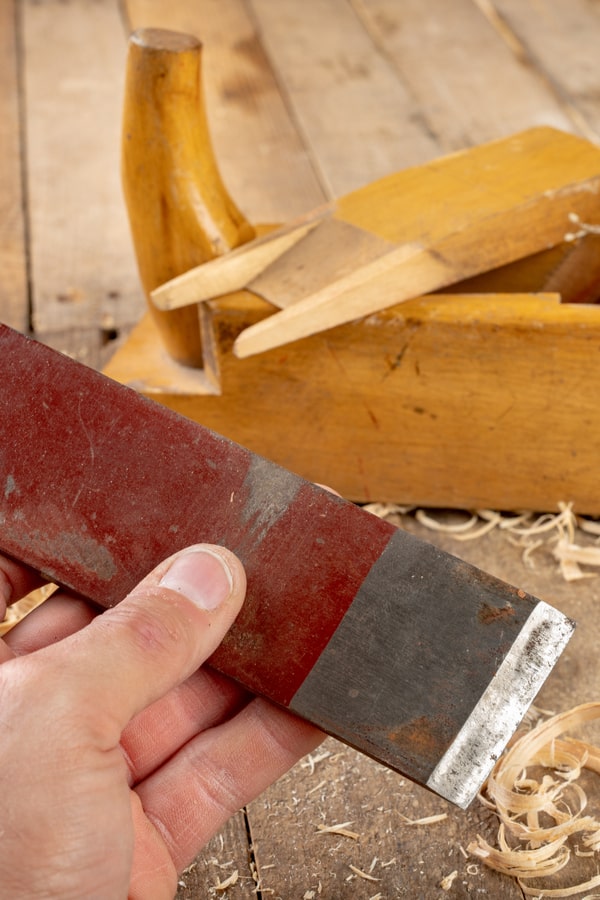
The blade of a planer is known as a knife, and to get good results it needs to be sharp. Check that out before you start work by pressing the blade gently onto your thumb nail. If it grips your nail, it’s sharp enough to do the job.
If it isn’t sharp enough, spend some time putting that right.
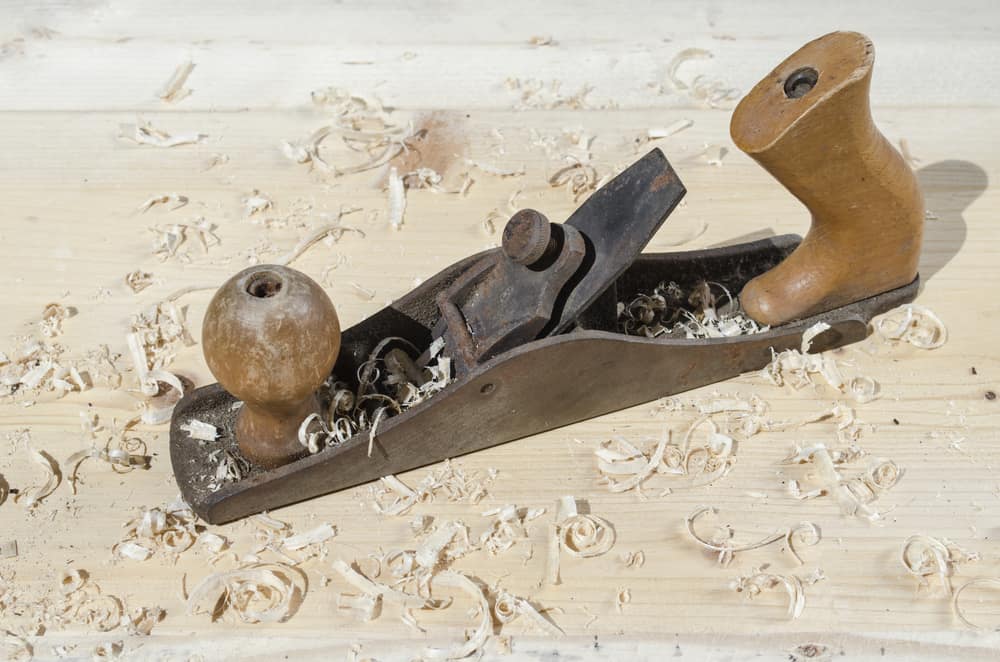
Start by removing the cap iron. This is the part that covers the blade. You’ll simply have to lift a metal lever at the top and it will slide out. It’s attached to the chip breaker, so you’ll need to separate the two by removing a screw. You’ll then be able to slide the pieces apart.
The knife is the longest of the two pieces. Make sure that’s the one you sharpen!
There are two bevels on the blade. You need a 25 degree slope on the primary bevel, and a 30 degree slope on the secondary one. There are some professional tools for sharpening, but you can just as easily use a water stone or diamond stone.
Take a look at this YouTube video from Matt Eastlea to see how it’s done.
3. Get your stance right
The way you stand in relation to the wood can make a big difference to how efficiently you plane.
Don’t stand right in front of the board you’re working on. If you do, you’ll find yourself twisting your back with every pass. You won’t get as much power into your stroke, and you risk hurting your back.
Instead, stand behind the wood with one foot well in front of the other. Now push the planer away from your body, straightening your back leg as you lean into the action. This will generate more power, as well as giving you better control.
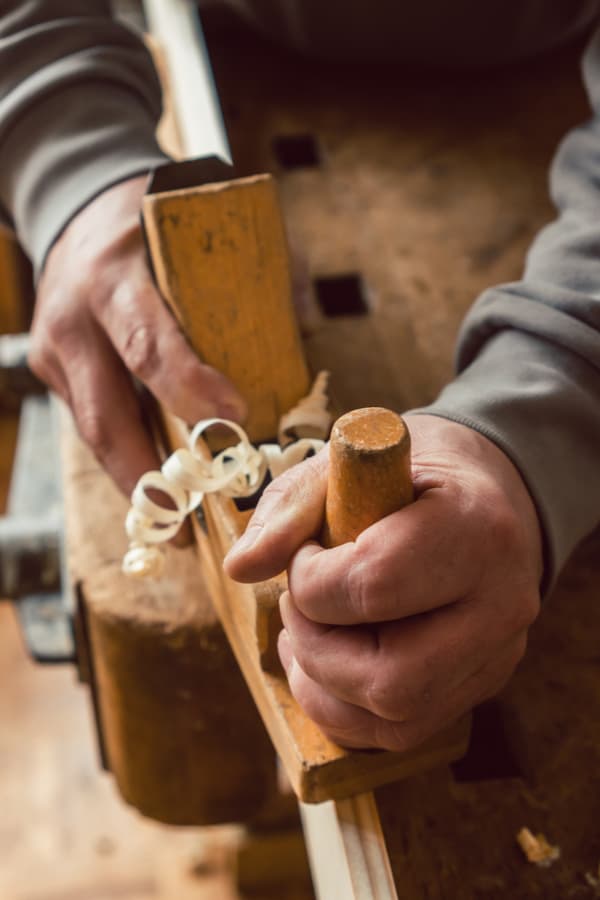
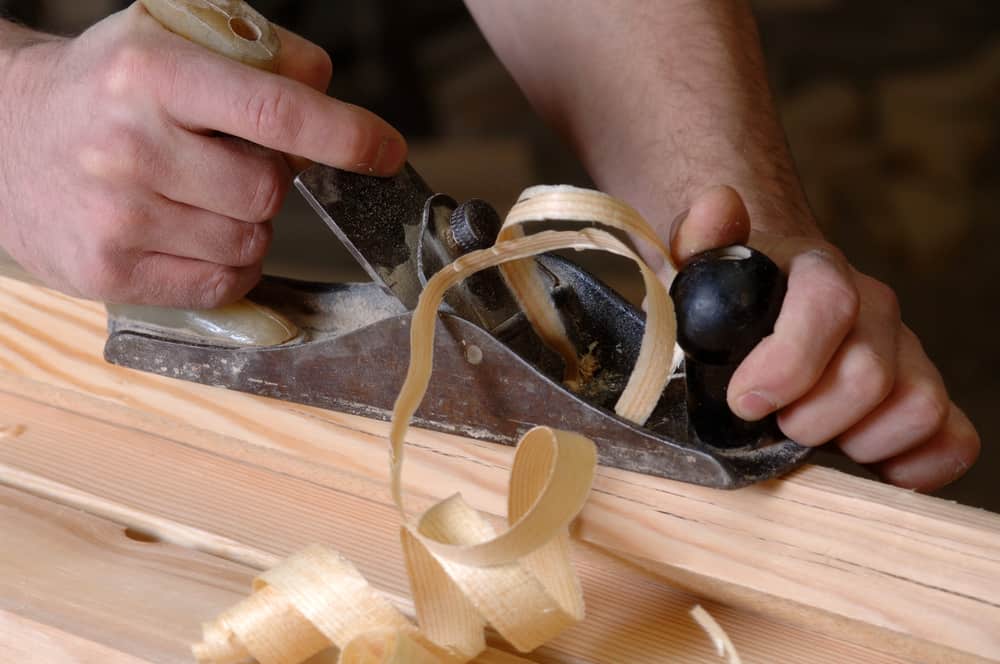
4. Watch the position of your elbow and fingers
Having your elbow in the wrong position can mean you end up planing at an angle. And that, of course, means you won’t get an even finish.
Make sure your elbow, wrist and plane are all in a straight line. Tucking your elbow into your body will also help keep it steady as you work.
Next, watch out for your fingers. Don’t scrunch up all four fingers of your dominant hand around the handle of the plane. You won’t be comfortable, which means you won’t have as much control.
Instead, straighten out your index and fourth fingers. Resting your index finger along the back of the frog – the bit that holds the knife – will give you a better grip.
5. Go at the right pace for your job
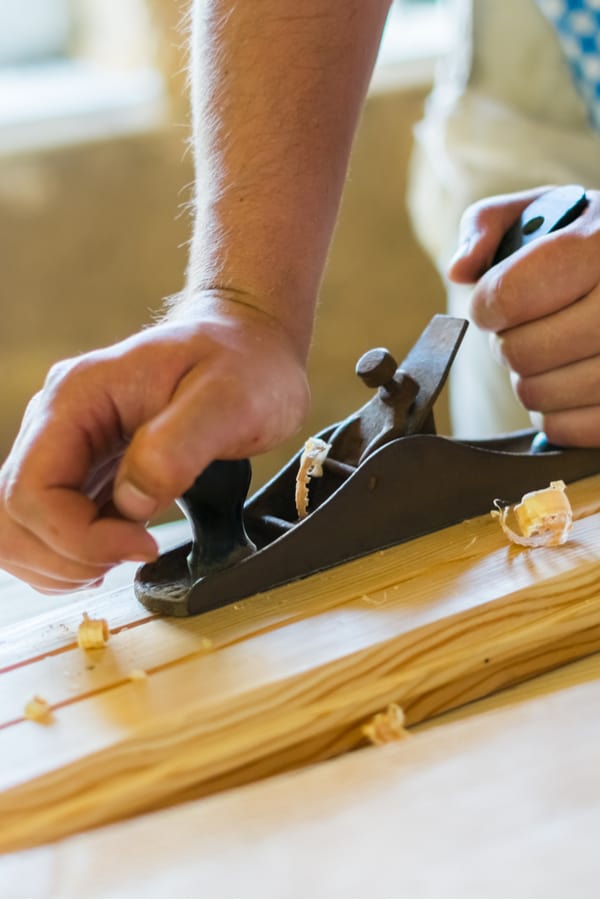
Don’t rush! If you’re working on a job that needs a fine finish, take your time.
That goes double if you’re working on a piece of rough-sawn timber. At first, the plane won’t remove much wood. That’s because it will only be hitting the high spots left behind by the saw.
Don’t be tempted to extend the blade! You’ll end up taking chunks out of the wood and will be left with an uneven surface. And you’ll build up a sweat too.
Instead, let the plane do its work. After a minute or two, it will have taken off all those high points. The scraps of wood will be replaced by satisfying shavings, and you’ll have a lovely even finish.
6. Use candle wax to reduce friction
The base of a good hand planer should be nice and smooth. That will keep it gliding over the wood, letting the knife cut in evenly. But however good your planer, you can make it work even better with the aid of a candle.
Just scribble the end of the candle quickly over the surface of the planer. It will leave behind a thin sheen of wax. You don’t need much, and it doesn’t need to coat the whole thing. But you’ll be amazed at how much more easily the planer moves across your board.
7. Make sure you plane in the direction of the wood grain
Plane in the same direction as the grain of the wood and you’ll avoid tearing out chunks. That’s easy enough, right? But what happens if you’re working with a piece of timber where the grain changes direction?
To deal with this, you need to increase the angle of your planer blade. The easiest way to do that is to invest in an item called a frog. This sits inside the planer to hold the blade. Change the frog for one with an angle of around 55 degrees, and the planer will skim over the grain.
Ready to get started?
We hope you’ve enjoyed our list of seven top tips for using a hand wood planer.
Choose the right planer and make sure it’s kept nice and sharp. Practice your technique to get a smooth finish without breaking a sweat. And increase the angle of your blade when you’re faced with a complicated grain on the wood.
Follow those simple rules and you’ll get great results every time. Happy planing!
Don’t forget to pin it!