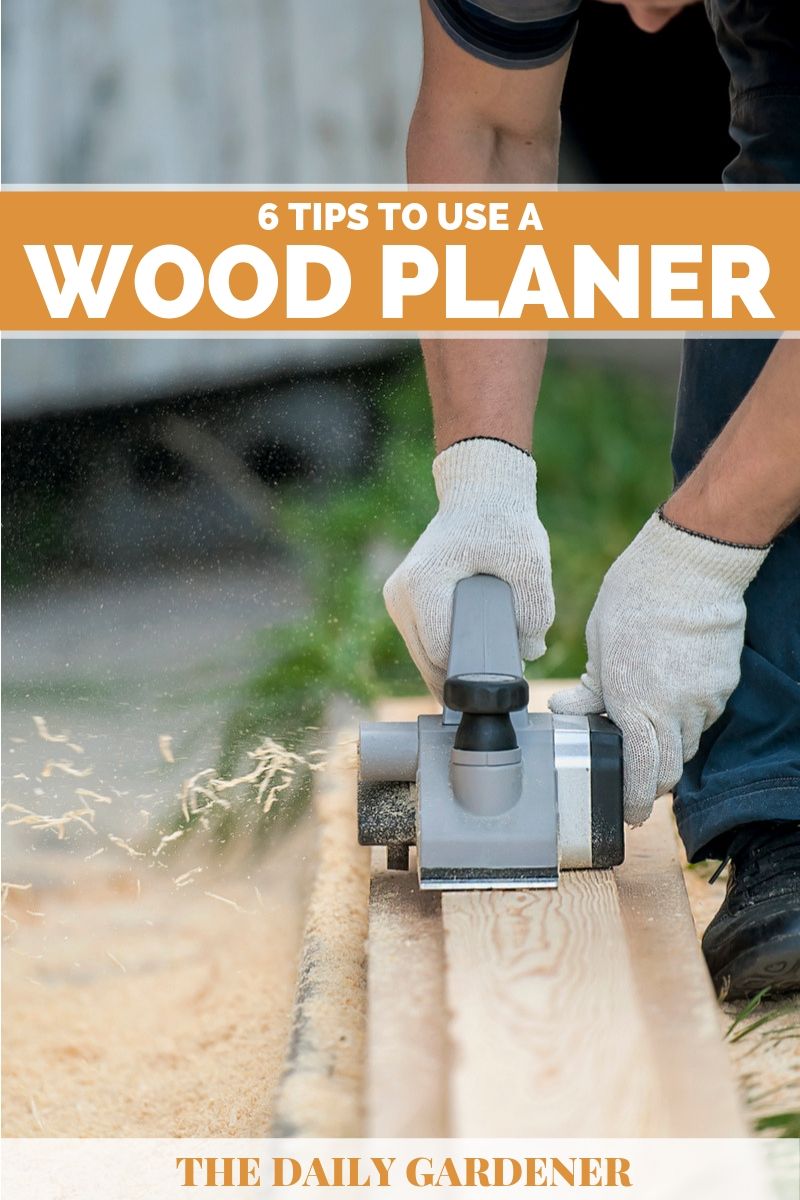
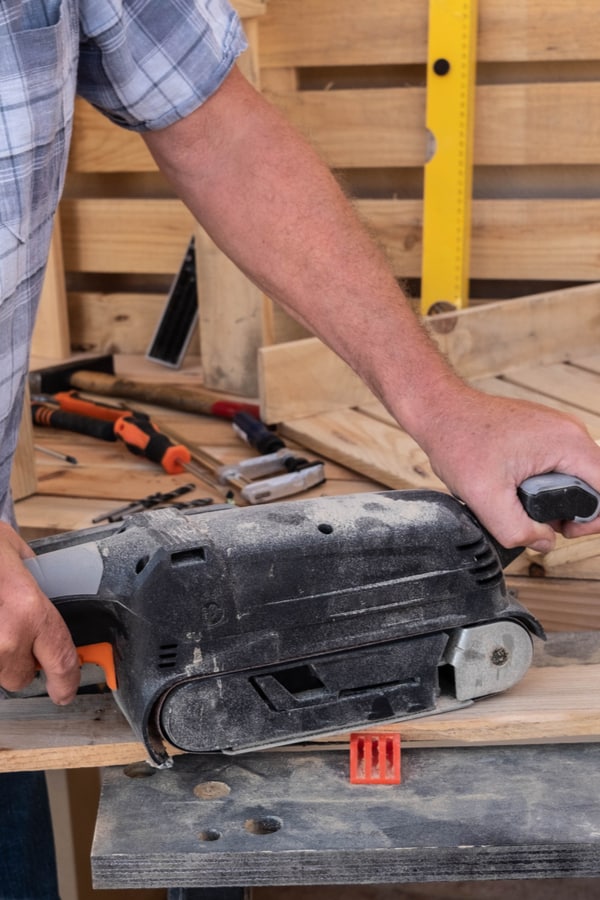
A wood planer is an excellent tool but getting great results can take a bit of practice.
If you’ve struggled in the past – or even been put off trying altogether – you’ve come to the right place. Read on for our six top tips for planing perfection.
Table of Contents
1. Check that your planer knives are sharp before you start
If you want good results, the blades of your wood planer (also known as knives) need to be sharp, sharp, sharp. Even if you’ve sharpened them recently, every board that passes over them will blunt the edges.
In some cases, you can sharpen the knives while they’re still in the planer. In others, you’ll need to remove them first, or replace them altogether. Check your user manual for instructions.
If you need to replace the knives, make sure you replace them all at once. If you have some sharp and others blunt, you’ll get an uneven finish.
And if you need to remove the knives to sharpen them, take care not to take off too much material. This is a particular issue for electric bench-top machines. If you get over-excited sharpening, the knives may no longer reach the board when they’re back in place.
That can in turn mean that other parts of the cutterhead hit the board as it’s fed through. And that can cause serious damage to your planer.
And whilst you want a good, sharp edge, bear in mind that razor-sharp knives won’t stay that way for long. Aim to use a whetstone of about 600 grit. Any finer than that, and you won’t get enough of a return to make your hard work worthwhile.
Take a look at this YouTube video from William Ng Woodworking School to see how to sharpen your knives.
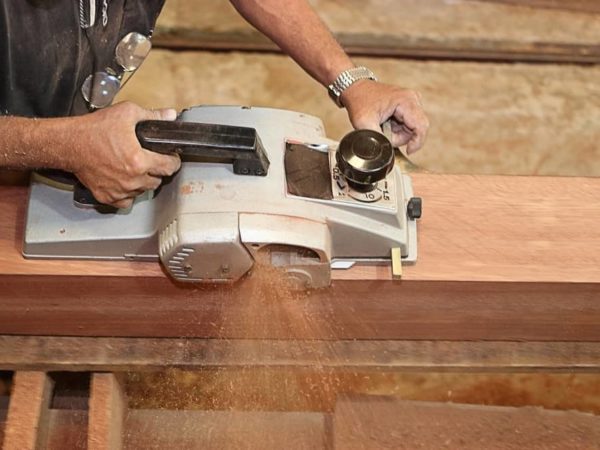
2. Make sure your planer knives are correctly aligned
Most hand-held planers will use a pair of knives to shave the wood. So it stands to reason that if they’re not level with each other, you won’t get good results.
And don’t assume that your brand new planer will automatically have the knives perfectly aligned. Check before you start work on your project, and you could save yourself a lot of frustration.
If you’ve got an electric planer (also known as power planer), check whether it has an integrated knife setting function. If not, invest in a knife setting jig. This handy gadget will allow you to quickly and easily make sure every blade is precisely aligned.
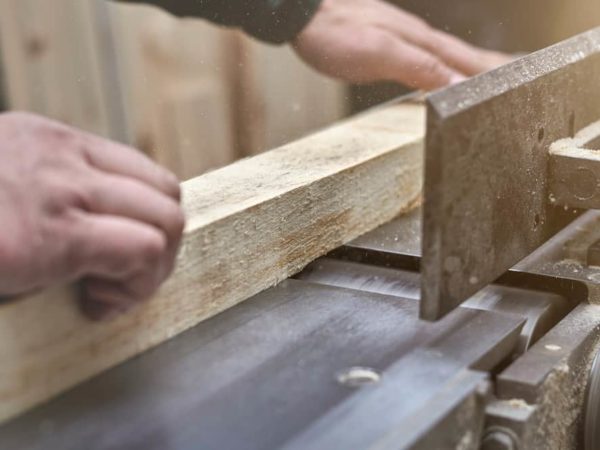
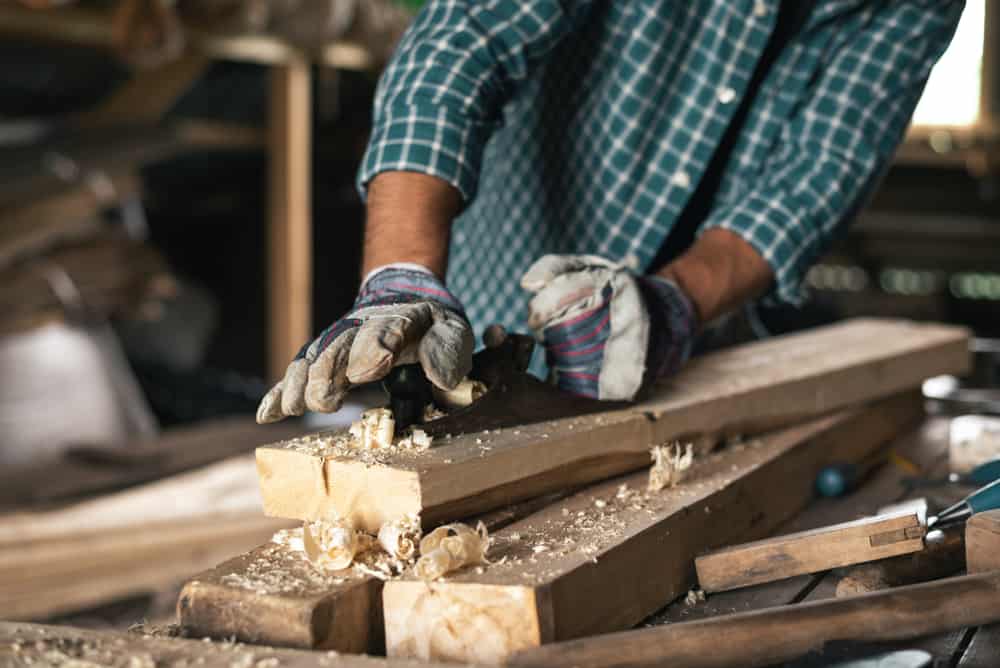
3. Always plane in the direction of the wood grain
Work with the wood by always planing in the same direction as the grain. In most cases, it’s easy to see how to do this. The grain is a series of lines on the surface of the wood. If you plane in the same direction as the lines, you won’t go far wrong.
If you try to plane across the grain, though, you’ll find the planer gets stuck. It will tear through the board leaving a jagged edge. This is known as a “tear-out”, and it’s ruined many a woodworking project.
But while it will usually be easy to work with the grain, there are exceptions. Some woods have grains that run in more than one direction. In those cases, you’ll need to work carefully and use a very sharp blade.
For help in reading the grain in wood, take a look at this YouTube video from Paul Sellers.
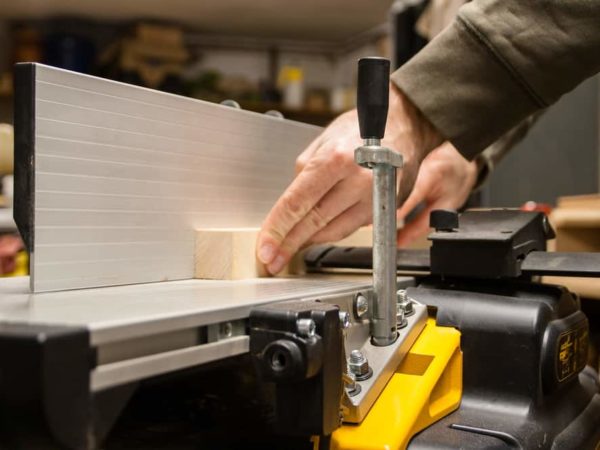
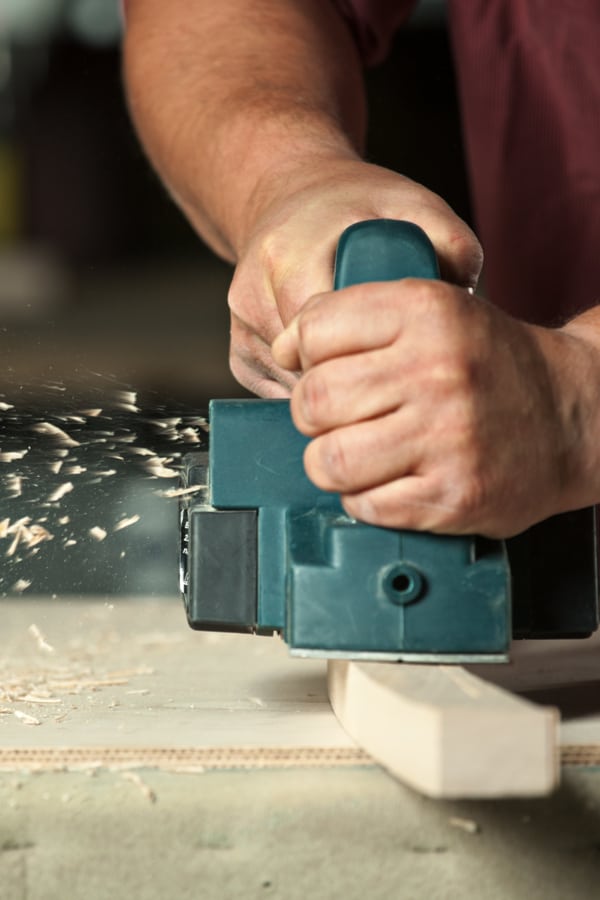
4. Repeating thin passes is better than single deeper passes
Most planers allow you to adjust the planing depth. Electric hand-held planers, for example, often offer a series of settings – known as ‘positive stops’. The maximum planing depth varies, but is typically up to an eighth of an inch.
With each pass, your planer will be removing woodchips and debris. No matter how efficiently it gets rid of this, some waste material will get in the way as you work. The deeper you go in a single pass, the more debris will be generated. And that means the cut will be less clean.
The more wood you try to remove in one go, the more resistance your planer will also face. That means you’ll be more likely to have to deal with tear-outs or the loss of small chunks of board.
For both these reasons, it’s much better to use repeated passes on a shallower setting. And while that might sound time-consuming, it’s much quicker than having to start all over again because of a mistake.
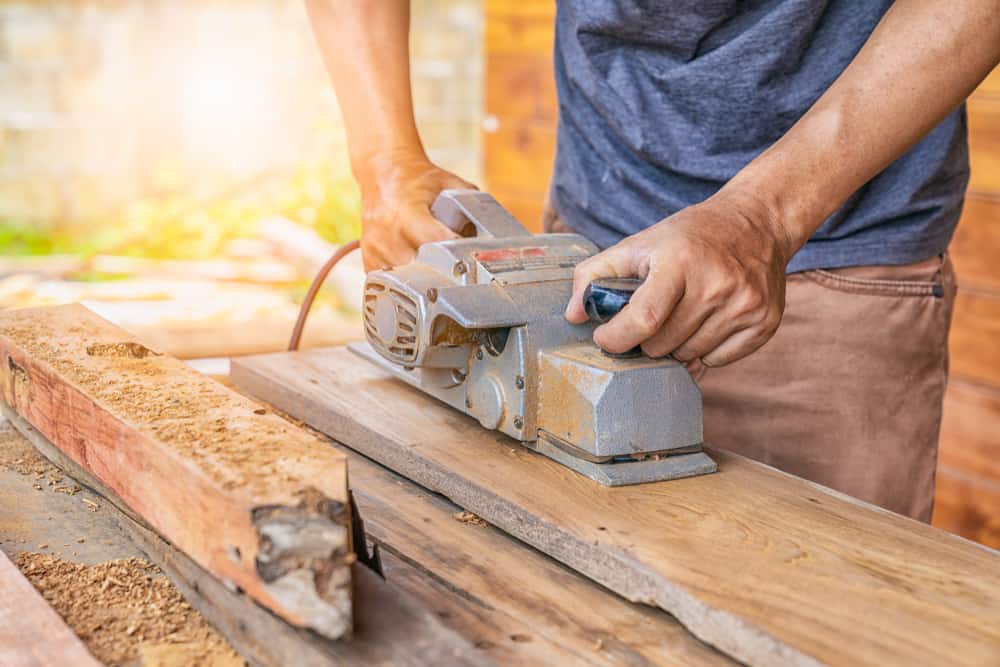
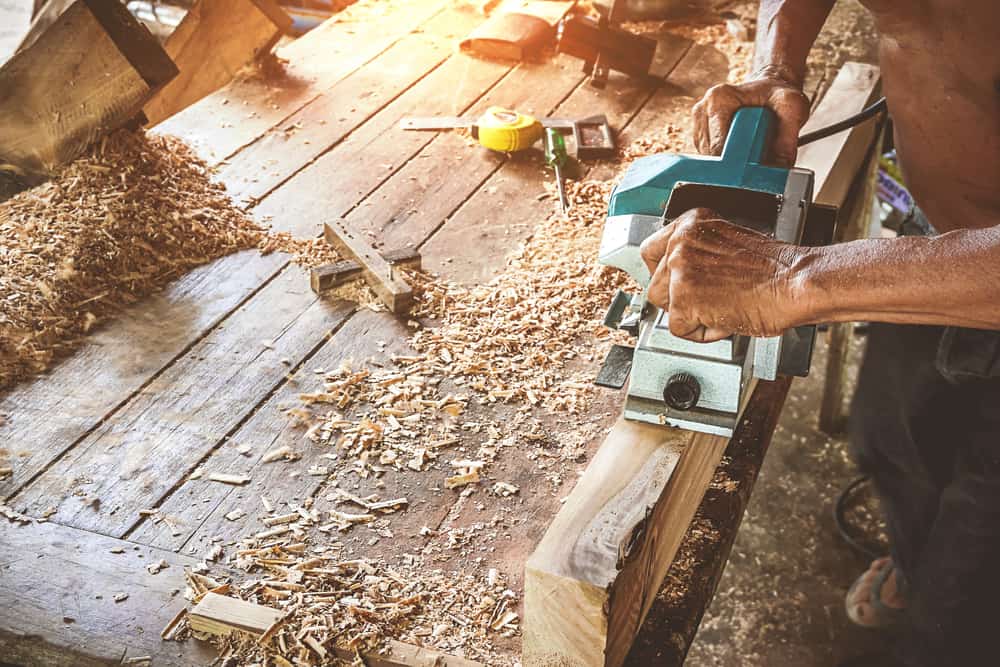
5. Always collect dust as you go
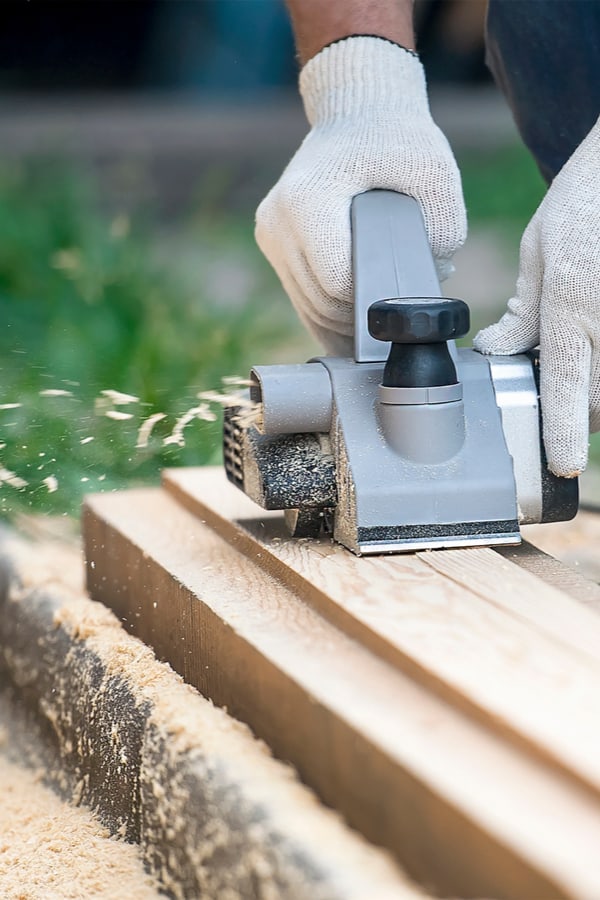
Whilst it’s of course great to have a clean and tidy workshop, that’s not the main reason for this tip. Collecting dust as you go will mean the planer encounters less resistance as you work. And that means less of a chance of slips or tear-outs.
If you’re using a manual planer, this might be as simple as blowing away the sawdust as you go along. But if you’ve got a power planer, you’ll have other options.
Many hand-held power planers will come with their own dust collection bag. These are often small, though, and need to be emptied regularly.
A better solution can be to hook up a shop vacuum to the planer exhaust. That will keep the woodchips moving away from the board, and avoid any issues with clogging.
If you’ve got a bench-top planer, just make sure the dust chute is fitted correctly.
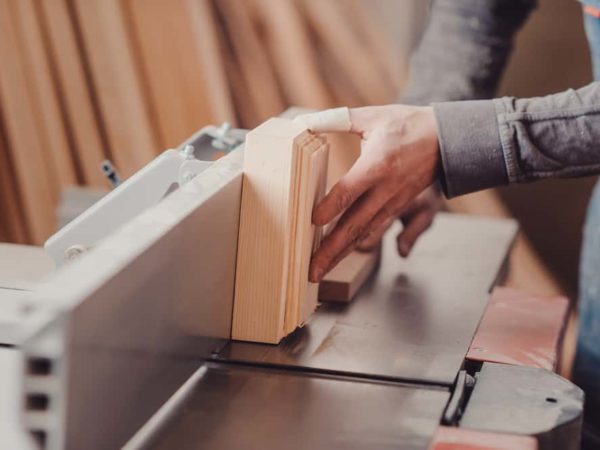
6. Use the right tool for the job
If you’re struggling to get the results you want, it may simply be that you’re not using the right tool. There are a whole host of different planers out there, and they’ll work better or worse for different jobs.
If you want to create a step in your board, use a rabbet planer. If you want to trim up to the edge of a board, perhaps for a dado, use a shoulder planer. A bullnose planer is great for working in tight spaces. And a finger planer is perfect for working on very small pieces of wood.
Do some research before you get started, and you’ll find your project goes far more smoothly.
Let’s get planing!
We hope you’ve enjoyed our top six tips to get great results when using a wood planer. Make sure your equipment is in good condition, and spend some time on proper preparation. Follow these pointers, and you’ll save yourself time, frustration and money replacing damaged boards.
Happy planing!
Don’t forget to pin it!