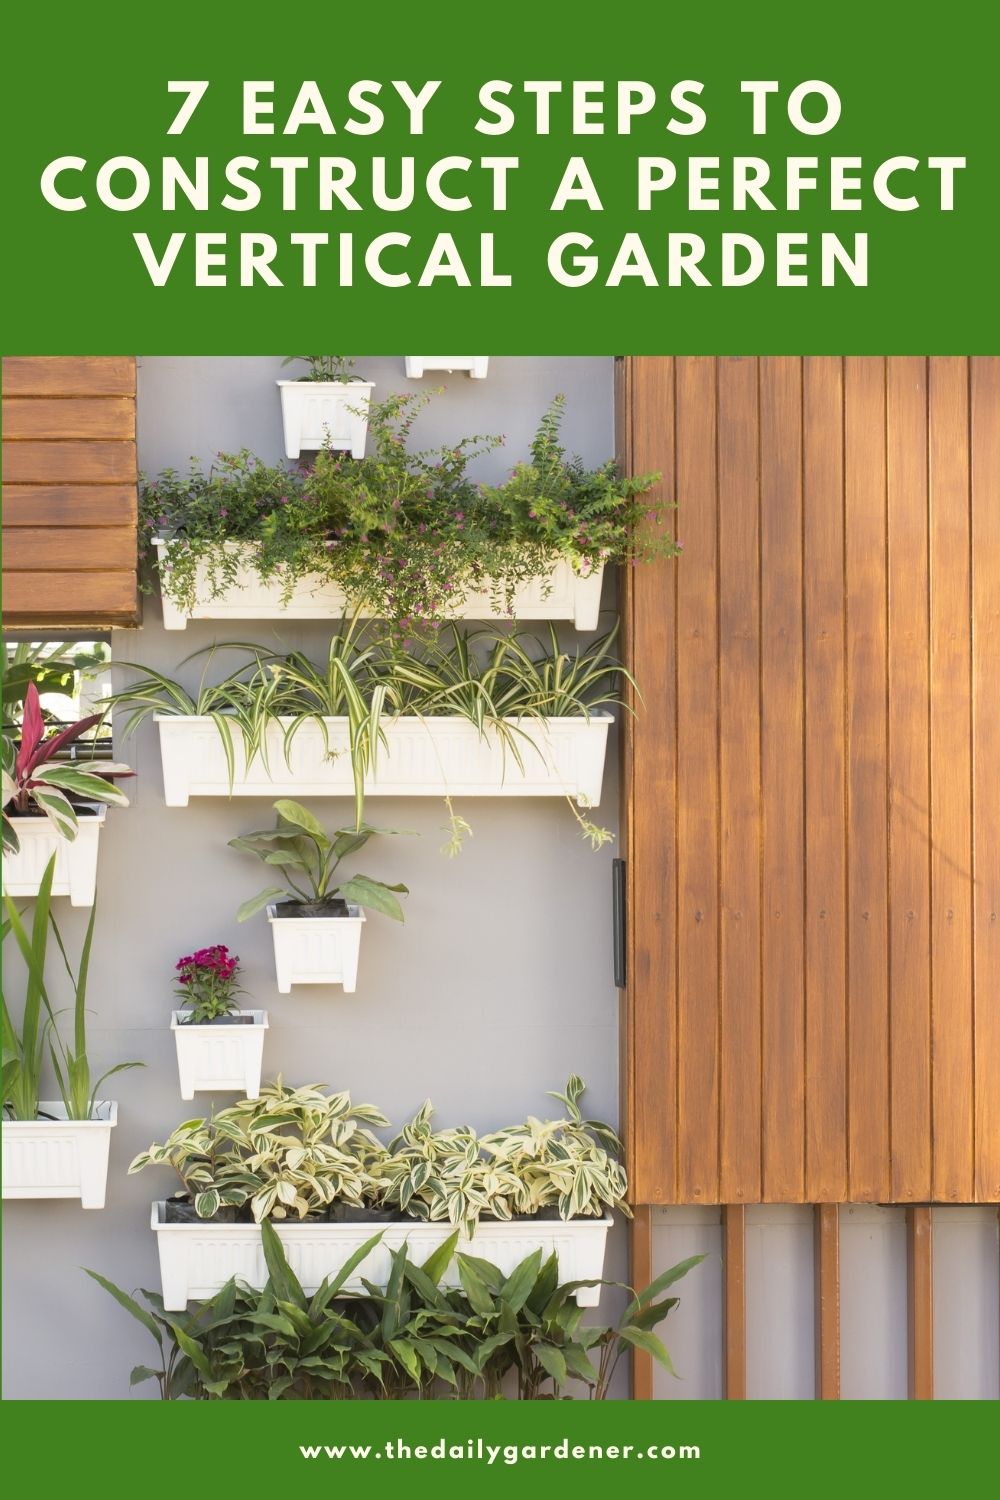
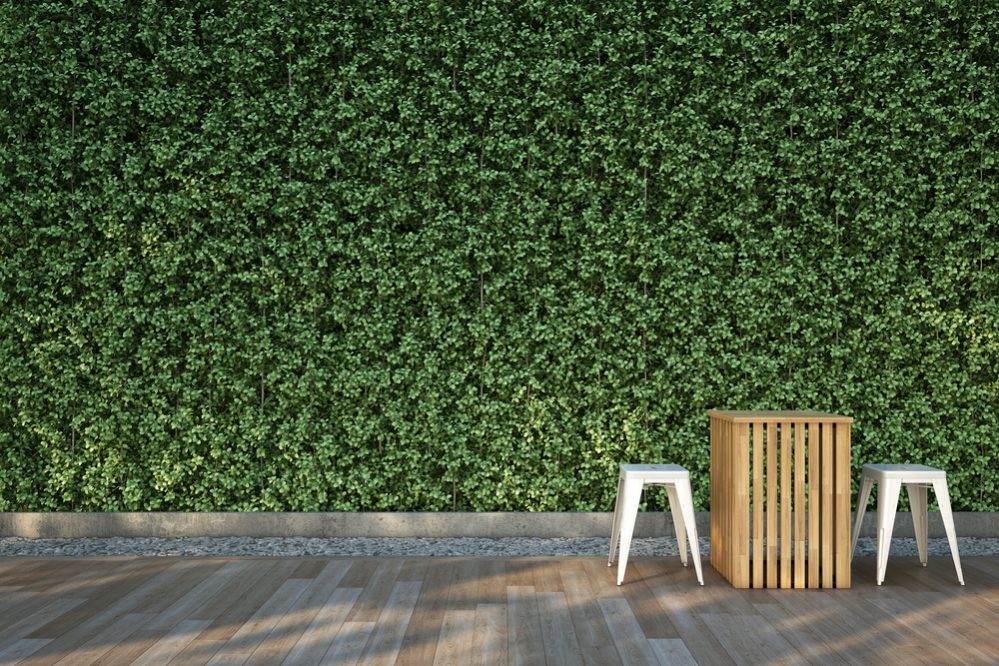
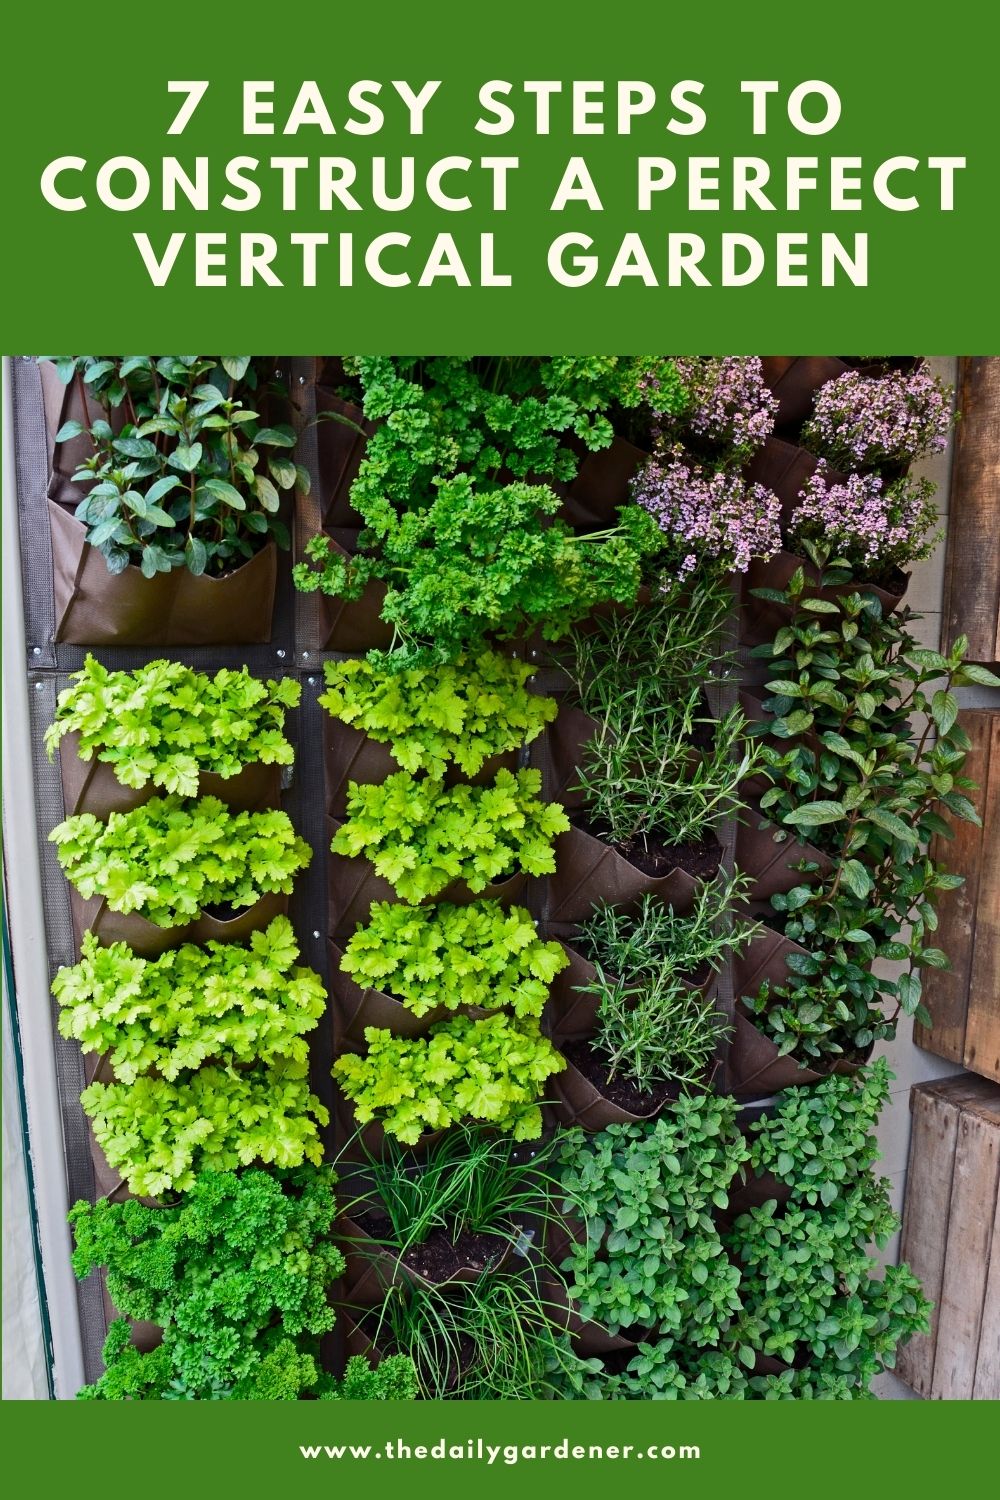
If the space in your garden is limited, if you want to cover an unsightly wall or even if you’re just looking for something striking and original to put in your garden, a vertical garden could be the answer you’re looking for.Here’s our guide to constructing a beautiful, thriving vertical garden.
Table of Contents
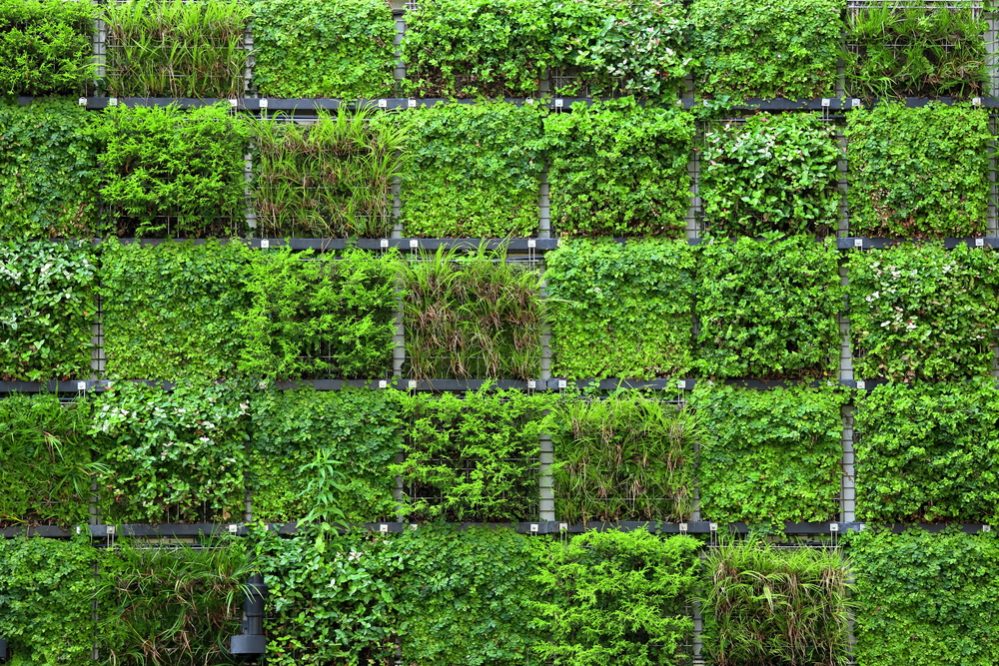
What is a Vertical Garden?
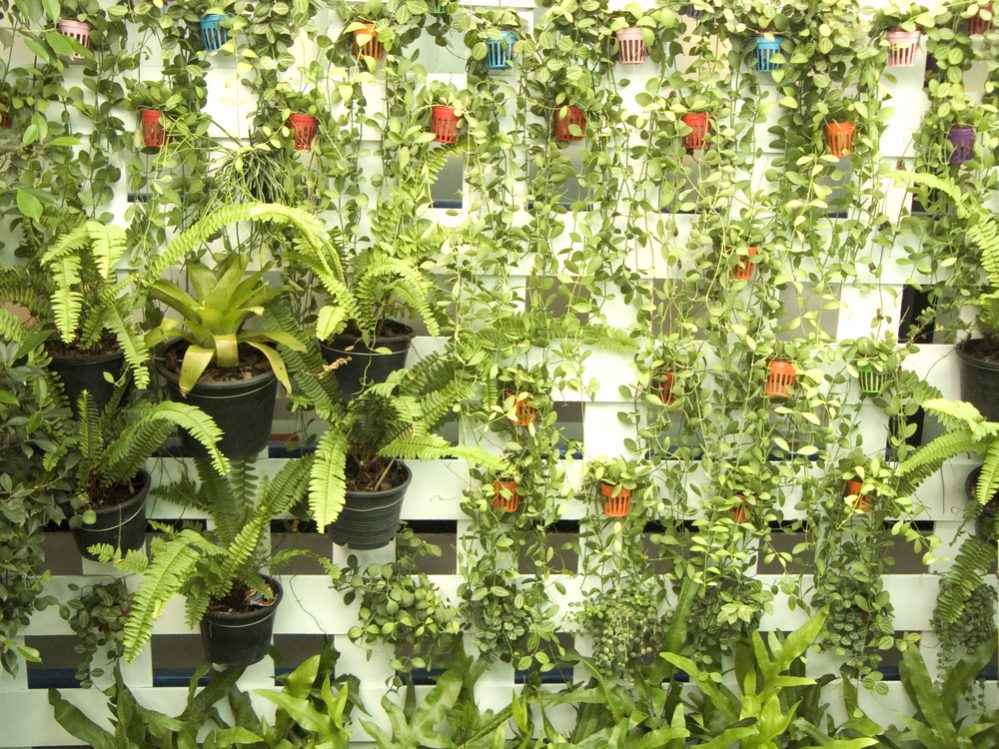
Vertical gardens are essentially a way of growing plants vertically up a wall using hydroponics – that is, without using any soil. They work by attaching a frame to a wall along with an irrigation and fertilization system to help nourish your plants.
They can be installed indoors or outdoors, and both versions have many advantages; and as we’ve already mentioned, they are ideal if you have little space in your garden, decide to downsize your home or if you want to hide an ugly wall.
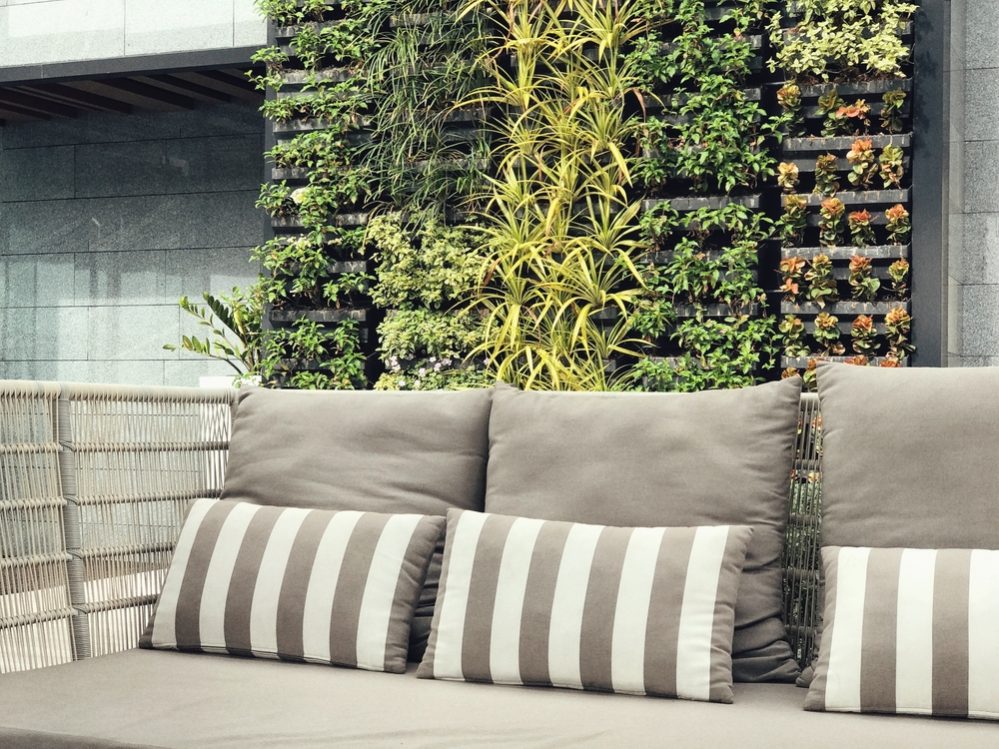
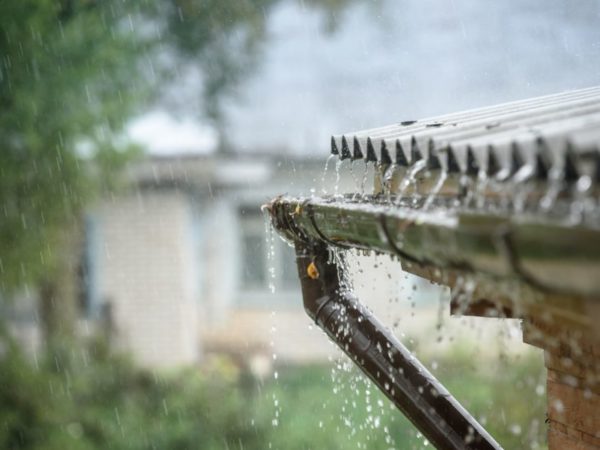
They can create a striking effect in an otherwise uninteresting outdoor space and can also help protect your house from excessive rain or heat.
Vertical gardens are popping up more and more in indoor spaces too. By installing a green wall in an office, workers can benefit from the calming effects of nature as well as the air purifying properties of the plants.
Indoor vertical gardens even soak up sound, creating a quieter, more peaceful workplace.
How Do You Make a Vertical Garden?
If you have decided you want to build a vertical garden, there are two options: either you can pay a professional company to come and install one for you or you can set one up yourself.
The advantage of paying professionals to do the work is clear; they have the experience of installing these gardens and will know exactly what is required. You can be sure the garden will stay in place and will function as it should.
However, such installations are not cheap, and you may decide to try setting it all up yourself.
This is a much less expensive option, and the good news is it isn’t that difficult. There will be a certain initial outlay for the material, but by doing it yourself, you stand to save yourself quite a bit of money.
Essentially, a DIY vertical garden will require a frame to hold it up, a backing layer of plastic sheeting and a layer of fabric for the plants to live in. Here’s a step-by-step guide for how to do it.
Step by Step Guide
Step 1. Choose the wall for the plants – or the plants for the wall
Before you even begin building your vertical garden, you need to take a moment to consider the result you are hoping for. Specifically, you need to decide whether you are choosing plants for a wall or a wall for your plants.
In other words, is your primary consideration covering a particular wall or is your main goal to grow certain types of plants?
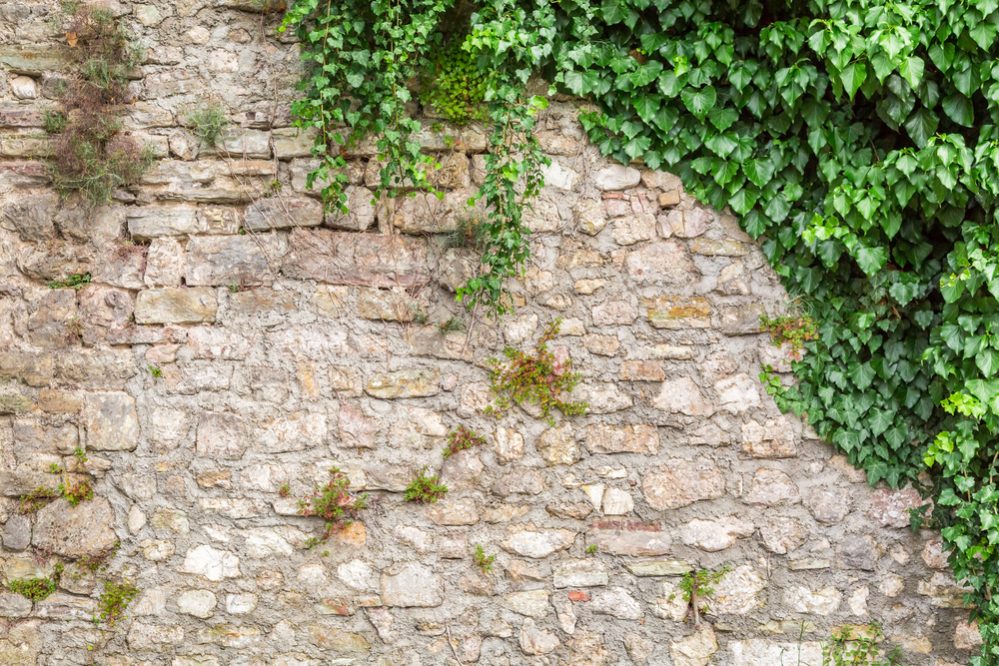
If your objective is to cover an unattractive wall with greenery, you will have to choose the plants you place there according to the location; on the other hand, if your goal is to grow particular species of plants, you should find a location that will best allow them to thrive.
For example, if you want to grow sun-loving plants, choose a wall that will give them as much sunlight as possible. If your chosen plants prefer the shade, you should choose somewhere that is protected from the direct rays of the sun.
Also consider factors like wind, rain and temperature – as well as whether it is really practical to grow a particular species where you live. Understanding how plants thrive in nature will help you select the best plants for your vertical garden.
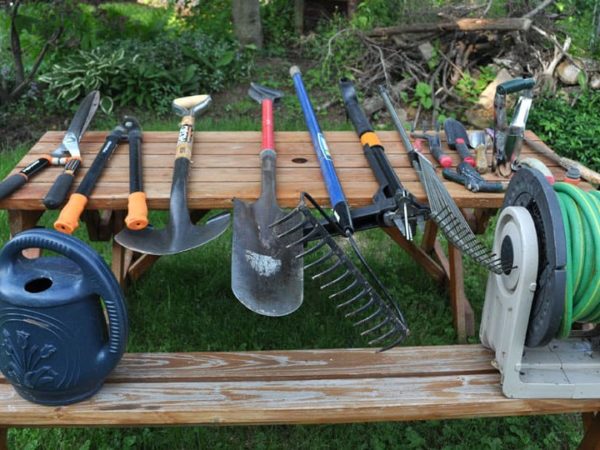
Step 2. Set up the frame
Once you know what kind of plants you are going to grow or where you want to place your vertical garden, you need to construct the frame.
You have a few choices here when it comes to material. A metal frame will be sturdy and durable but will also be heavy, not to mention expensive.
If you are considering a metal frame, think carefully about whether the wall it will be attached to will be able to hold its weight – especially once the rest of the garden is installed and hanging on it too.
Another option is wood – but remember that the wood will be constantly wet as you water your plants daily. This means if it is not properly treated, it will soon rot.
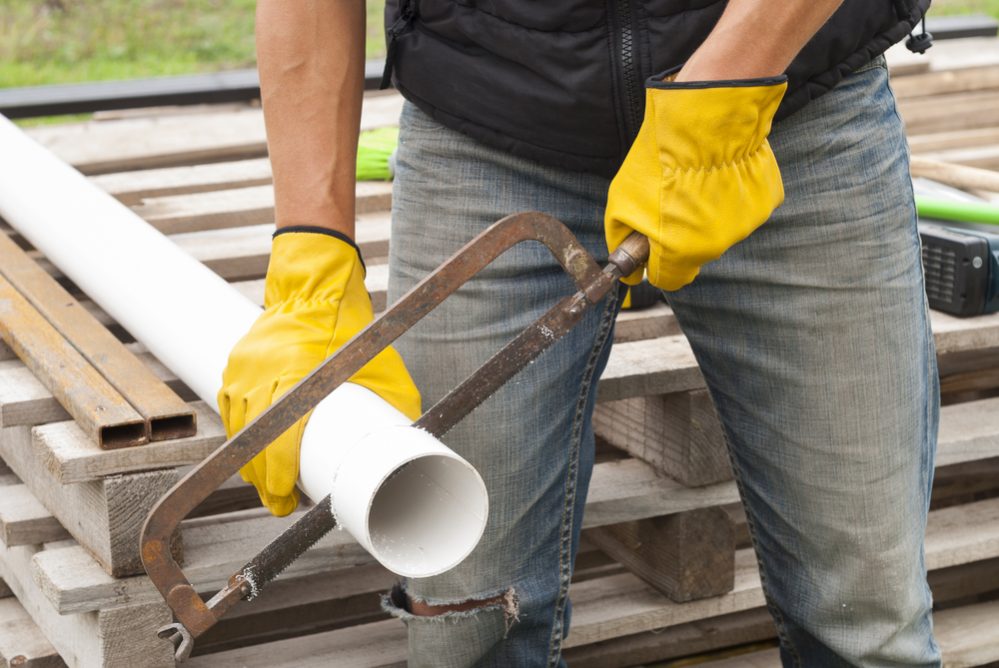
Probably the best option is to use PVC plastic piping. This will be cheaper and lighter than a metal frame and your wall should have no problem supporting its weight. It will also last longer than a wooden frame since it won’t react to constant watering.
To begin with, just construct the frame but don’t attach it to the wall yet – you still need to fix on the other elements first.
Step 3. Attach the backing layer
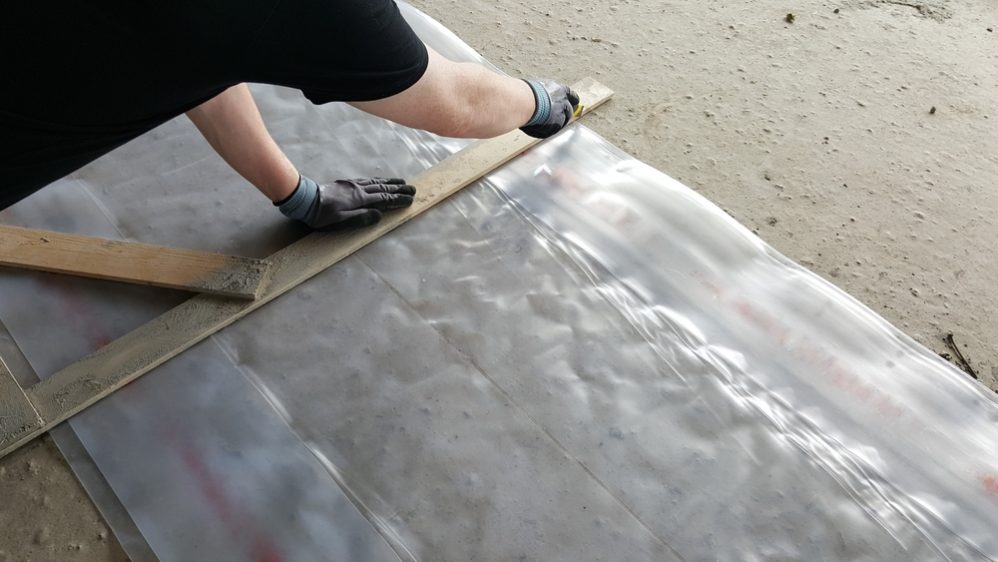
The next step is to attach the backing layer to the frame, a layer that will serve a double function.
Primarily, this will form an inner layer behind the fabric at the front. When the frame is fully constructed, you will then create pouches for your plants between the outer fabric layer and this inner layer.
Second, it will also help protect the wall from the water that will be constantly running down your vertical garden as you water it each day.
Some form of tough plastic sheeting will make the best backing layer. You want something that will be able to stand up to a minimum of rough treatment without tearing.
Step 4. Attach the fabric layer

Next, you need to attach the fabric layer to the front; this will be the part that is visible, and this is where you will place your plants.
You can use any material for this; the only requisite is that it will be able to hold water without going rotten. If you want a professional-looking wall, you can buy special materials for this, but if it will be covered in plants later, there’s not too much point in spending lots of money on it.
If you don’t want to buy expensive materials, you can use inexpensive canvas or felt.
Fix the fabric onto the mainframe ensuring it is stretched out taut with no creases. The simplest way is to staple or screw the fabric in place.
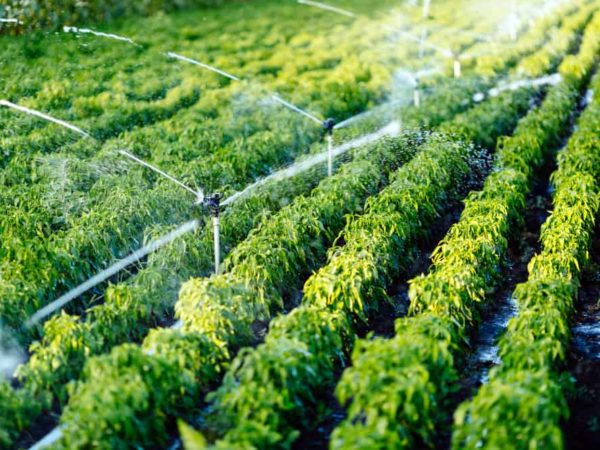
Step 5. Install irrigation and fertilizer systems
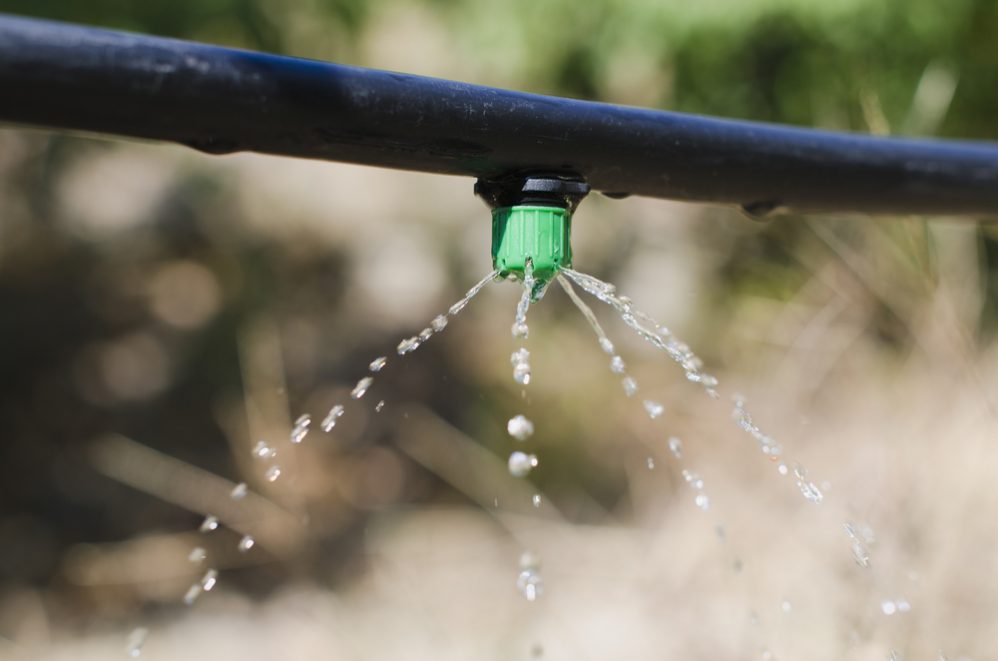
You will quickly realize that, unlike a regular garden, providing water for a vertical garden presents something of a challenge. You could possibly water it with a garden hose, but a much more efficient and labor-saving way to do it is to install an irrigation system at the top.
With an irrigation system, you can programme the garden to water itself. Several short bursts per day will probably be best, which would be quite impractical if you wanted to do it manually.
Irrigation systems with accurate timers can be bought from irrigation suppliers. If you want to make a DIY version, you could construct something by drilling holes in plastic piping so that water drips down to water the plants – but you will still have to put the water in manually.
When you have decided on an irrigation system, you will also need to fit in a system to deliver fertilizer to your vertical garden. Fertilizer injection systems are that are well-suited to the purpose are also available for purchase.
Step 6. Attach the frame to the wall
Once your frame is assembled and ready, you need to mount it on the wall. You may decide to hang it permanently or build it so it is easy to detach.
The advantage of a removable garden is that it allows you to grow warm-weather species; in the colder months, you can simply take the garden down and store it somewhere warmer, like in a garage.
However, if you make a permanent installation, it will probably be better able to withstand more extreme weather without coming off of the wall. Also, it depends how big your vertical garden is – it might not be practical to remove larger gardens for winter storage.
For a removable version, hooks will suffice; for a more permanent installation, you may prefer to hang the garden on brackets.
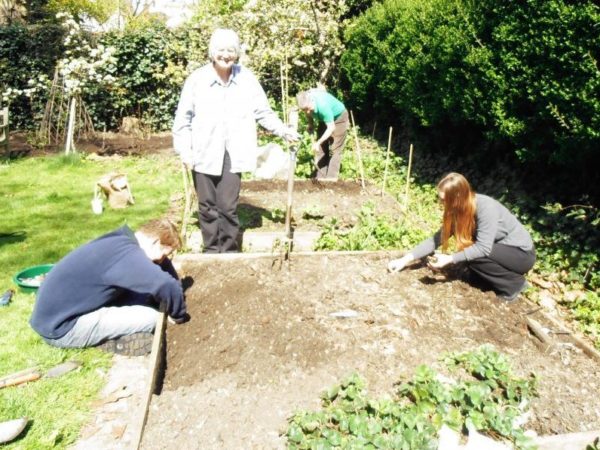
Step 7. Add plants and get creative
Your vertical garden is now finished. All that remains is to add the plants.
To create pouches for your plants, make small slits in the outer fabric layer with a sharp knife. Remove as much soil from the roots of your plants as you can and place them into the slits.
Once each plant is in place, make the pouches by stapling the outer fabric layer to the backing plastic around the roots of each plant. Try to keep the staples as tidy as possible, but don’t worry about it too much as they should soon be covered by the leaves of the growing plants.
This is the basic method for creating a vertical garden – your vertical garden is now your canvas and you are free to be as creative as you like. Experiment with plants of different colors and with different sized leaves to achieve whatever effect you desire.
One thing is for sure, once your vertical wall garden is established, it is certain to become a topic of conversation whenever you entertain guests in your home!
Other Options for Vertical Gardens
If all of this seems like a lot of work to install and maintain, there are some other, simpler options for space-saving and practical vertical gardens. Here are some other ideas you might consider:
-
Gutter garden
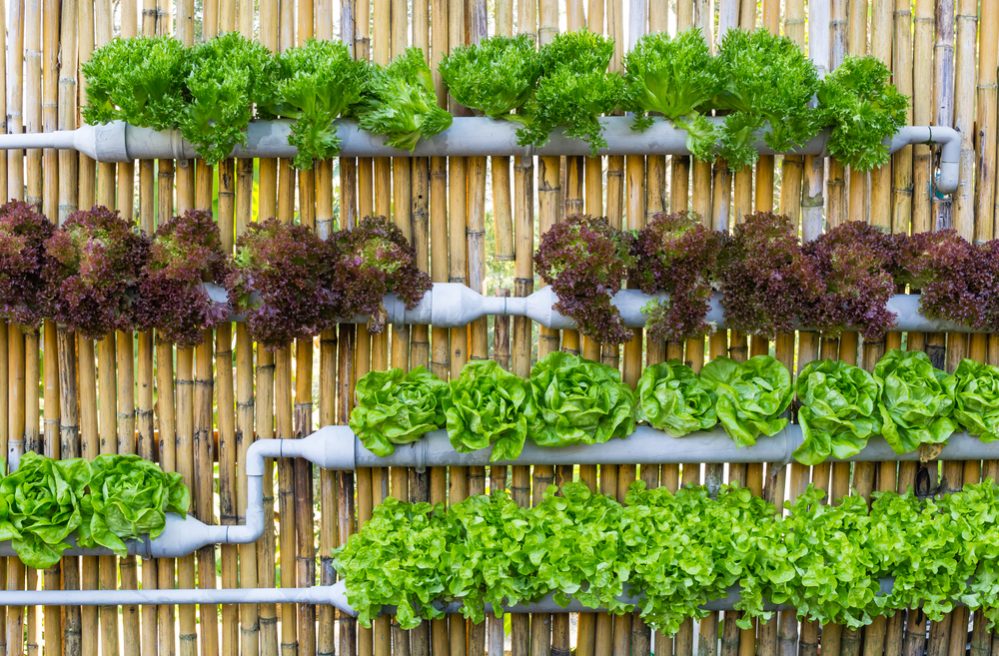 A gutter garden is super-easy to install and can help you make the most of an unused or unattractive wall for growing flowers or even vegetables.
Simply attach rows of old guttering to the wall, fill with soil and use them to plant whatever you choose.
If you go for this option, you need to make sure you leave enough distance between each row or your plants won’t have enough space to grow. You also need to drill holes in the guttering for drainage to prevent soil from becoming waterlogged.
Bear in mind, too, that you will need to water them manually – so don’t build them so high you can reach them!
-
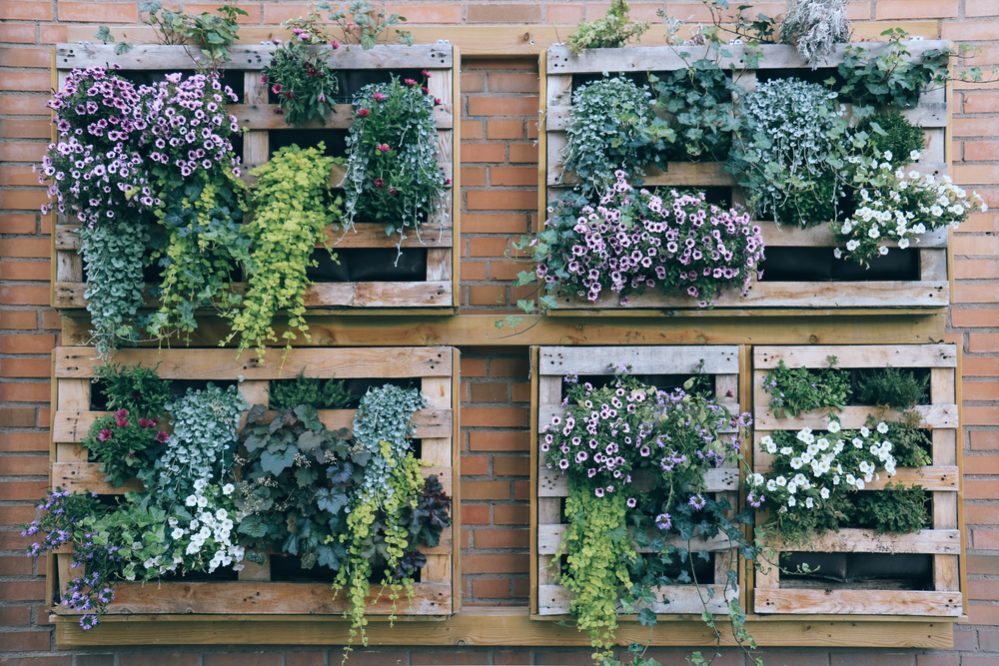
Pallet tray garden
 Creating furniture from cardboard and pallets is something of a fad at the moment, and you can just as easily turn pallets into miniature vertical gardens. Simply turn the pallet on its side and create plant boxes from plywood.
You might decide to attach it to a wall so it doesn’t tip over – and then all you have left to do is fill it with plants. Visually appealing and it will cost you next to nothing.
-
Clay pot vertical garden
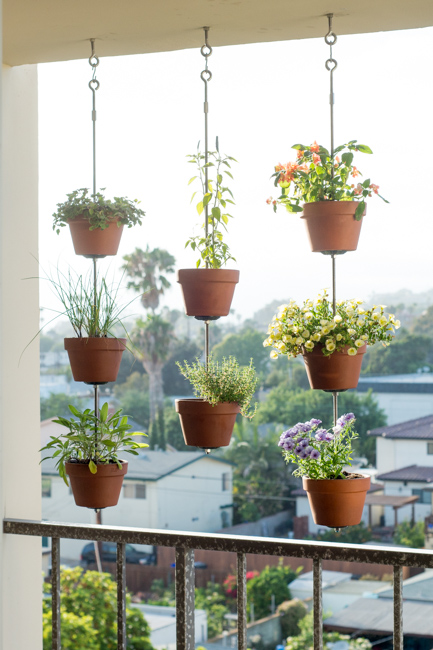 Another attractive vertical garden option that is easy to install can be created by suspending clay pots on hanging steel rods. Highly original and a great way to make the most of your limited space.
It will take a little bit of planning and preparation to execute, but the result will be with the effort.
-
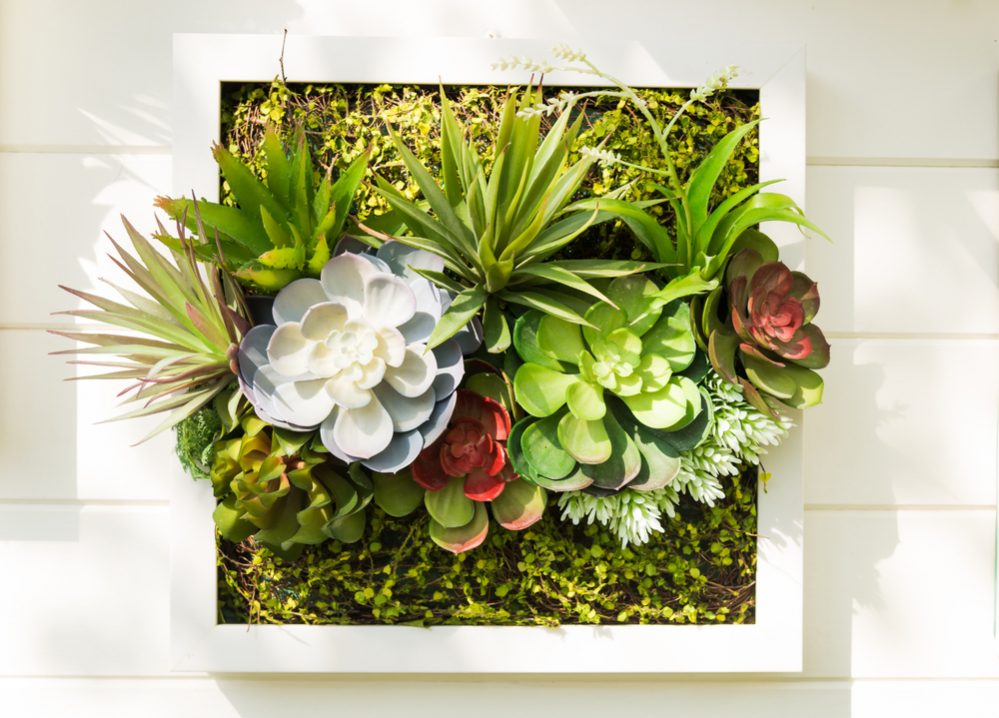
Wall trellis garden
This is a great way to make use of an empty wall – and it works just as well indoors as out.
Trellis has long been a classic garden feature, but with a bit of creativity, it can be given a modern touch and turned into a stylish-looking vertical garden. One of these will look especially striking when installed indoors and populated with plants.
Even better, they’re very easy to create and will require very little financial outlay.
Visually striking, easy to install and a great way to use up empty space
In recent years, vertical gardens have become increasingly popular. They are the ideal solution for covering ugly walls and are a great solution for yards with limited space. With a little planning and effort, you will soon be able to enjoy the benefits of a vertical garden in your home.
Do you have a vertical garden? Or perhaps you have some other solutions for when space is at a premium? If you have anything to share, please leave us a comment – we always love hearing from you. And if you enjoyed our article, please don’t forget to share!
Don’t forget to pin it!


Dear Peter:
I love your post I write to you from Spain, where we already use this technique of sustainable gardening for the construction of private and public gardens. I believe that due to the climatic conditions of the country (especially in the Mediterranean area) it makes it possible to take advantage of water resources more sustainably than other types of gardens.
I am glad that you put your information at the disposal of Internet users for the construction of a vertical garden.
Regards
I look forward to using some of these tips. These are some of the best and efficient and easy ideas that I’ve read. thank you for sharing your knowledge with us. One day the whole earth will be as beautiful as your pictures.
This piece of information was very useful for the world which in this instance due to the climate changes. Thank you so much for posting your idea. I am writing form sri Lanka.