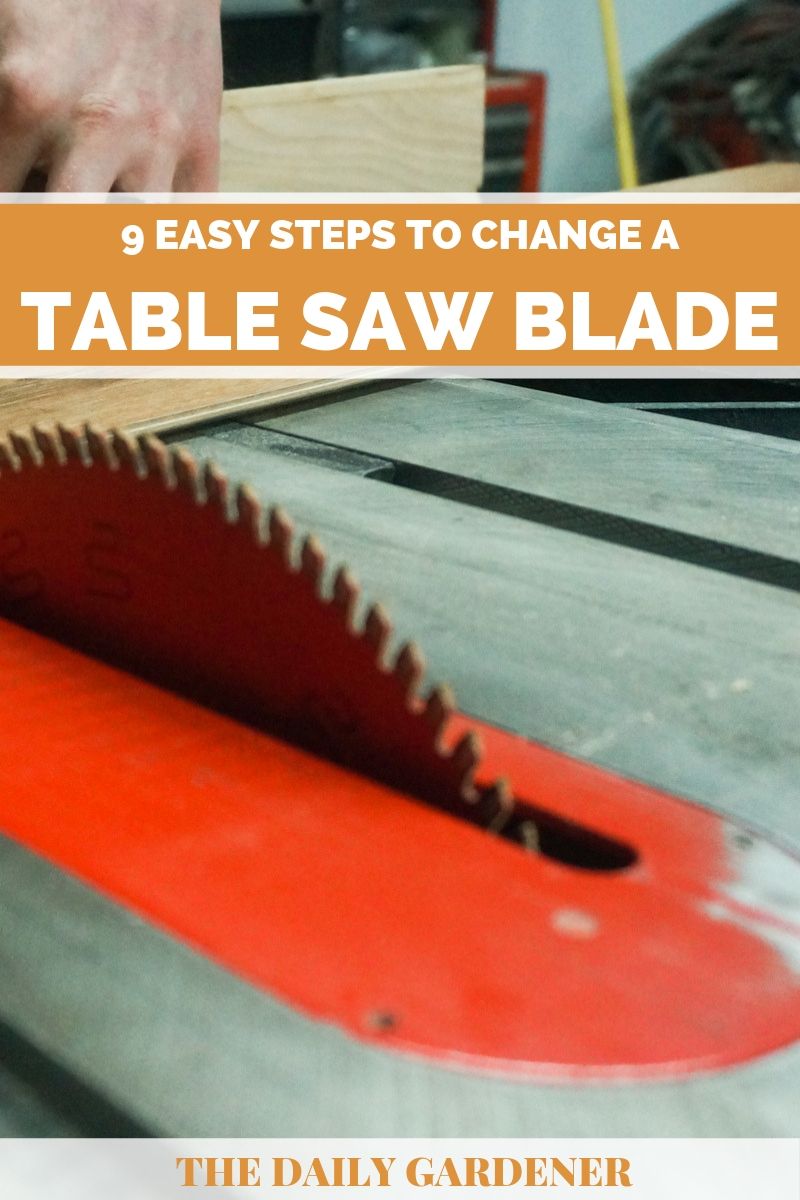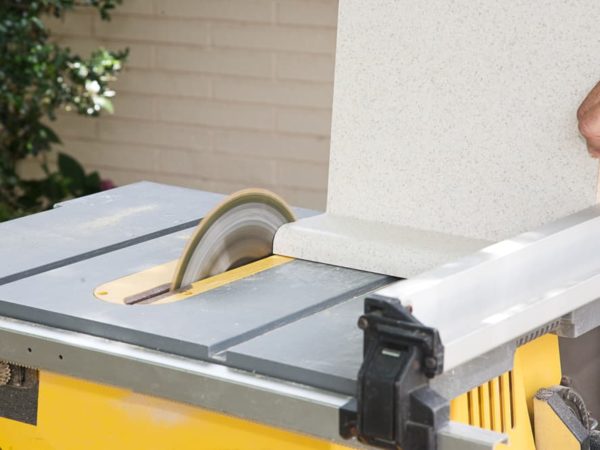
Table saws are incredibly useful tools and are perhaps the most essential item in the woodworker’s workshop. They are an extremely versatile type of saw that allow you to make a range of accurate, repeatable cuts with ease.
However, as with all saws, table saw blades inevitable dull with use and periodically need replacing. Also, different blades are required for different uses, and this is another reason you might need to switch them out – so here we look at how to change a table saw blade.
The basic method
First, we look at the basic steps required to change a table saw blade. After that, we will go on to look at some alternative methods you might choose to use.
This method is suitable for any kind of table saw, including jobsite table saws, contractor table saws, cabinet table saws, and hybrid table saws. However, as each model is different, you are advised to consult your user manual before trying to change the blade.
Step 1. Disconnect the power
As with any power tools, table saws can be extremely dangerous if you don’t take the proper safety precautions. For this reason, the first step before you do anything else should always be to ensure your table saw is switched off and disconnected from its power source.
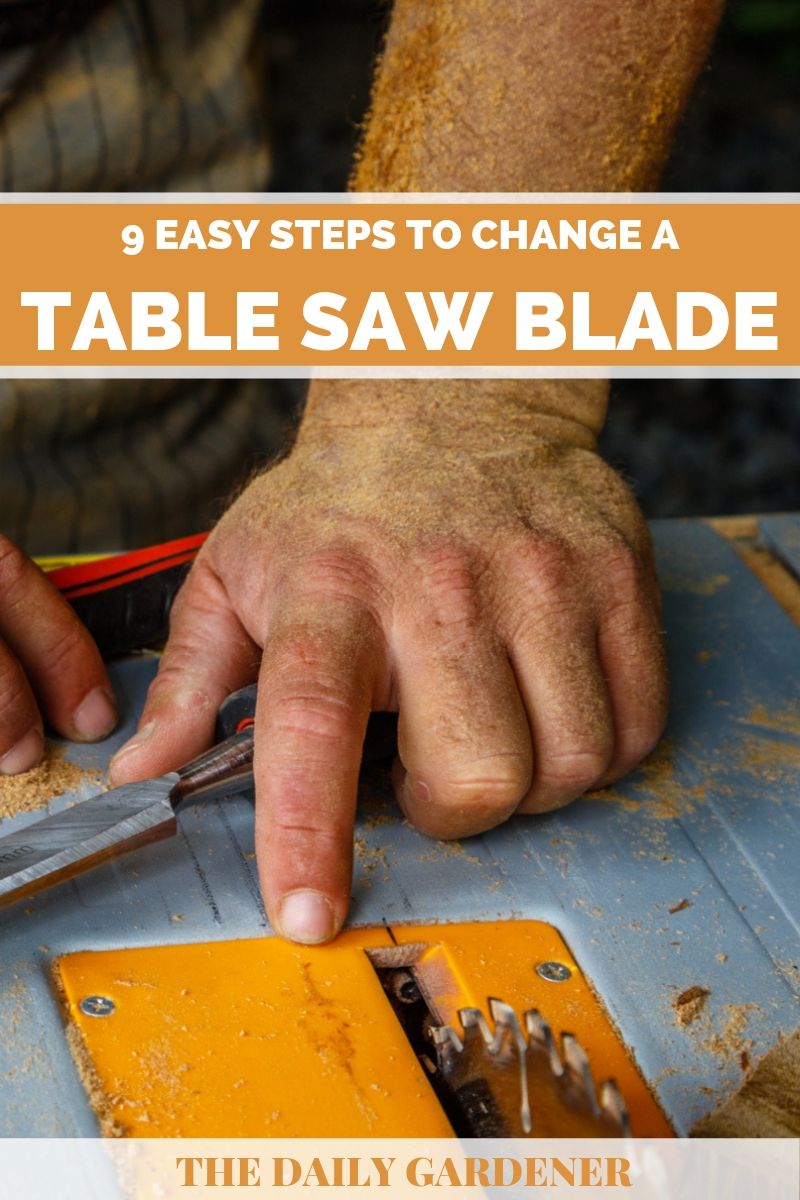
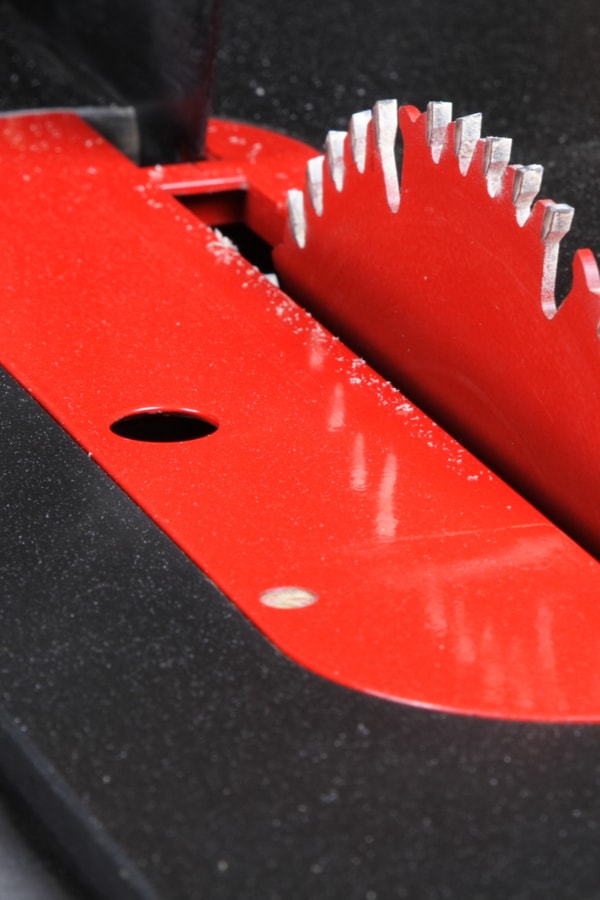
Step 2. Remove the throat plate and blade guard
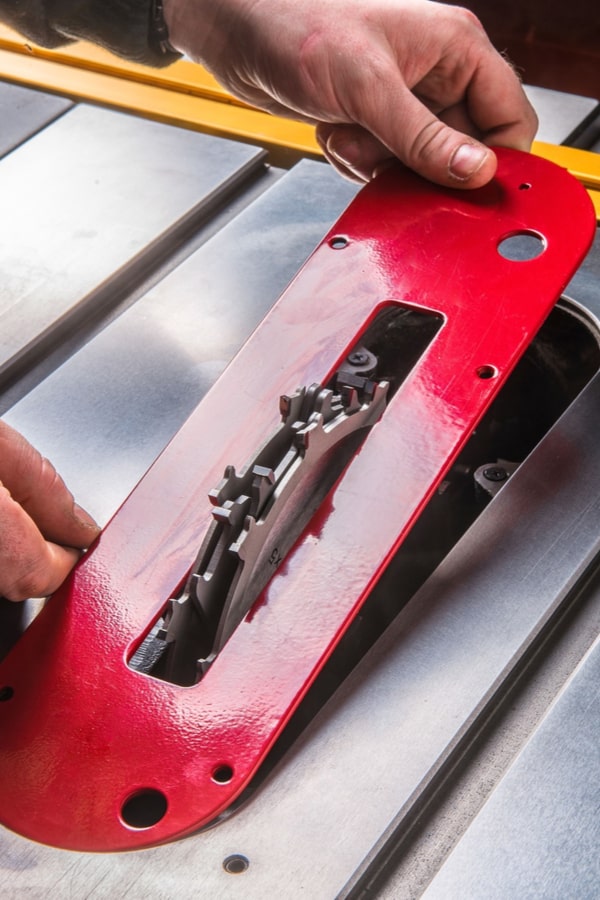
Having checked that your table saw is disconnected from the power outlet, you should then remove the throat plate and the blade guard.
Since table saws are all different, this is an area where you may need to check the instruction manual to see how it is done if you are not sure.
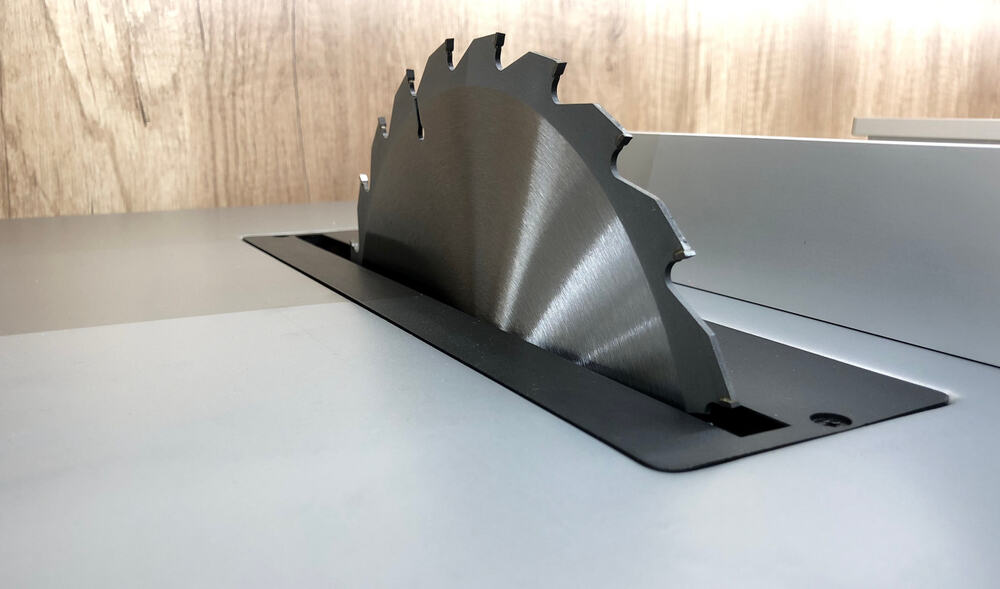
Step 3. Raise the blade
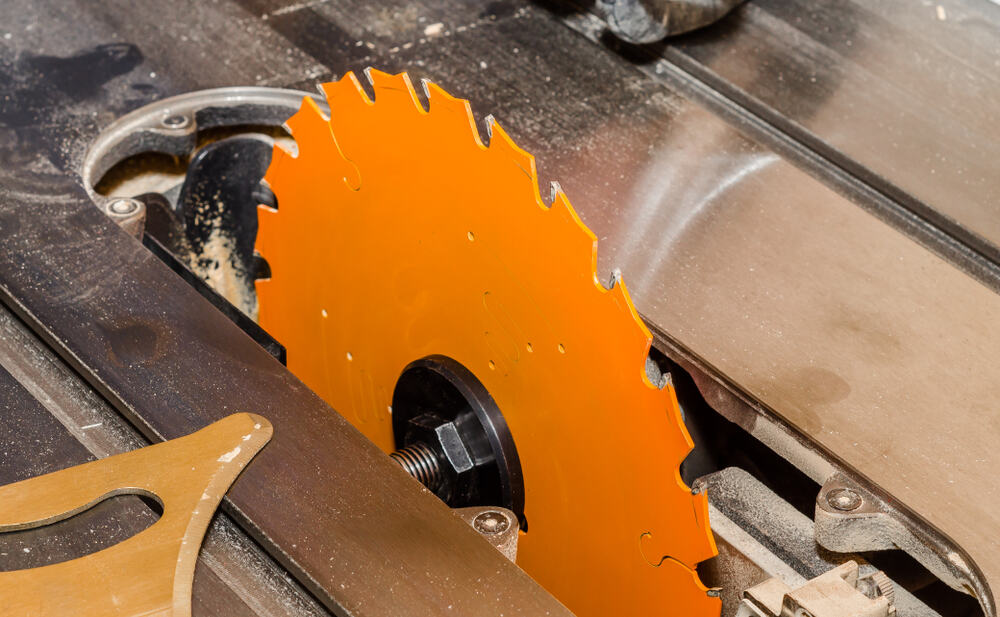
With the throat plate and blade guard removed, raise the blade to its maximum height. This is to give you the easiest access to the blade when you come to removing it.
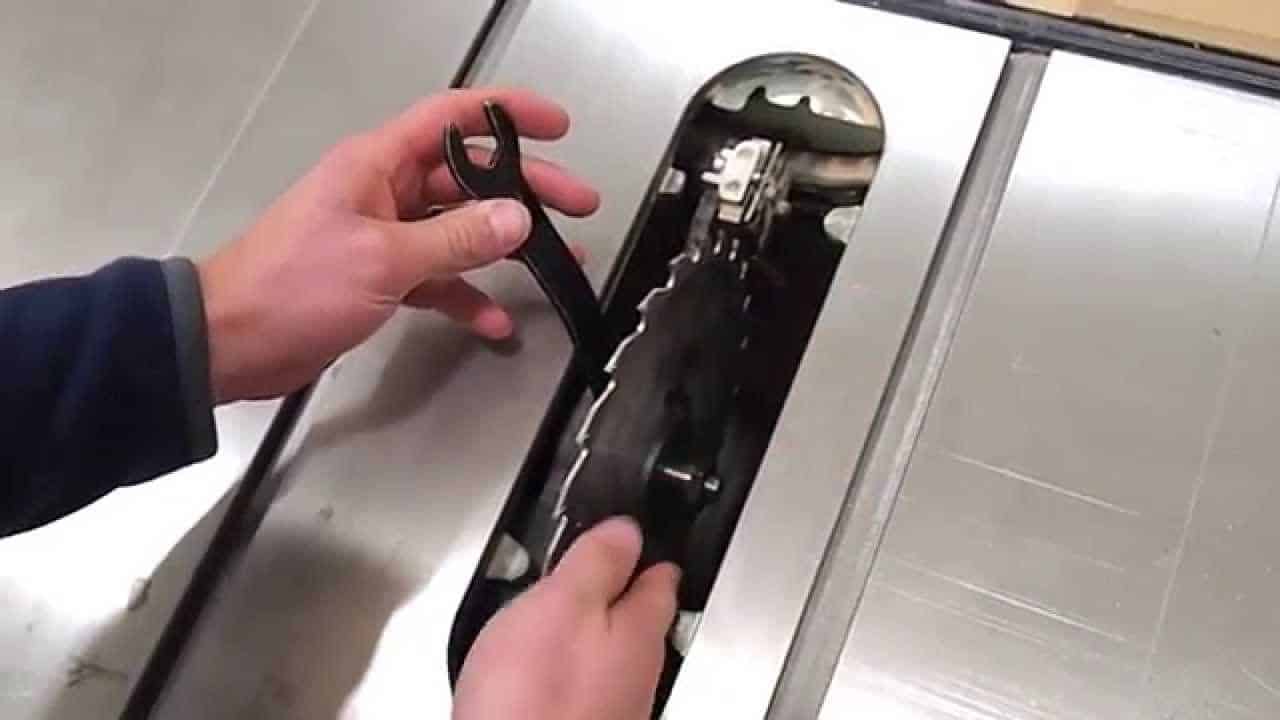
Step 4. Loosen the arbor nut
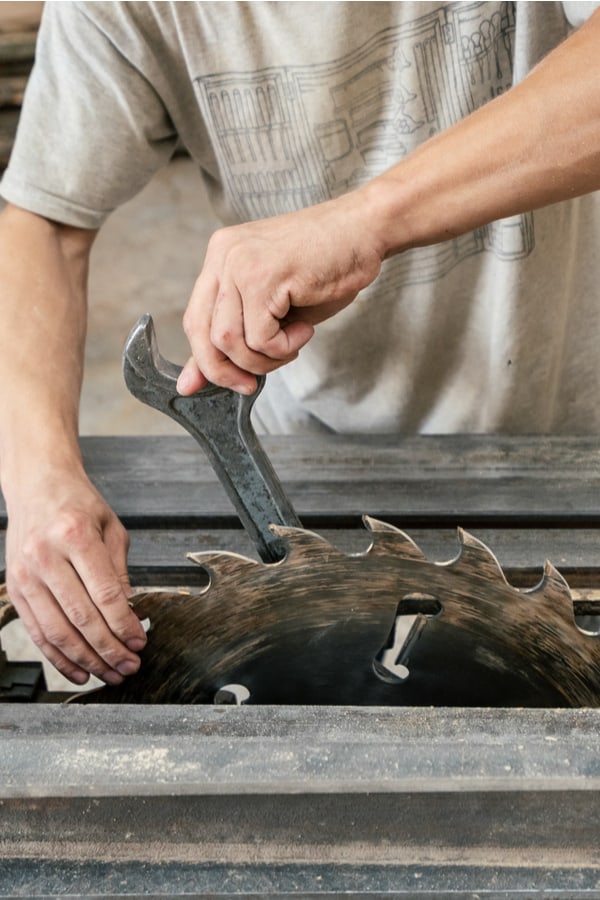
The blade of a table saw is held in place by something called an arbor, and to remove the blade from the arbor, first, you need to loosen the arbor nut.
Your table saw should include a pair of wrenches for this purpose. One wrench is used to hold the blade immobile while the other is used to turn the arbor nut on the other side.
There are some other options for this step. We will talk about these – and what you can do if you don’t have the necessary wrenches – at the end of this article.
Step 5. Remove the arbor nut with your hands
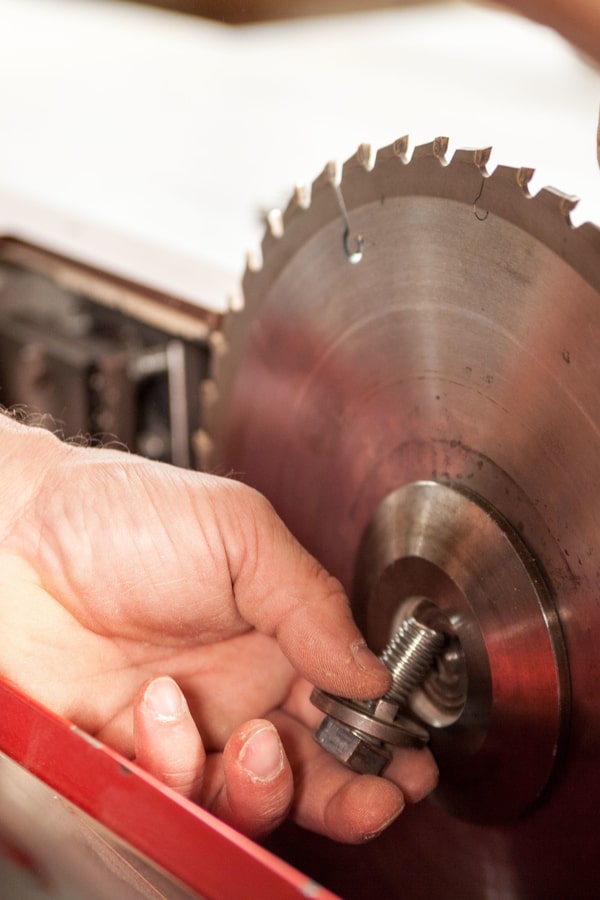
Once you have loosened the arbor nut with the wrench, you can then unscrew it and remove it with your fingers. Take care not to let the arbor nut fall into the body of the table saw. Once you have removed the arbor nut, you also need to remove the washer.
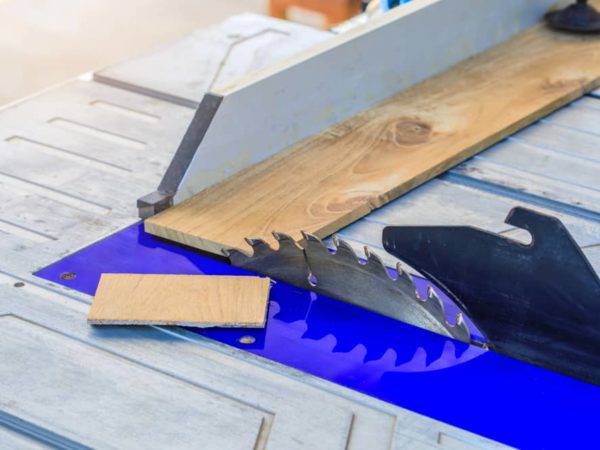
Step 6. Remove the blade and replace with the new one
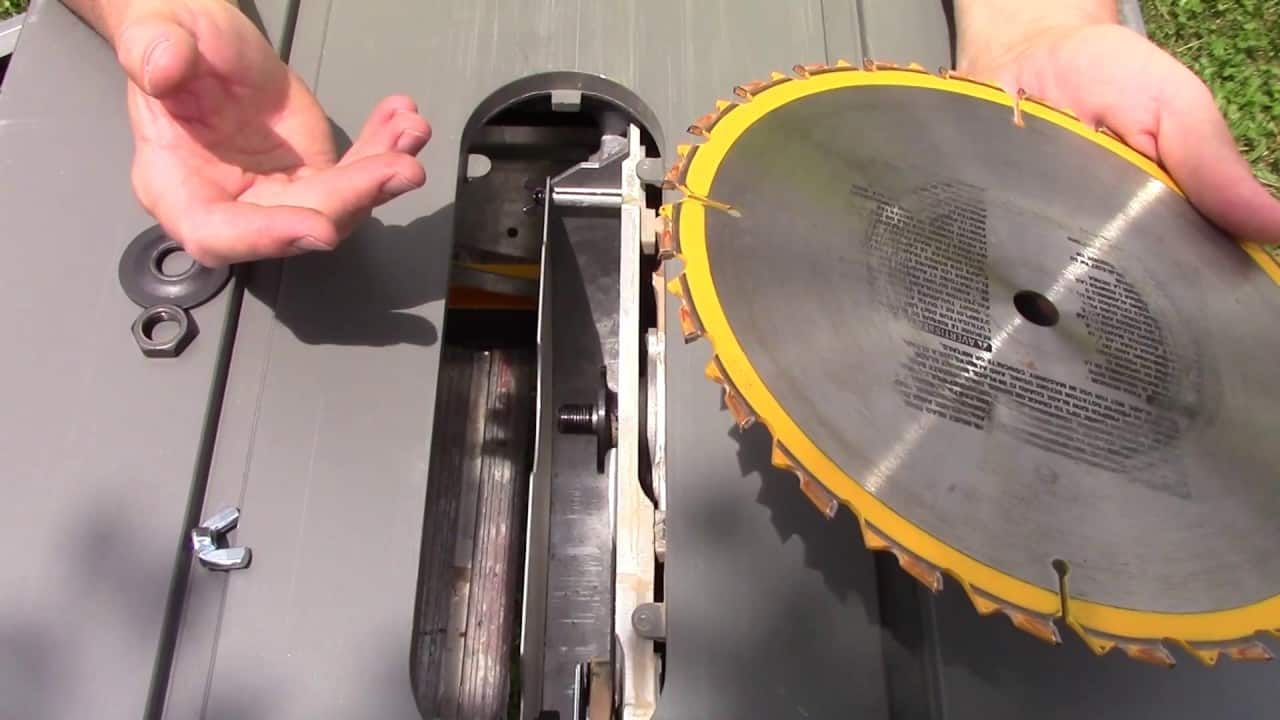
With the arbor nut and washer removed, you can now remove the blade.
Replace the blade with the new one. When doing this, you should take care to place the new blade the right way around – the teeth should be pointing towards you and not away from you.
Step 7. Replace the washer and the arbor nut
With the new blade on the arbor, the next step is to replace the washer and the arbor nut.
Step 8. Tighten the arbor nut
Using the same method as you used to loosen the arbor nut, you can now re-tighten it. If you used two wrenches, repeat the process by holding the blade still with one and tightening with the other.
If you used a different method, you can do the same in reverse when tightening the arbor nut. Again, see below for other options.
Step 9. Replace the throat plate and blade guard
Replace the throat plate and blade guard. Your new blade is now installed and ready to be used.
Other options if you don’t have the necessary wrenches
If your table saw didn’t come with wrenches or you have lost them, there are some other techniques you can use instead.
1. Use a regular adjustable wrench
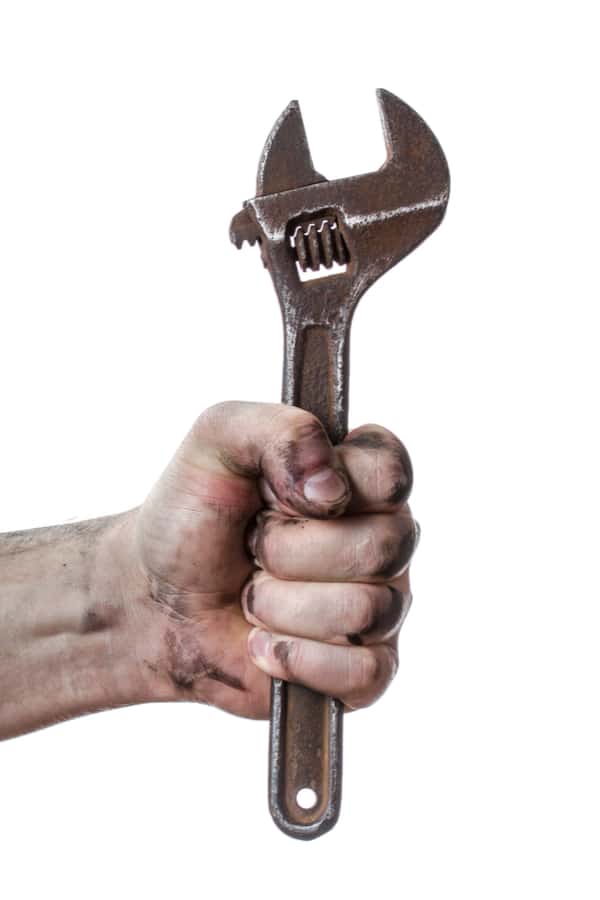
If you don’t have the necessary wrenches for your table saw, a regular adjustable wrench or pair of wrenches can be used in the same way to hold the blade still and loosen the arbor nut.
2. Use an open-ended wrench
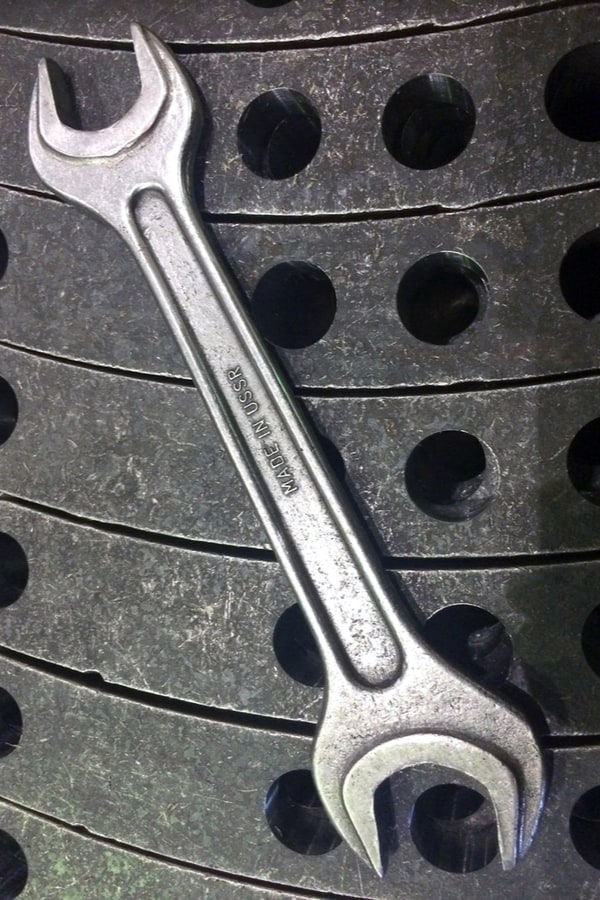
Another useful stand-in if you don’t have the necessary wrenches available is to use an open-ended wrench or pair of wrenches.
3. Use a block of wood
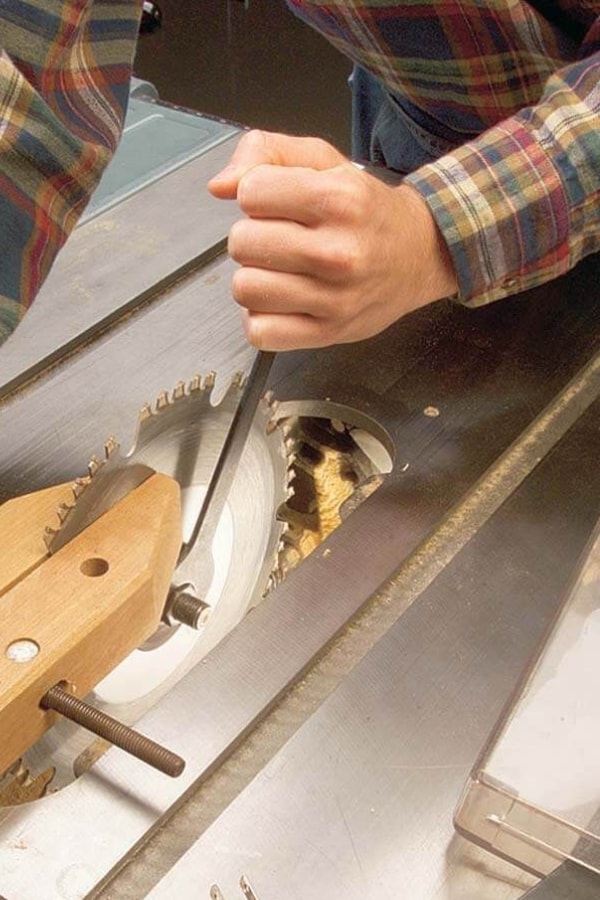
If you only have one wrench, a block of wood can be used to prevent the blade from turning as you loosen it. Simply use the block of wood to stop the blade from turning by wedging it into the teeth. You can then use a wrench to loosen the arbor nut.
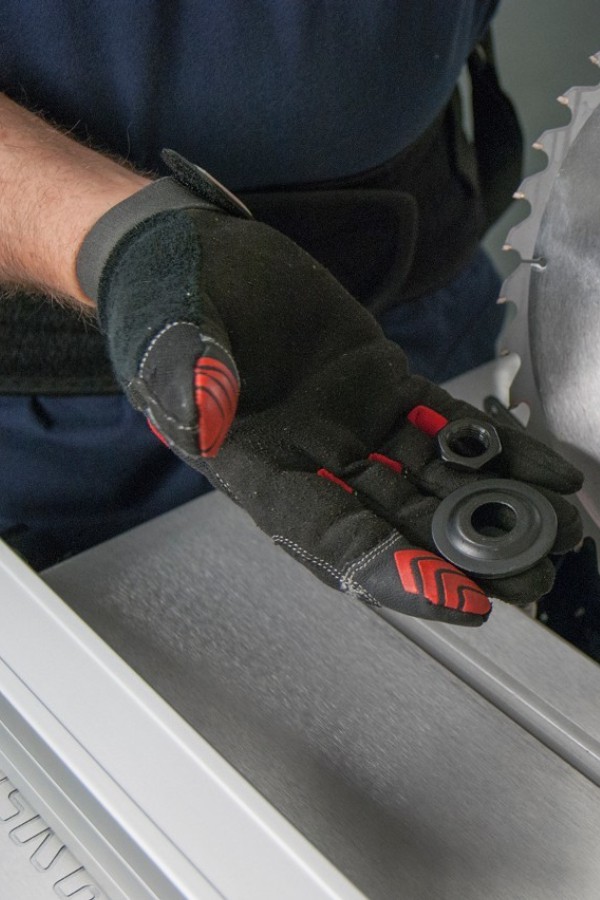
4. Use a blade lock
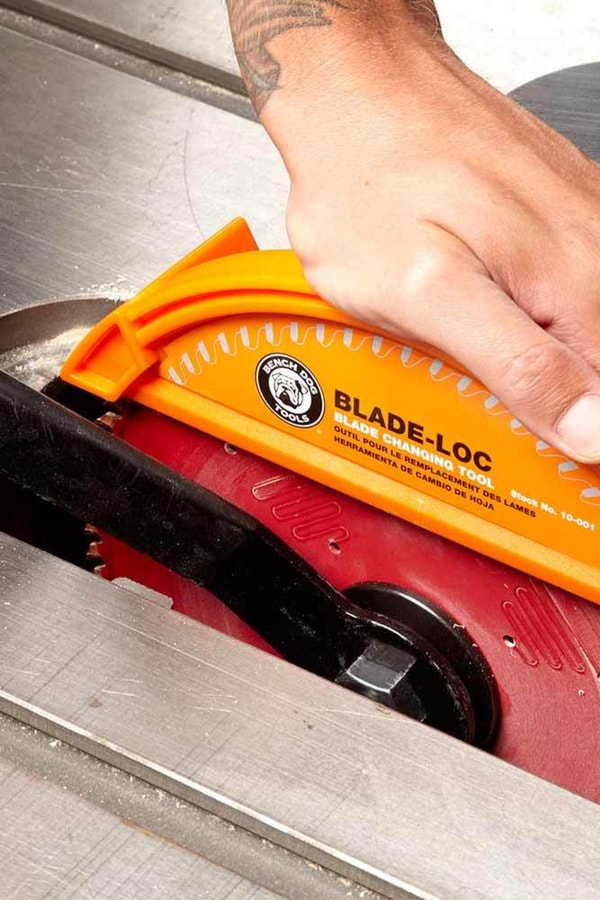
It is possible to buy a special device called a blade lock to hold the blade in place as you loosen the arbor nut. The blade lock is simply placed over the blade to stop it from turning – you can then use a wrench to loosen the nut as usual.
An advantage to this method is that the blade lock also protects your hands from being cut by the blade.
5. Use the arbor lock
Some table saws have an arbor lock function. This consists of a switch that stops the blade from turning as you loosen the arbor nut. These are usually found on smaller table saws – if your tool has one, you can use this when removing the blade.
A useful tool – especially with the right blade
As we said, a table saw is among the most useful woodworking tools you can own – however, it is only as good as the blade you fit it with.
By using a sharp blade – and one that is suitable for the cutting task you need it for – you can always ensure a high quality of cut. Changing the blade is a relatively easy operation, and by following the steps in the guide, you should be able to do it without any problems.
Don’t forget to pin it!