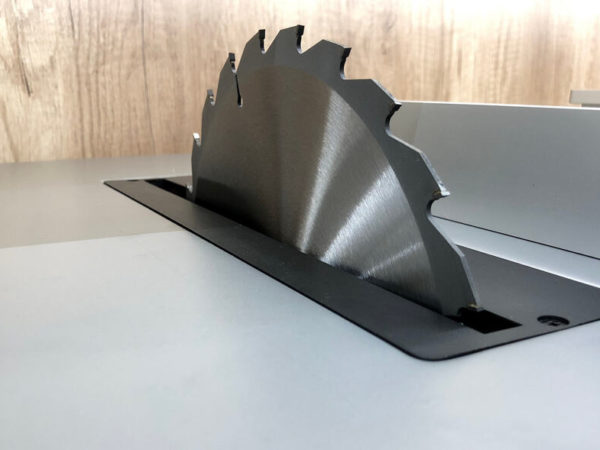
Table saws are invaluable tools for pro woodworkers and casual enthusiasts alike. However, just like any machine tools, they work much more effectively and efficiently if you keep them properly maintained.
One of the components of a table saw that will need regular attention is the table saw blade itself. Apart from periodic sharpening when the teeth begin to dull, it will also need regular cleaning – so here’s our guide on how to clean a table saw blade.
Table of Contents
What you’ll need
Before you start, there are a few things you should prepare. They include the following:
- Shallow pan
- Resin remover (you can use laundry detergent)
- Soft wire-bristle brush
- Synthetic scouring pad
- Paper towels
- Hairdryer
- Dry tool lubricant
- Warm water
- Clean water for rinsing
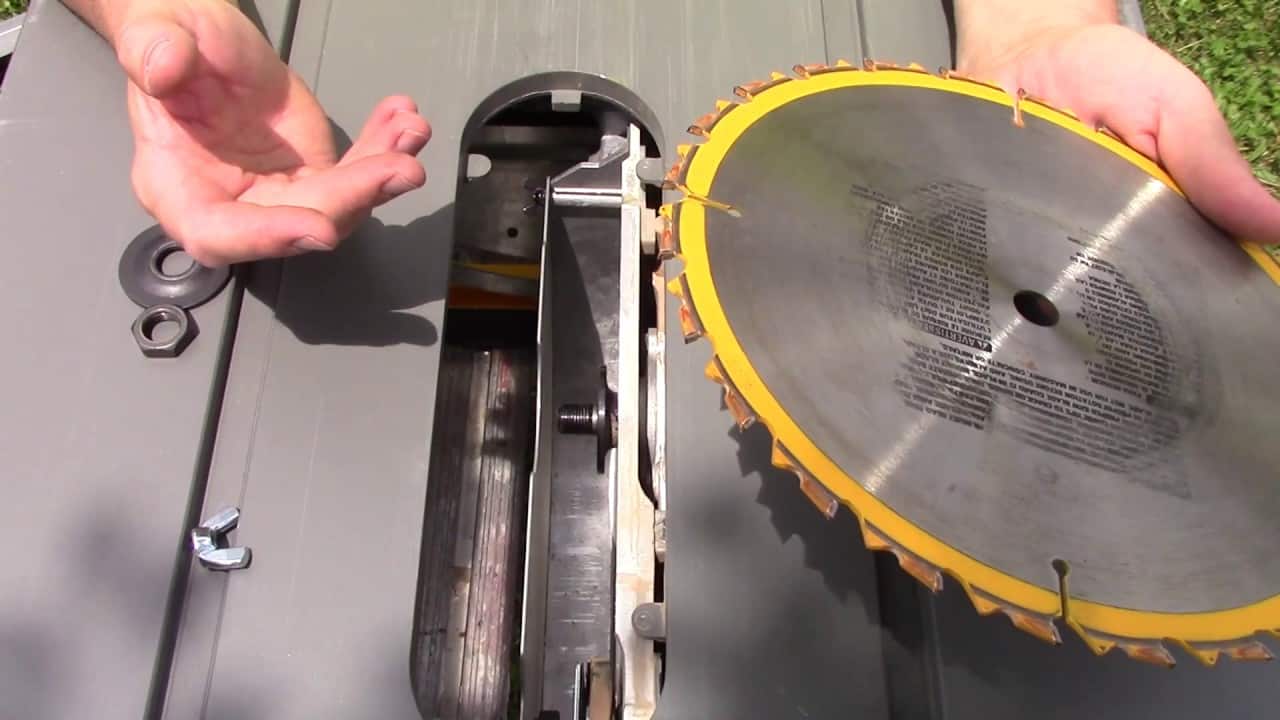
Step 1 – remove the blade
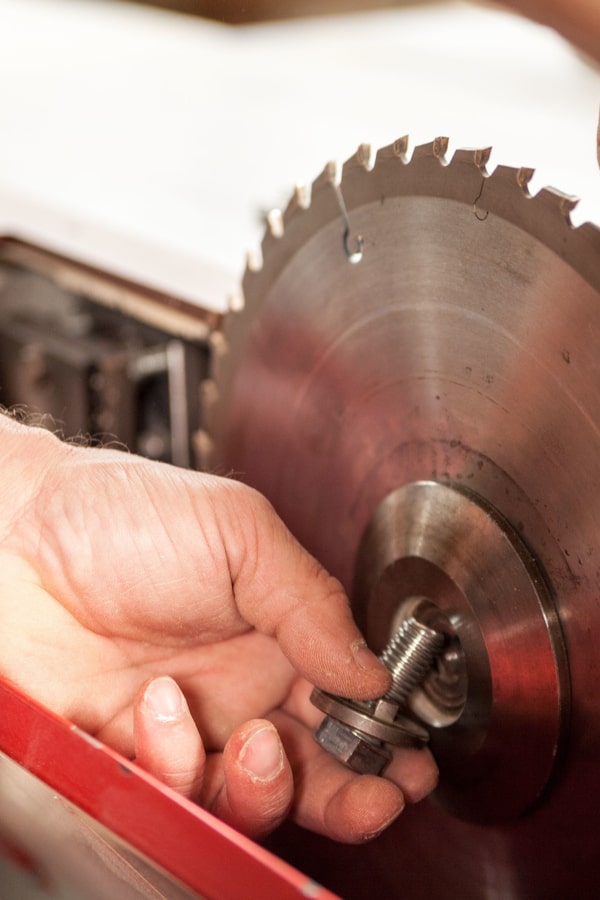
First, you need to remove the blade from the table saw. Before doing this, always make sure the table saw is unplugged from the power source – this will prevent it from starting up accidentally and potentially causing an injury.
Loosen the arbor nut using a pair of wrenches and then unscrew the nut with your fingers. Remove the washer and place the arbor nut and washer somewhere safe. Finally, remove the blade itself from the arbor.
Step 2 – soak the blade in resin remover
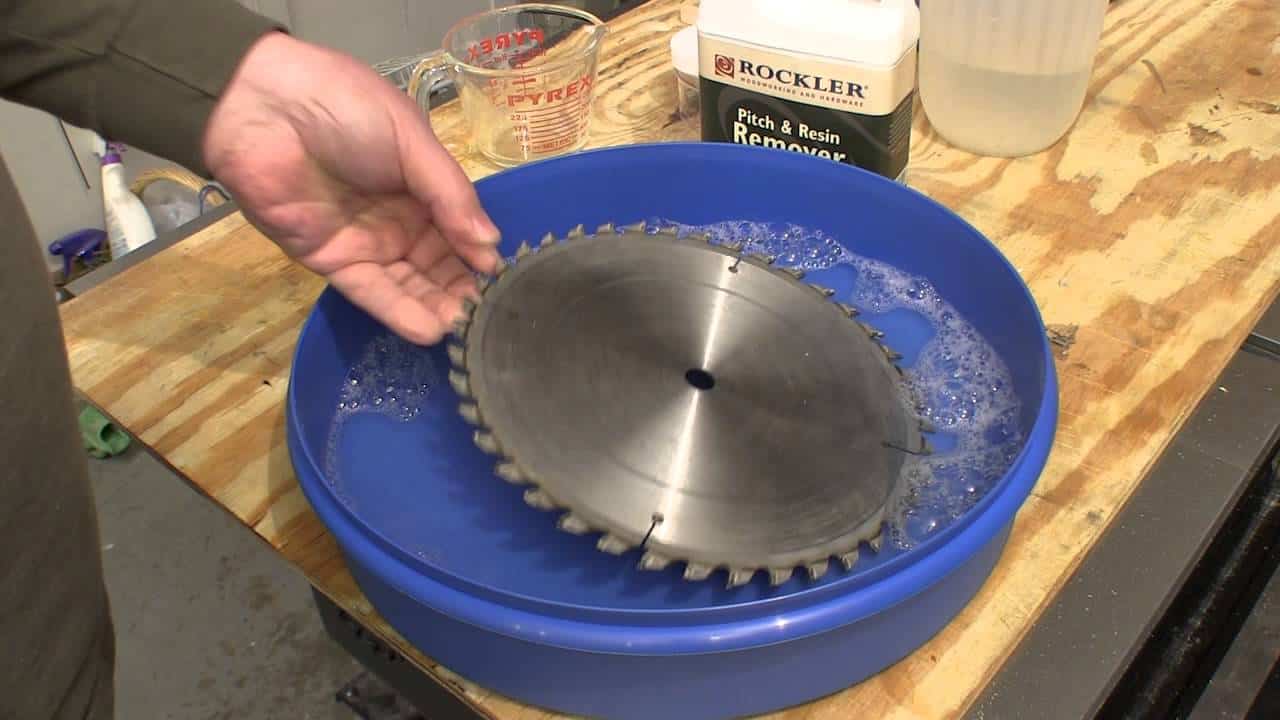
Place the blade into the shallow pan and fill with resin remover. Dilute the resin remover with warm water – depending on the product you are using, the process may be different, so make sure you read the instructions before you do it.
Leave the blade in the resin remover to allow it to soften the residue. Again, check the instructions on your product for details of how long you should leave it.
Step 3 – remove the blade and clean the outside edge
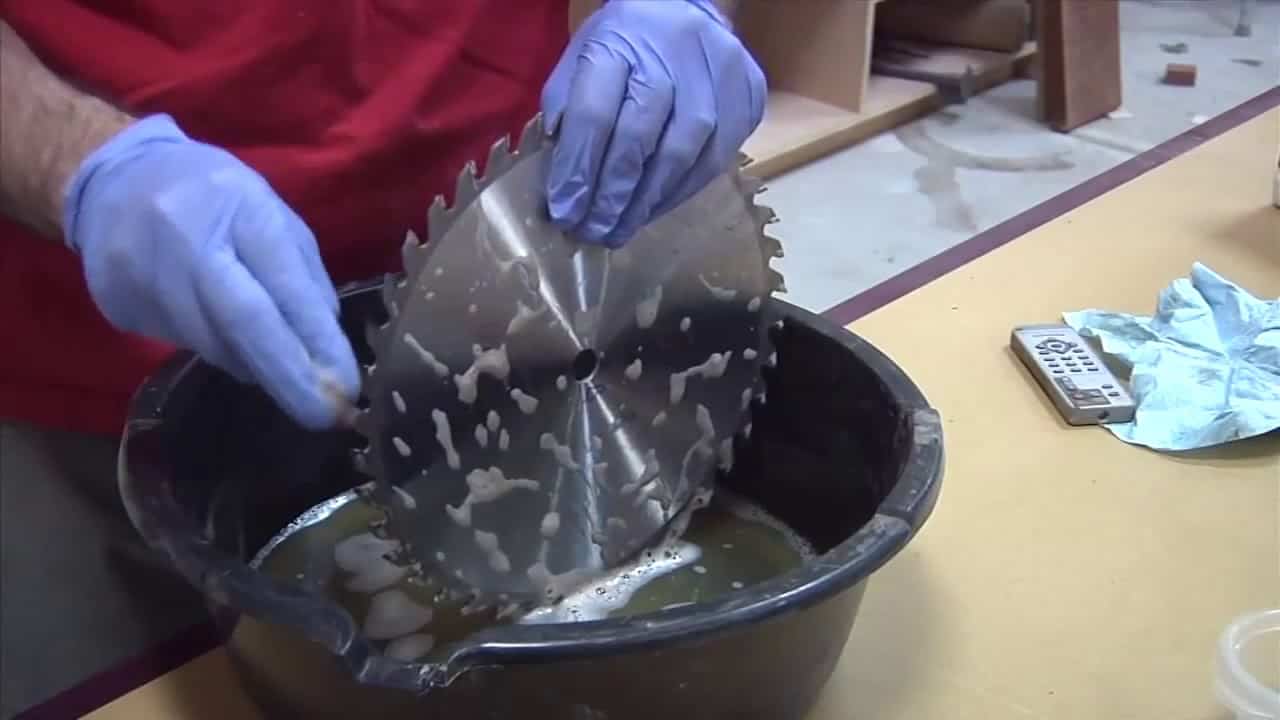
Remove the blade from the resin removing, being careful not to cut your hands on the teeth.
Take your brush and clean the outside edges of the teeth. You should do this in the direction of the teeth, not against it. If you try to go against the direction of the teeth, you will find it much harder, you might cut the hairs on your brush and you may even end up dulling the blades.
If you find that the build-up on the outside of the teeth is particularly stubborn, you can also use the scouring pad to help shift it.
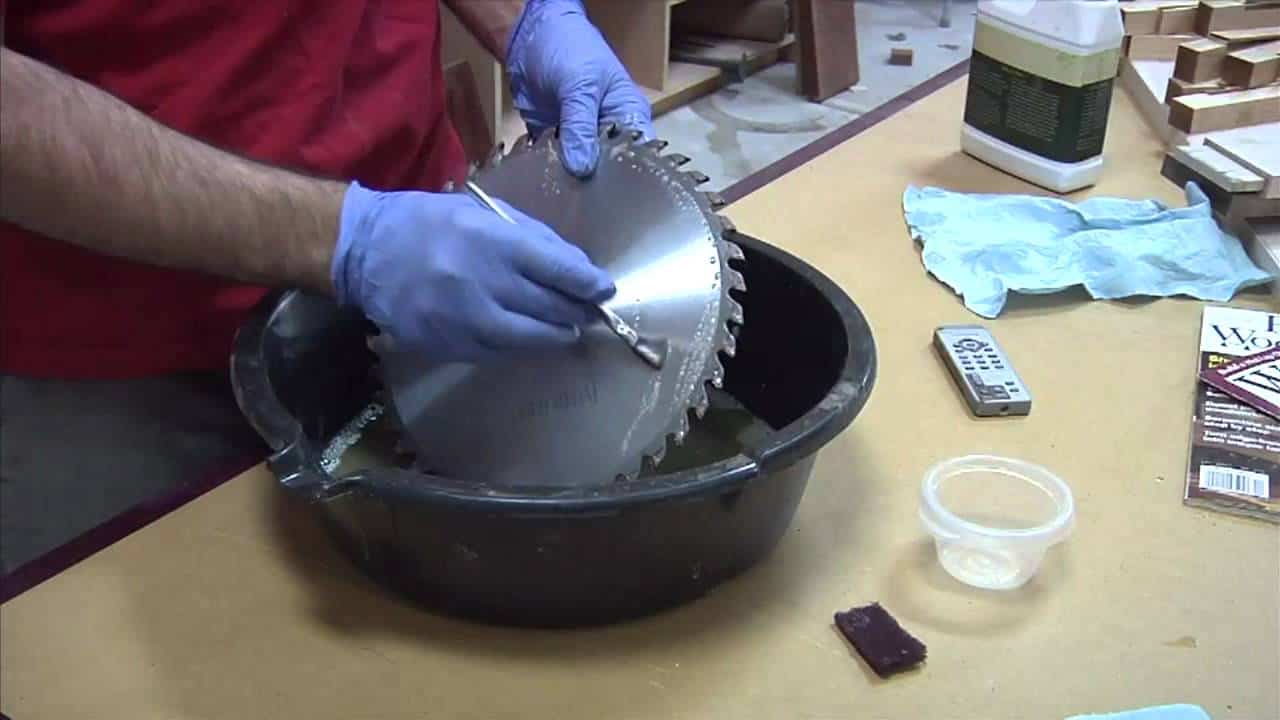
Step 4 – brush or scrub the blade of each tooth
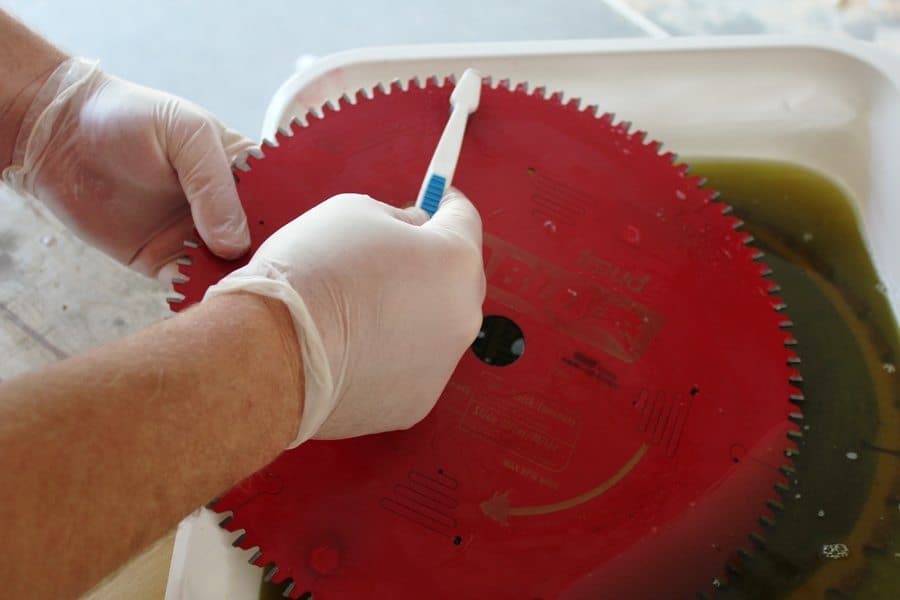
The next step is to clean each tooth blade individually. As when you were working on the outside edge, use either the brush or the scouring pad to clean any residue from the blades. Again, work in the direction of the blades so you don’t dull them during cleaning.
Step 5 – clean in between each tooth
After cleaning the blades, clean the part in between each tooth – known as the gullet. Just as before, use either the brush or the scouring pad, depending on how encrusted the residue deposit is.
Step 5 – rinse the blade

You will probably find the blade is covered in suds from the resin remover and the cleaning process, so you will need to rinse it off. You can do this either by immersing it in clean water or by spraying clean water onto the blade.
Step 6 – dry the blade
It is very important to make sure the blade is thoroughly dried after washing – if not, you will probably find it quickly develops rust. Give it a dry first with some paper towels, but to ensure the job is properly done, you can also use a hairdryer to get rid of any traces of moisture.
Step 7 – coat with dry tool lubricant
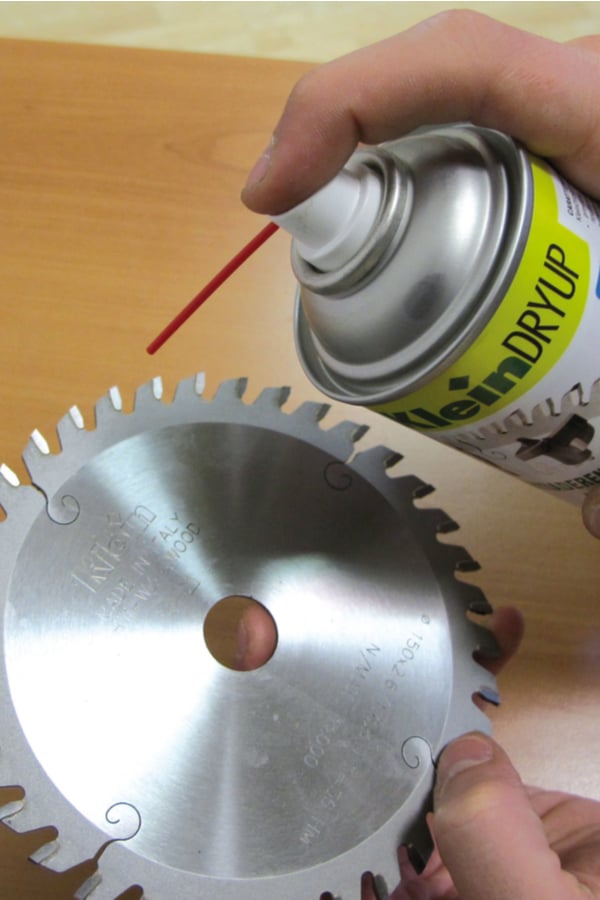
Dry tool lubricant will help keep the blade in optimum condition as well as helping to prevent rust from setting in. It can be picked up at any good hardware or DIY store.
Using a paper towel, ensure that both sides of the blade are given a good, even coat of dry tool lubricant. Once you have finished, you are ready to place the blade back onto your table saw.
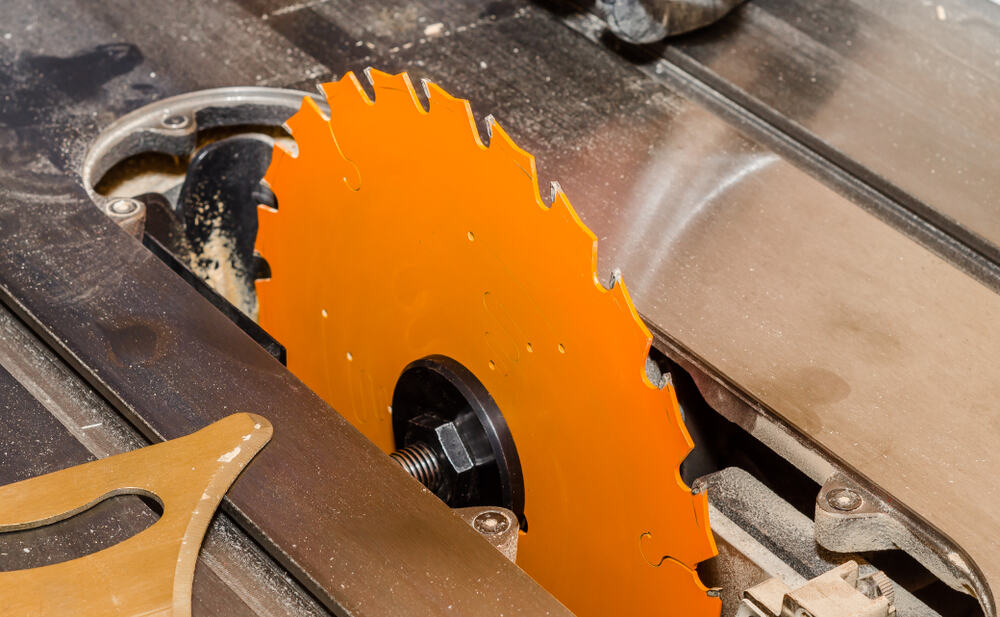
Step 8 – replace the blade on the table saw
Once you have completed the cleaning process, replace the blade on the arbor. You need to make sure the teeth are facing towards the user rather than towards the back of the table saw.
Replace the washer and then screw on the arbor nut with your fingers. Next, as before, use your pair of wrenches to tighten the arbor nut. Your table saw is now ready to use, so you can plug it back into the power outlet and start cutting wood again!
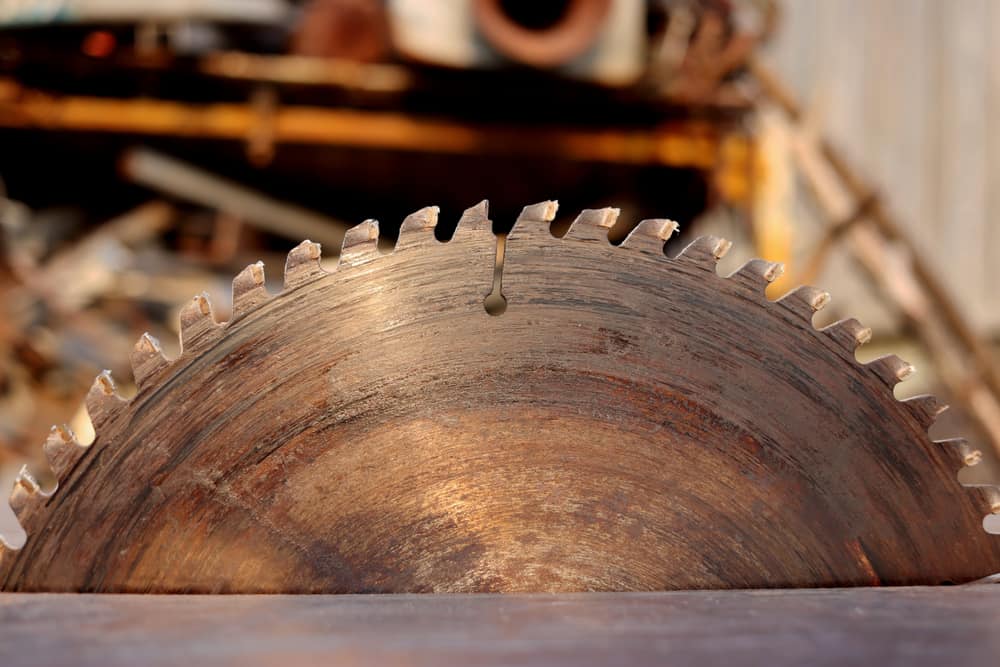
Why should you clean your blade?
Dull blades don’t give you clean and accurate cuts in the same way as new, sharp blades do – and blunt blades can even be dangerous since they increase the risk of kickback.
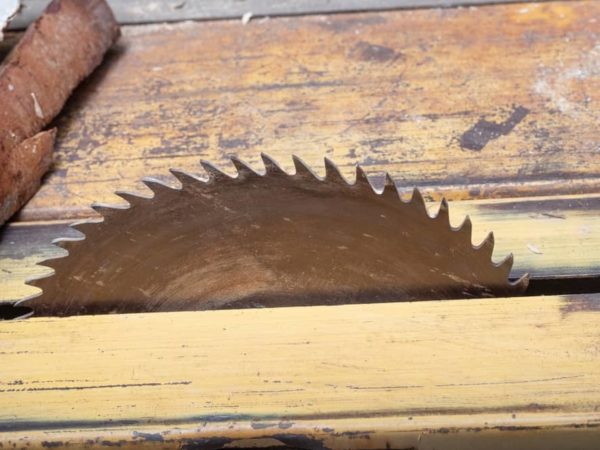
However, before you take your blade to be sharpened, you should try cleaning it first. This is because sap and sawdust from wood can form a residue on the blade, making it seem blunt when it really isn’t.
Cleaning a blade is quicker and cheaper than sharpening it, so it’s always a good idea to try first unless you are sure your blade has been dulled.
When should you clean the blade?
There is no simple answer to this question since it depends on how often you use it. However, it doesn’t matter which type of table saw you have – it will be the same whether you have a jobsite table saw, a contractor table saw, a hybrid table saw or a cabinet table saw.
Simply check the blade if it seems to be cutting less easily than usual, and if you see a build-up of residue, it’s time for a clean.
Keep your blade clean for optimum performance
Just like any other tool, your table saw will work best if you keep it well maintained. This is especially true of the blade, and to ensure it is always able to cut accurately, you should give it a regular clean – and by following these instructions, now you know how.
Don’t forget to pin it!